How to Get Sharp Landscape Photos with Your Camera. Every Time.
Simple Focusing Techniques for Tack Sharp Images Every Time
Nothing’s worse than soft photos. You get home. Zoom in. Blur. The composition worked. The light was great. But the sharpness? Not there.
This is something I see all the time. It comes up constantly in my one-to-one workshops. Why are my photos soft? Where should I focus in landscape photography? These are simple questions. But the answers matter.
In this blog, I’ll show you how to get sharp photos by focusing correctly. These are real techniques. I use them myself. They work.
Want the full breakdown? Camera settings, gear tips, and how to fix blur after the fact? I’ve put it all in a free 15-page pdf guide. You can get it by signing up to my newsletter.
Let’s jump in.
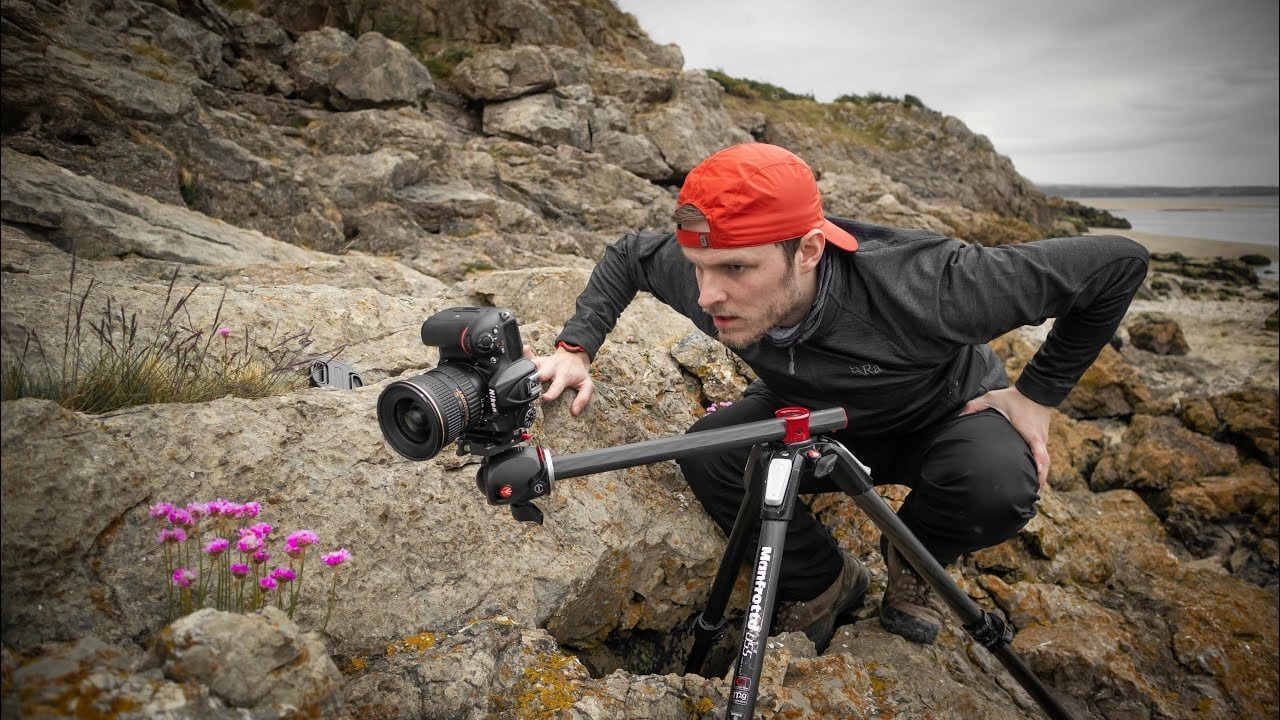
Getting close to some foreground with my wide angle lens. Check out my gear that I use for landscape photography.
Where Should You Focus in Landscape Photography?
This is one of the most searched questions. Where should I focus? How do I get sharp photos?
Here’s my go-to. I focus one third of the way into the scene. Not at the front. Not at the back. One third in. That might be a log, a fern, or a patch of bracken.
To be clear, I mean one third of the way up on the LCD screen. Not what you see in real life. Once you’ve framed the shot, start at the bottom of the screen and go about a third of the way up. Focus there.
I move the focus point on the screen. Then I stop down. Usually f/11. Sometimes f/14. That gives me plenty of depth. Foreground to background.
This is the best focus technique for most landscapes. It works in woodland. It works in the hills. You get sharpness front to back. No need for extra steps.
Sometimes I do it differently. If the scene has one clear subject, I focus on that. A tree. A rock. A mountain peak. But only if there’s not much depth. Otherwise, your foreground will go soft.
If your photos are soft, this could be why. You’re focusing in the wrong place. Try both methods. See what works.
Next, we’ll look at how to lock in focus the right way.

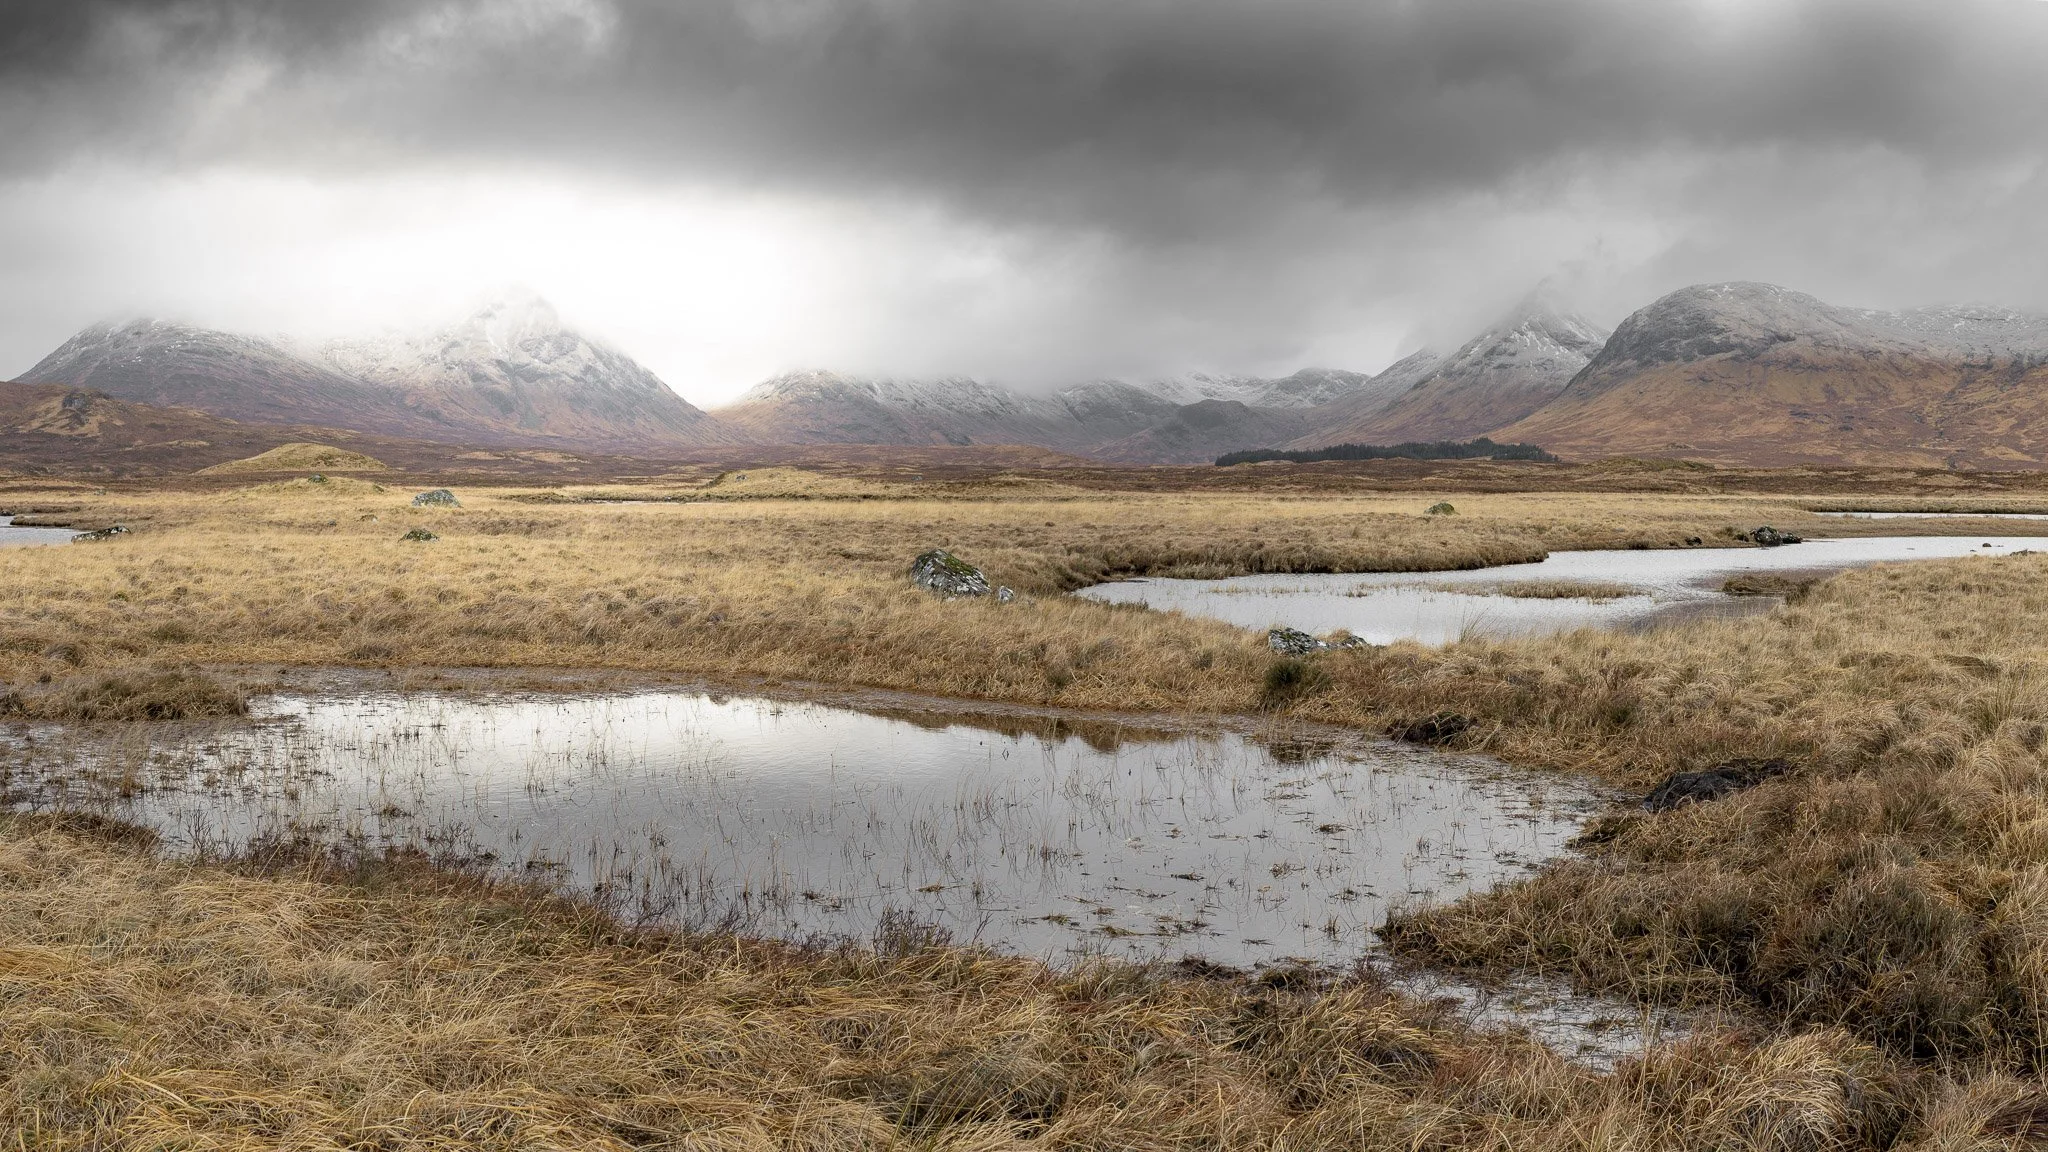
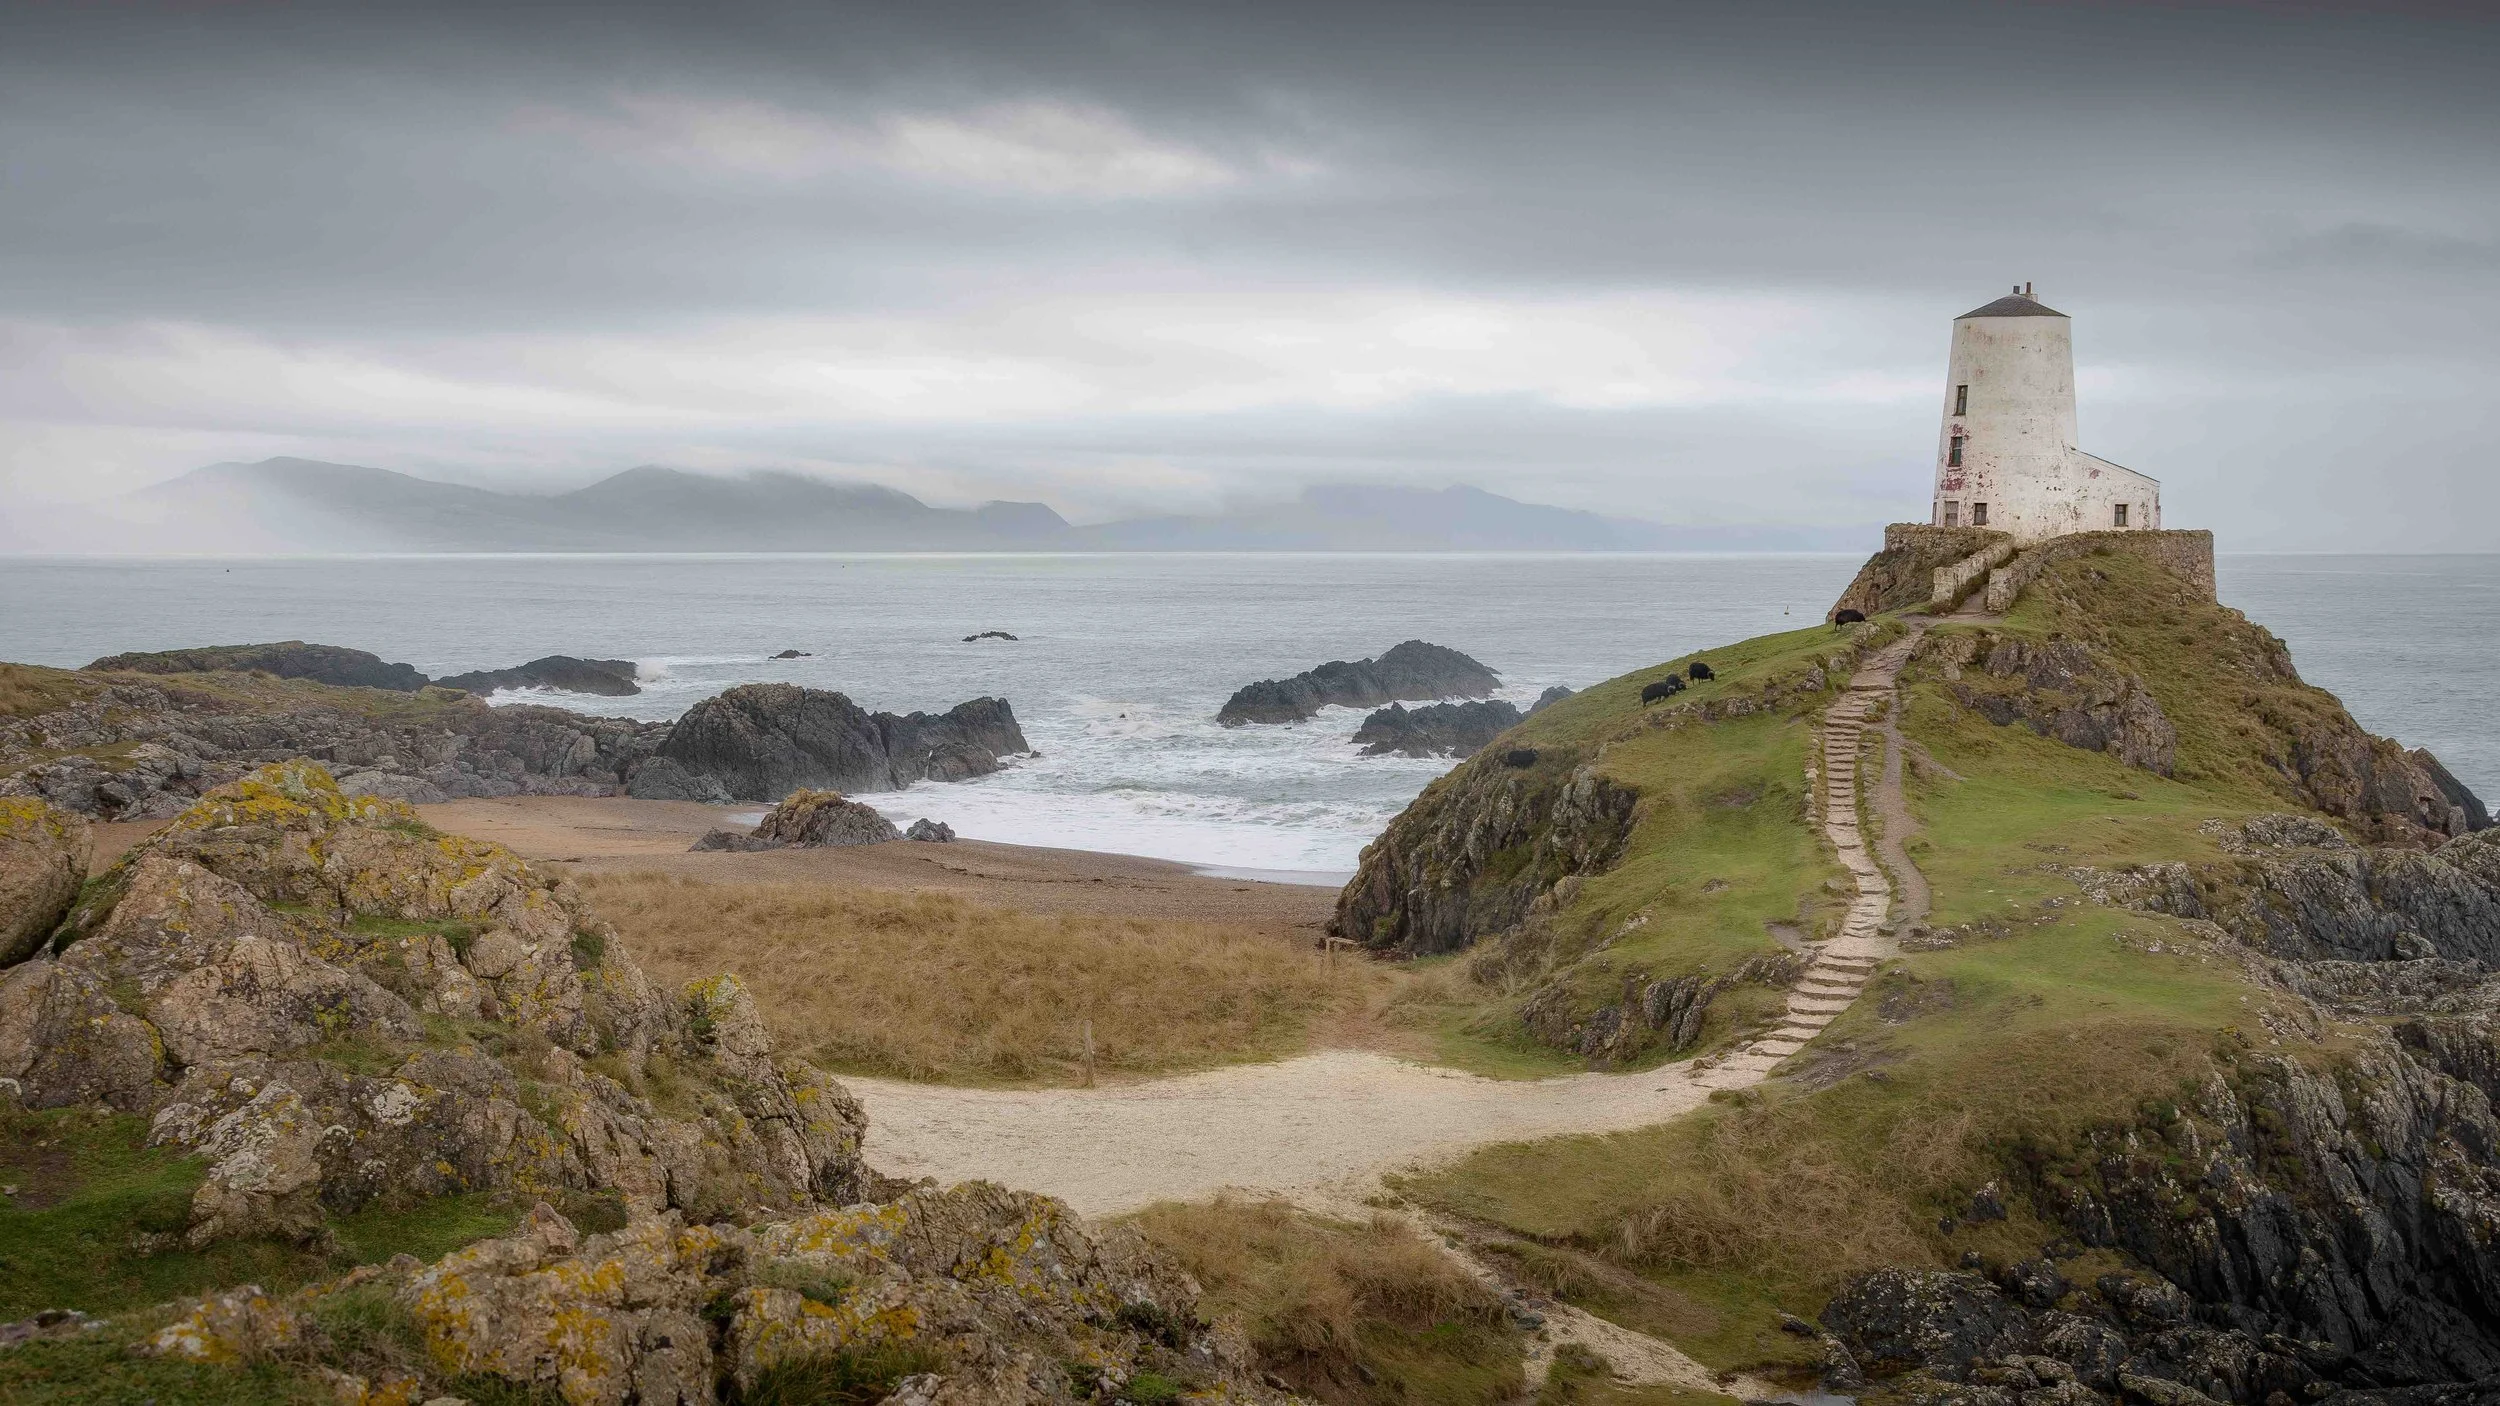
For this image, I focused somewhere around the largest green patch of grass you can see down in the foreground. Sheffield Pike, Lake District.
How to Focus Properly for Sharp Images
Once you know where to focus, the next step is getting that focus locked in. This is where a lot of photographers slip up. Even if you pick the right spot, the photo can still be soft if the focus isn’t nailed.
Here’s what I do. I use back button focus. I’ve set up my camera so the shutter button only takes the photo. It doesn’t do anything else. Then I assign the focusing job to a separate button on the back of the camera.
This changes everything. You can take your time. You’re not fighting the shutter button. You press one button to focus. Another to take the shot. Clean. Simple. Reliable.
Next, I magnify in. Either on the LCD screen or through the electronic viewfinder. I move my focus point over the subject. Or that one third mark if I’m using that method. Then I magnify right in with the magnify button. As far as the camera allows.
Then I press the focus button. You can actually see the focus snap in. You’re not just trusting a green box. You see it. With your own eyes. That’s the key.
This is how I focus nearly every time. It’s never failed me. It’s a proper fail-safe. Man and machine working together!
Try this setup. Use back button focus. Magnify in. Watch the focus snap. Then take the shot.

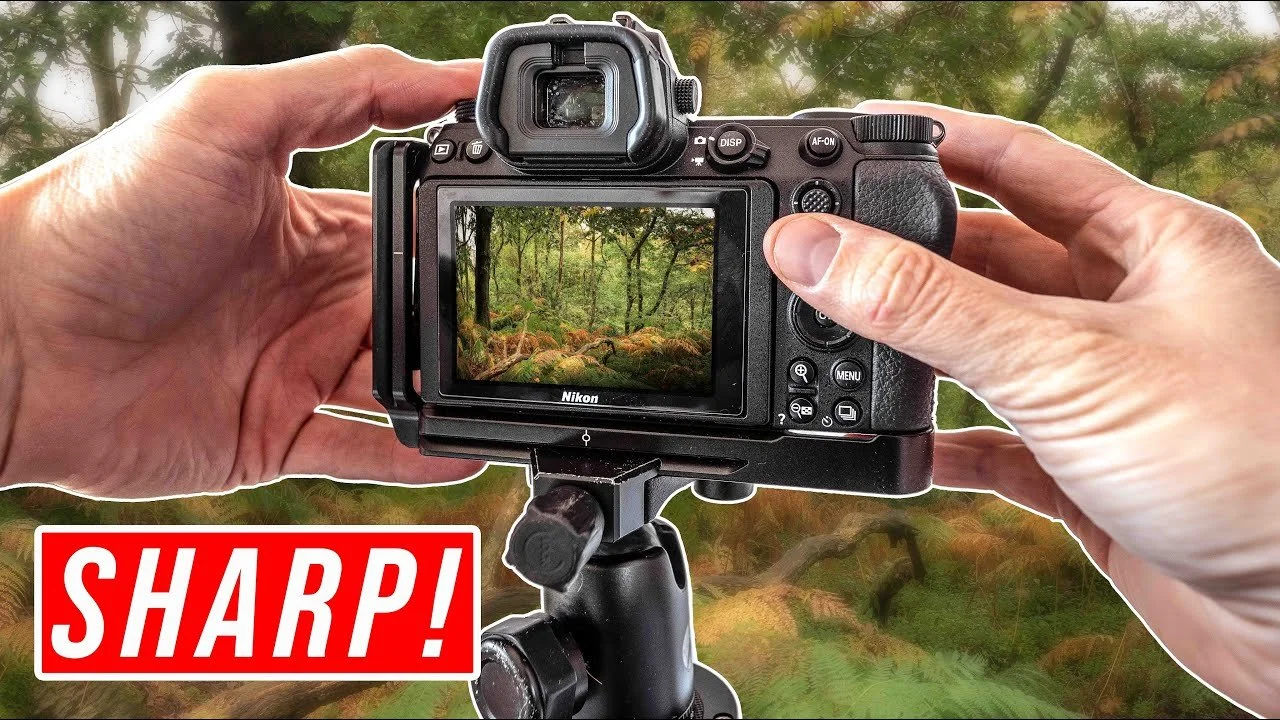
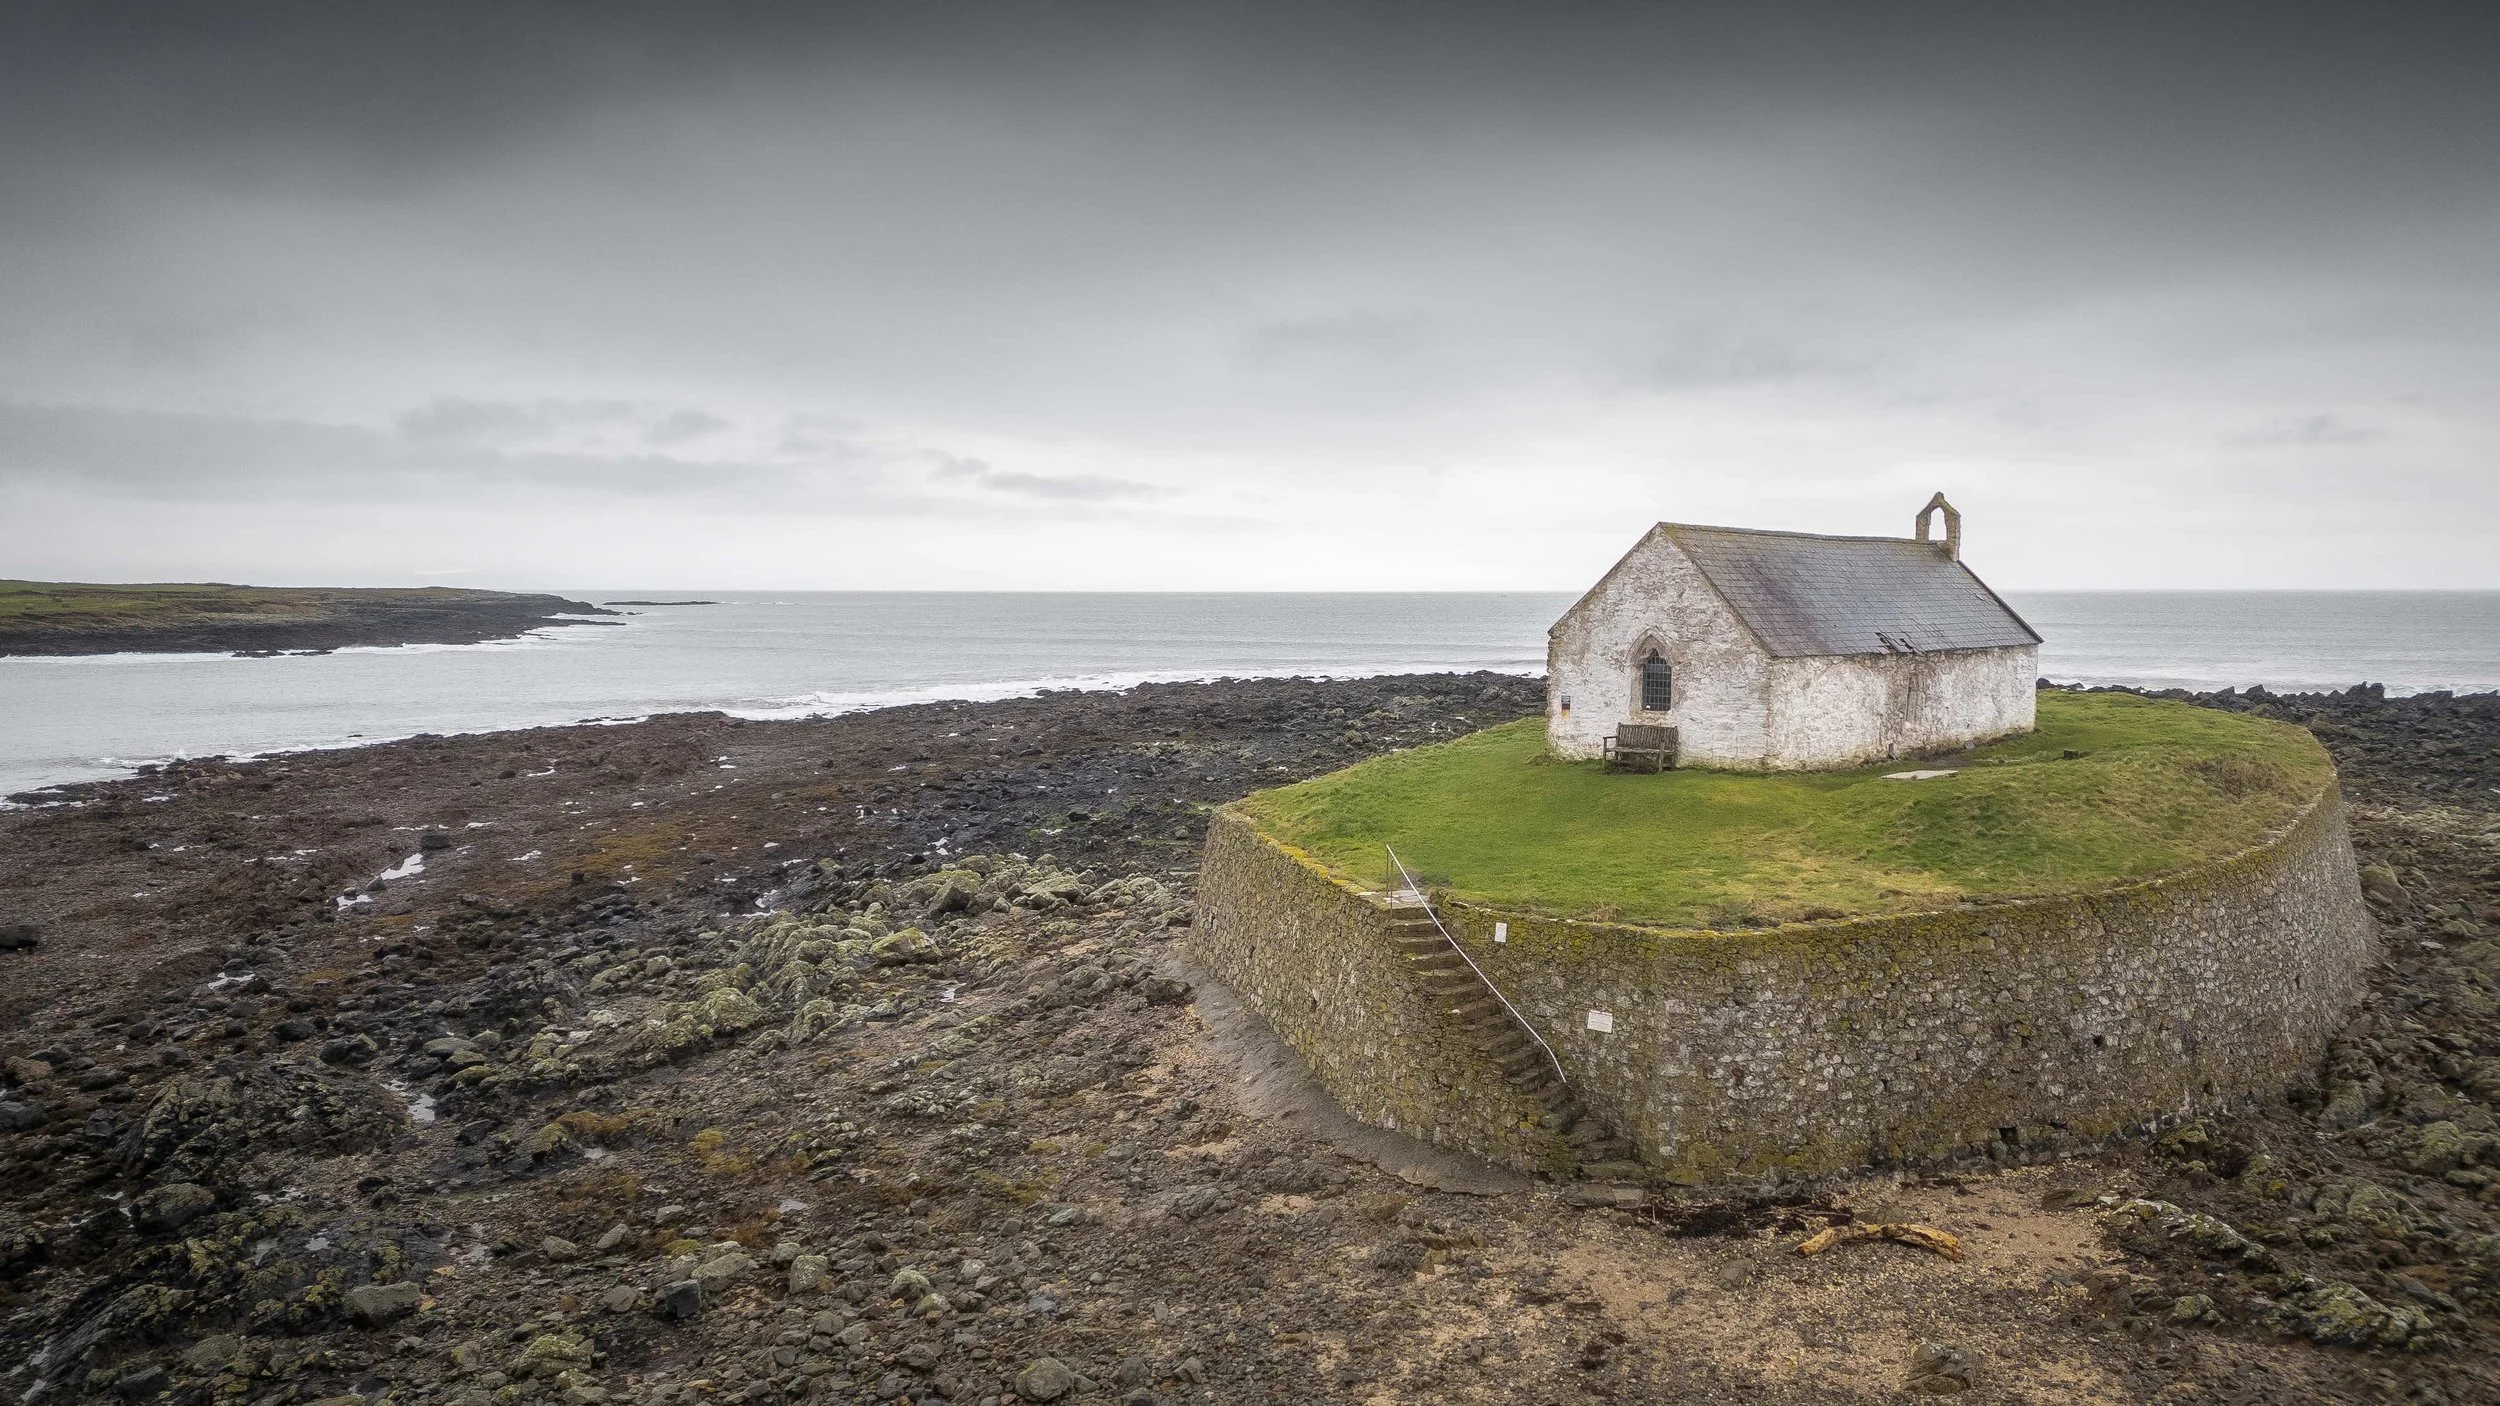
Using my back button focus technique in North Yorkshire.
A Few More Tips for Sharper Results
Still wondering why your photos are soft? Sometimes it’s not just where you focus. It’s everything else around it.
First, check your shutter speed. This is one of the most overlooked things when people ask how to get sharp landscape photos. If your shutter is too slow, even perfect focus won't help. Use a tripod. Or increase your ISO if you're shooting handheld.
Next, try using a remote shutter or the self-timer. Pressing the shutter manually can cause tiny movements. That small shake is enough to make the image soft.
Also, keep your lens clean. It sounds obvious, but dirty glass can affect clarity. A quick wipe before each shoot can go a long way.
One more tip. Don’t stop down too far. f/22 might seem smart, but it can actually soften the image. Diffraction kicks in. Stick with f/8 to f/14 for best results.
These are all part of the bigger picture when it comes to how to focus properly for sharp images. Nail the focus. Watch your settings. Keep it simple. And your images will thank you.

Using a tripod down in Cornwall, England. Just remember, a tripod doesn’t guarantee sharp photos. My free 15-page PDF guide dives much deeper into why - and what to do about it.
Final Thoughts
In this blog, we’ve only really scratched the surface. We’ve focused on, well... focus. But if you’re serious about getting sharp photos, there’s a lot more to it than that.
Things like handheld technique. Tripods. Cleaning your lens. Using live view. Shooting bursts. Even how you sharpen in post. All of these can affect image sharpness and they’re all covered in much more detail in my free guide.
If you’ve ever Googled something like why are my photos soft, this guide was made for you. It’s practical, easy to follow, and built from real-world experience!
And the best part? It’s totally free. Just sign up to my newsletter and I’ll send it over instantly.
You’ll also get my latest blog posts, behind-the-scenes stories, and a few extra photography thoughts that don’t make it to YouTube.
If this blog helped you, the guide will take it further.

Popular posts:

Free Photography eBook
Free access to my downloadable (pdf) tutorial on how to get pin-sharp images.
New / Noteworthy