5 Camera Settings I Always Change on a New Camera (And Why You Should Too)

There is something special about holding a new camera for the first time.
The buttons are still unpressed. The settings are untouched. It feels full of potential.
But before I take it on a proper shoot, I always set up the same way.
Five changes. Every time. No matter what camera I’m using.
They are quick to do and easy to overlook. But they make a huge difference to how I shoot.
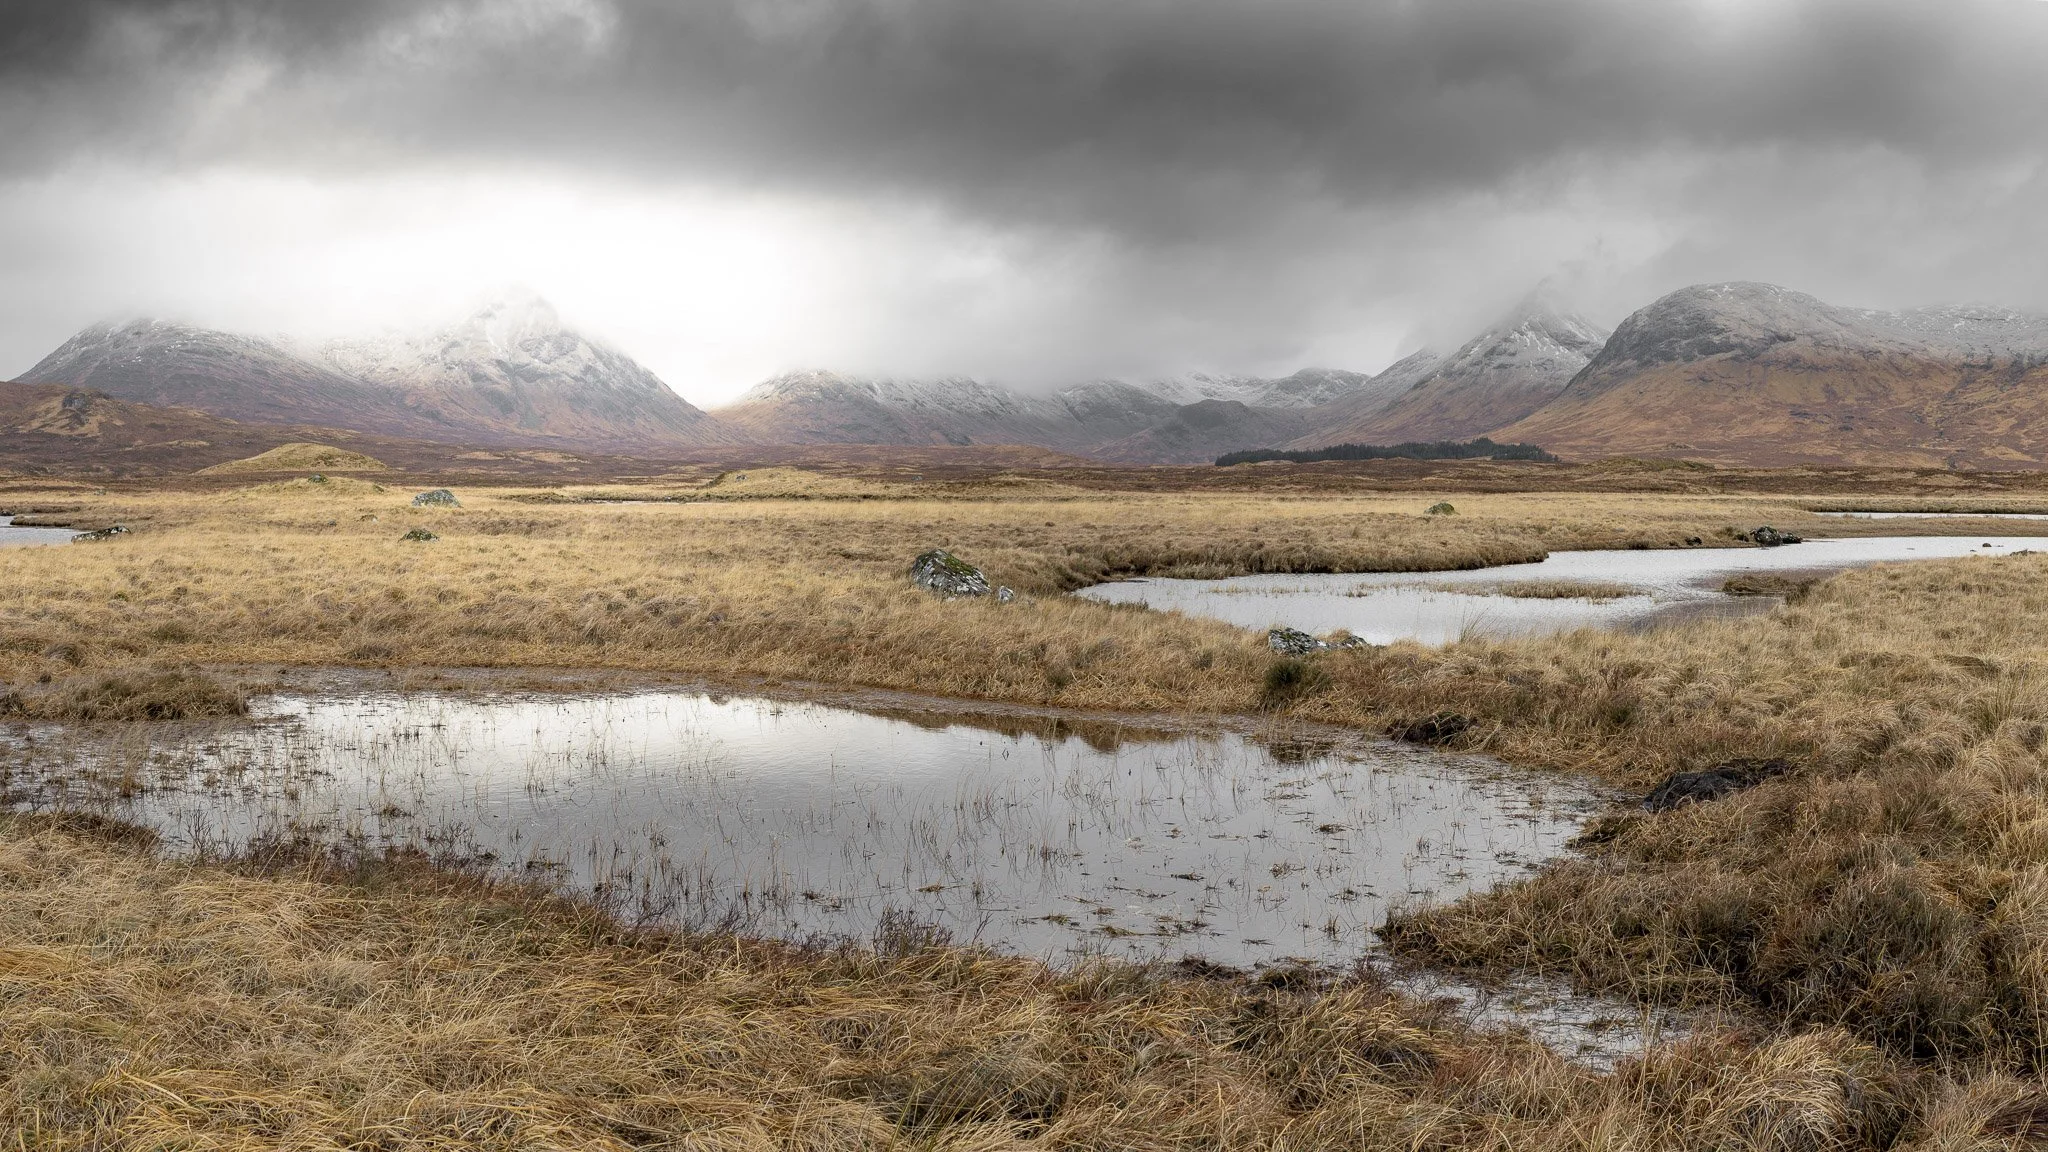
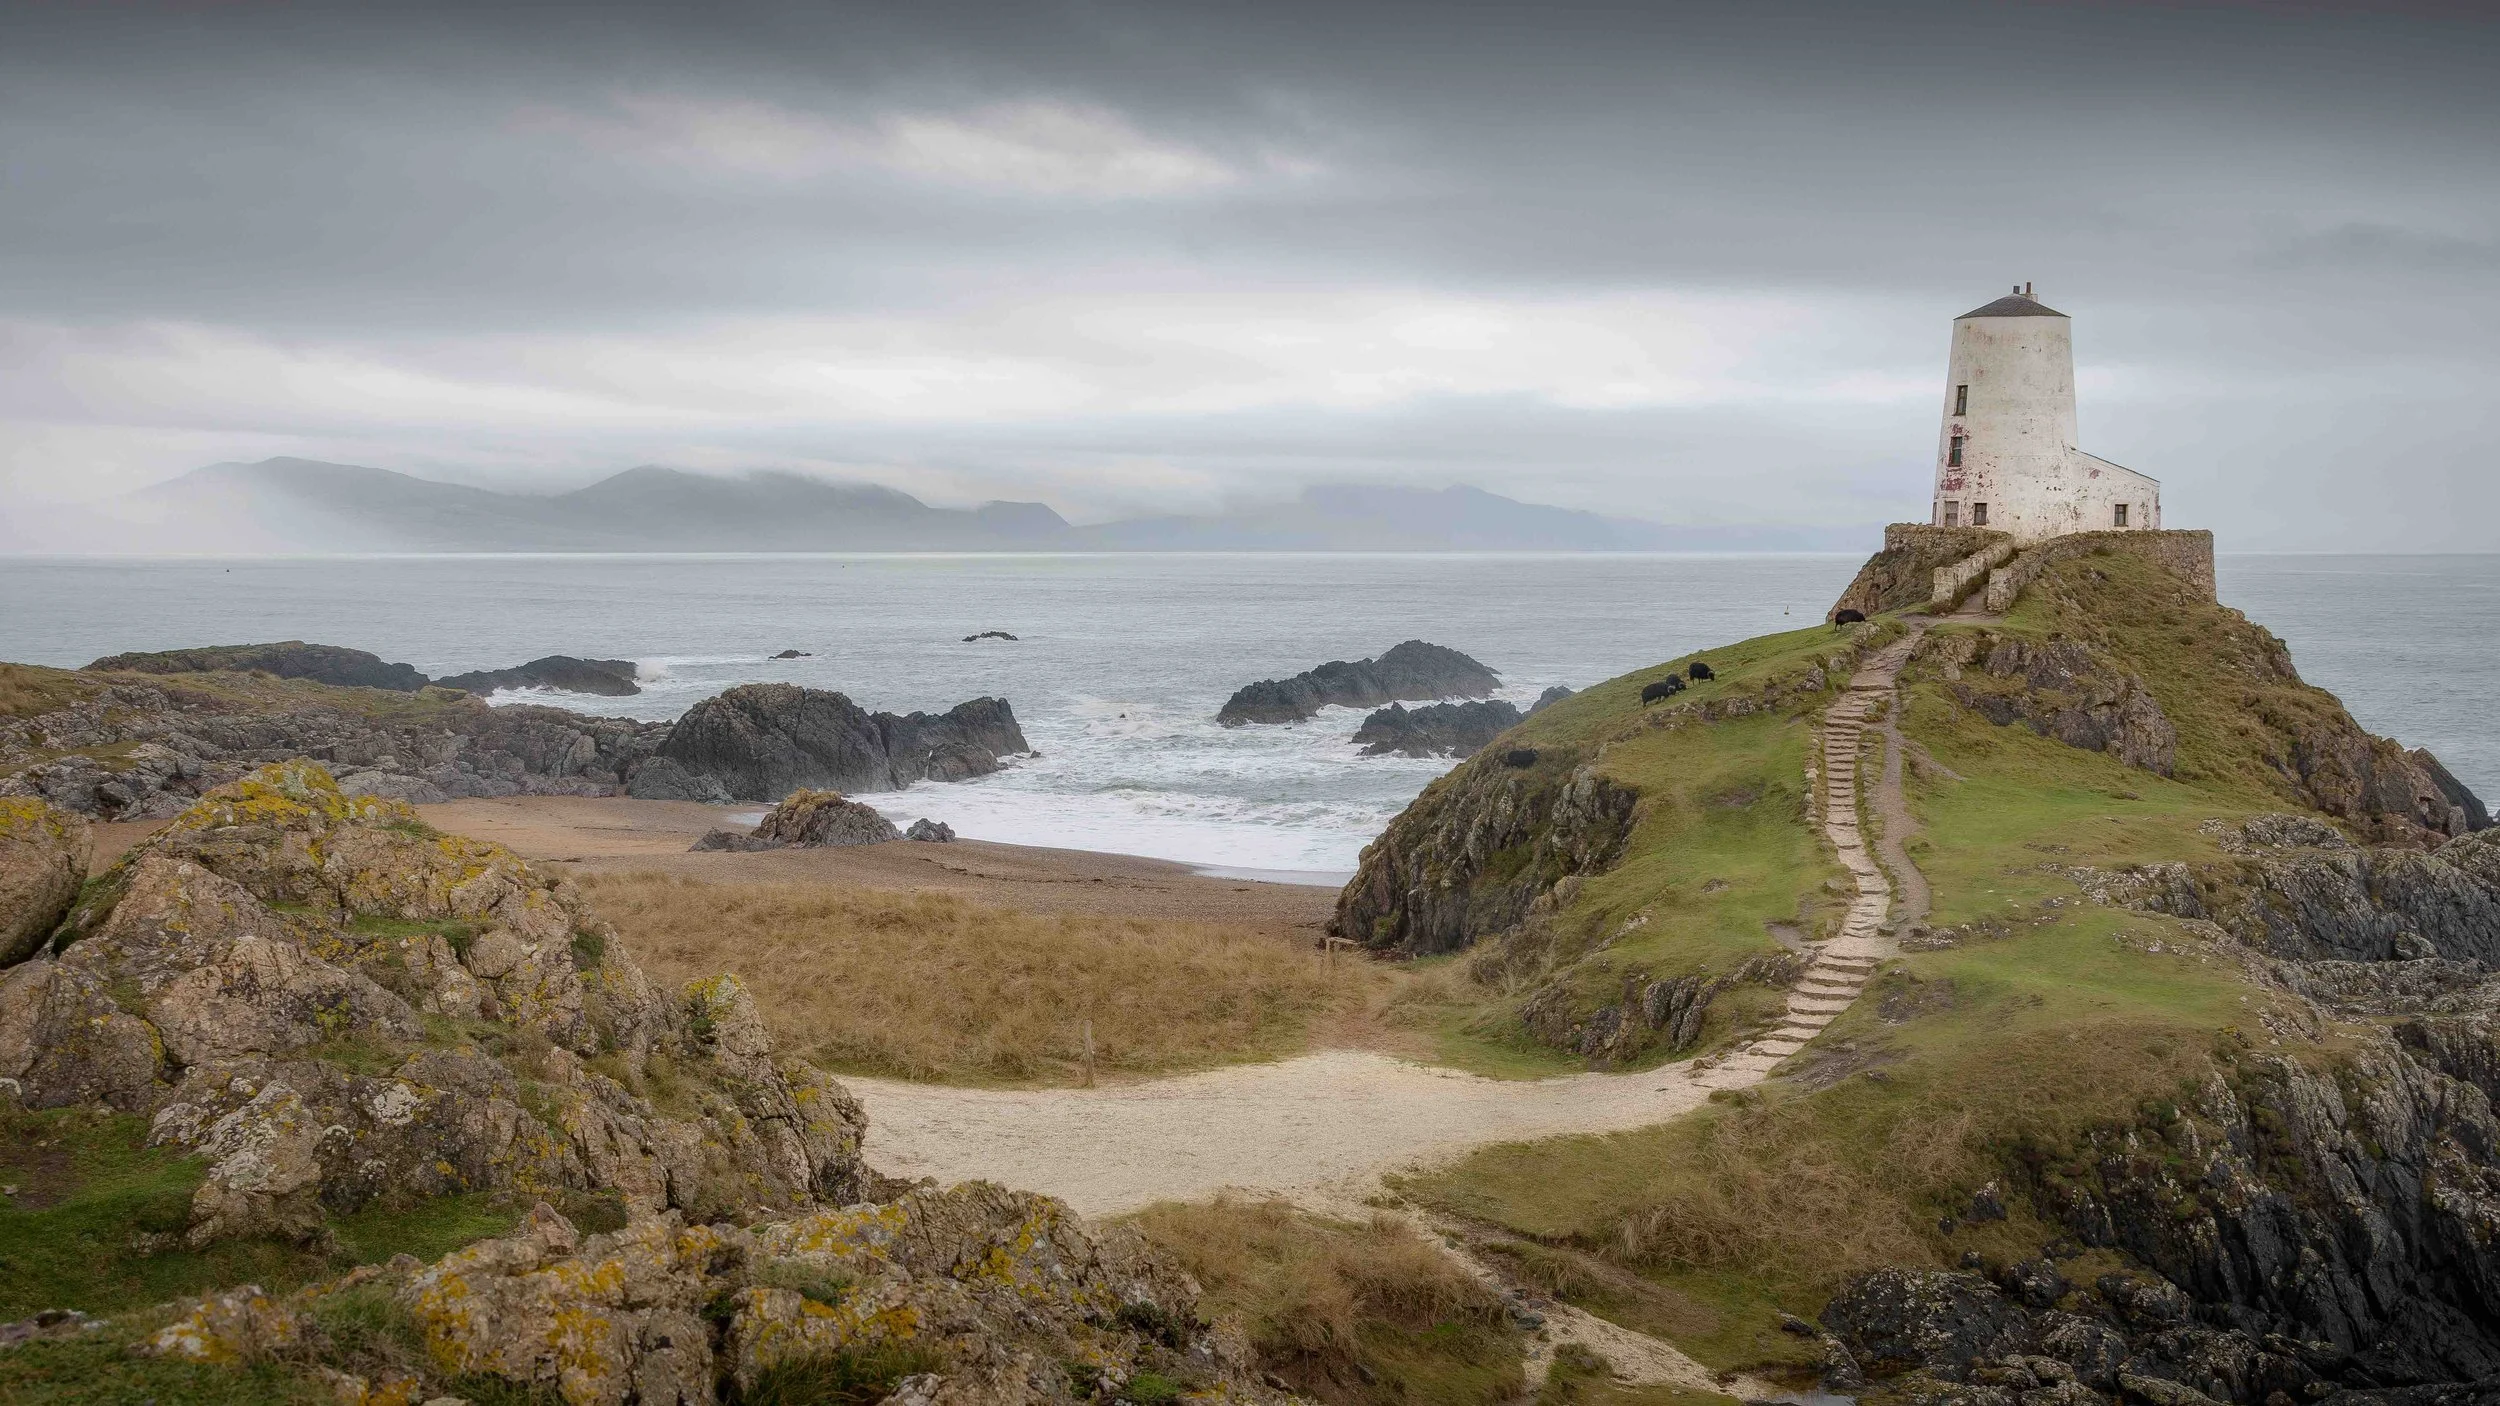
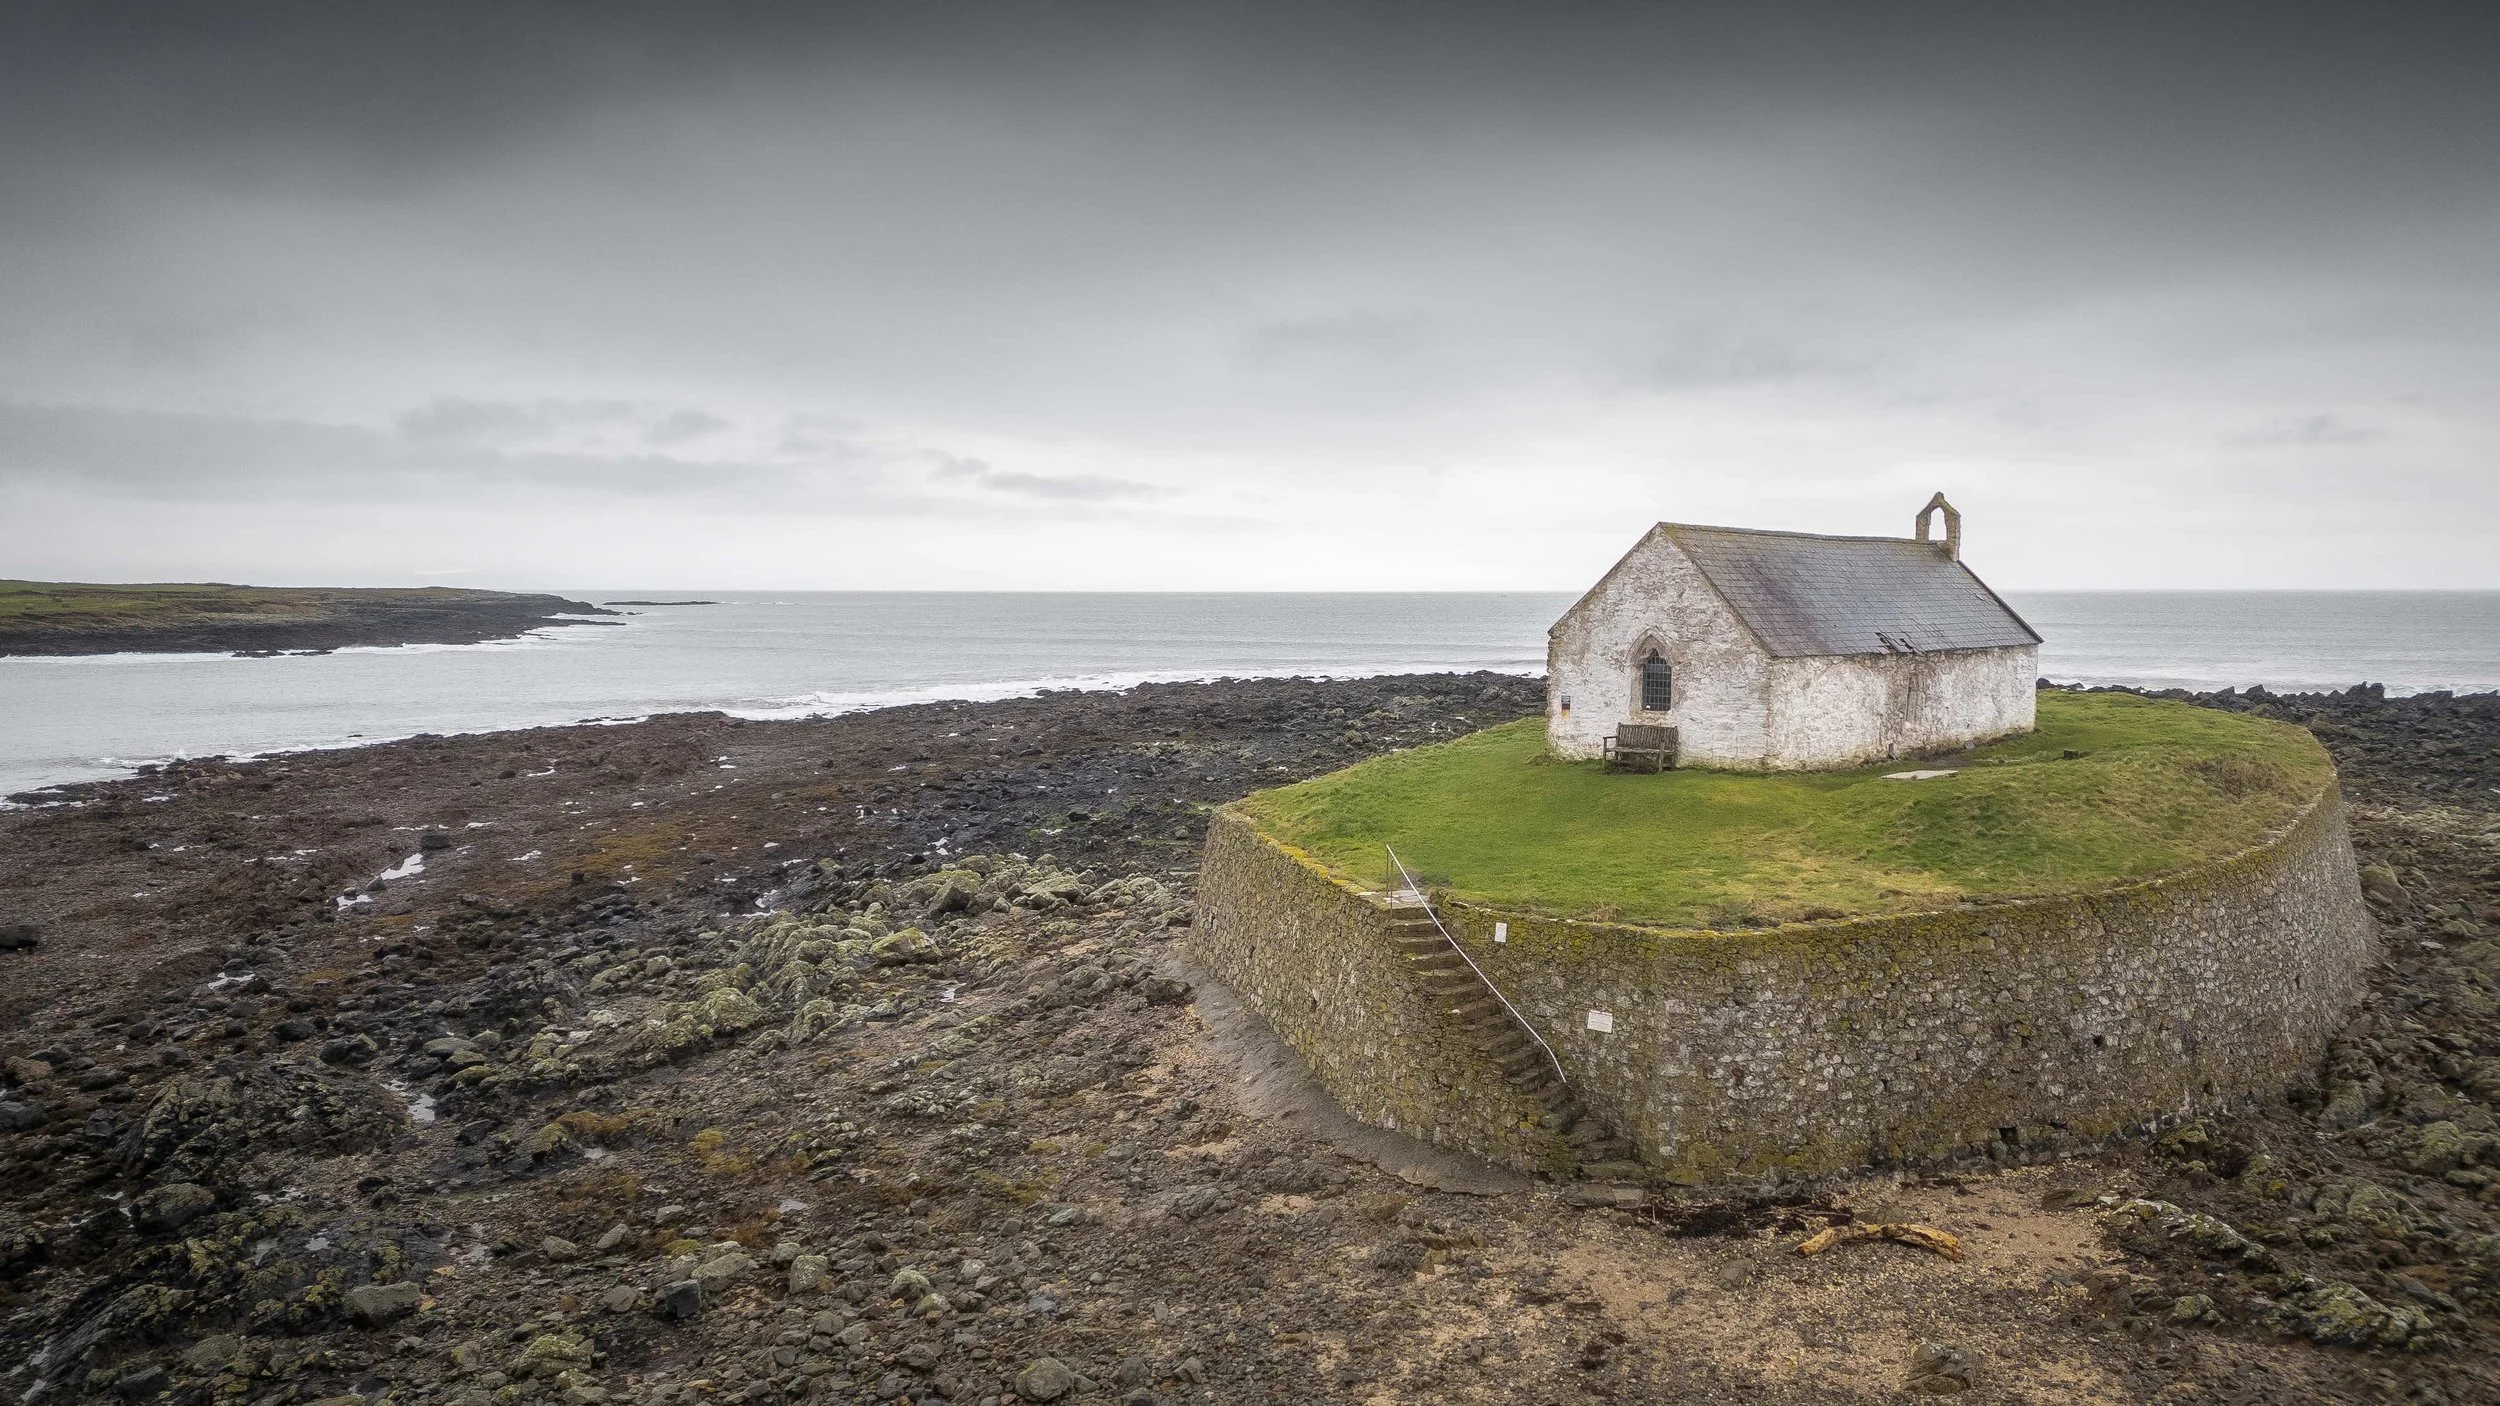
I discuss all of these changes during a recent outing to one of my favourite places in the Lake District.
The conditions were beautiful. The light was changing constantly. The perfect time to test out the camera and show how these settings really help.

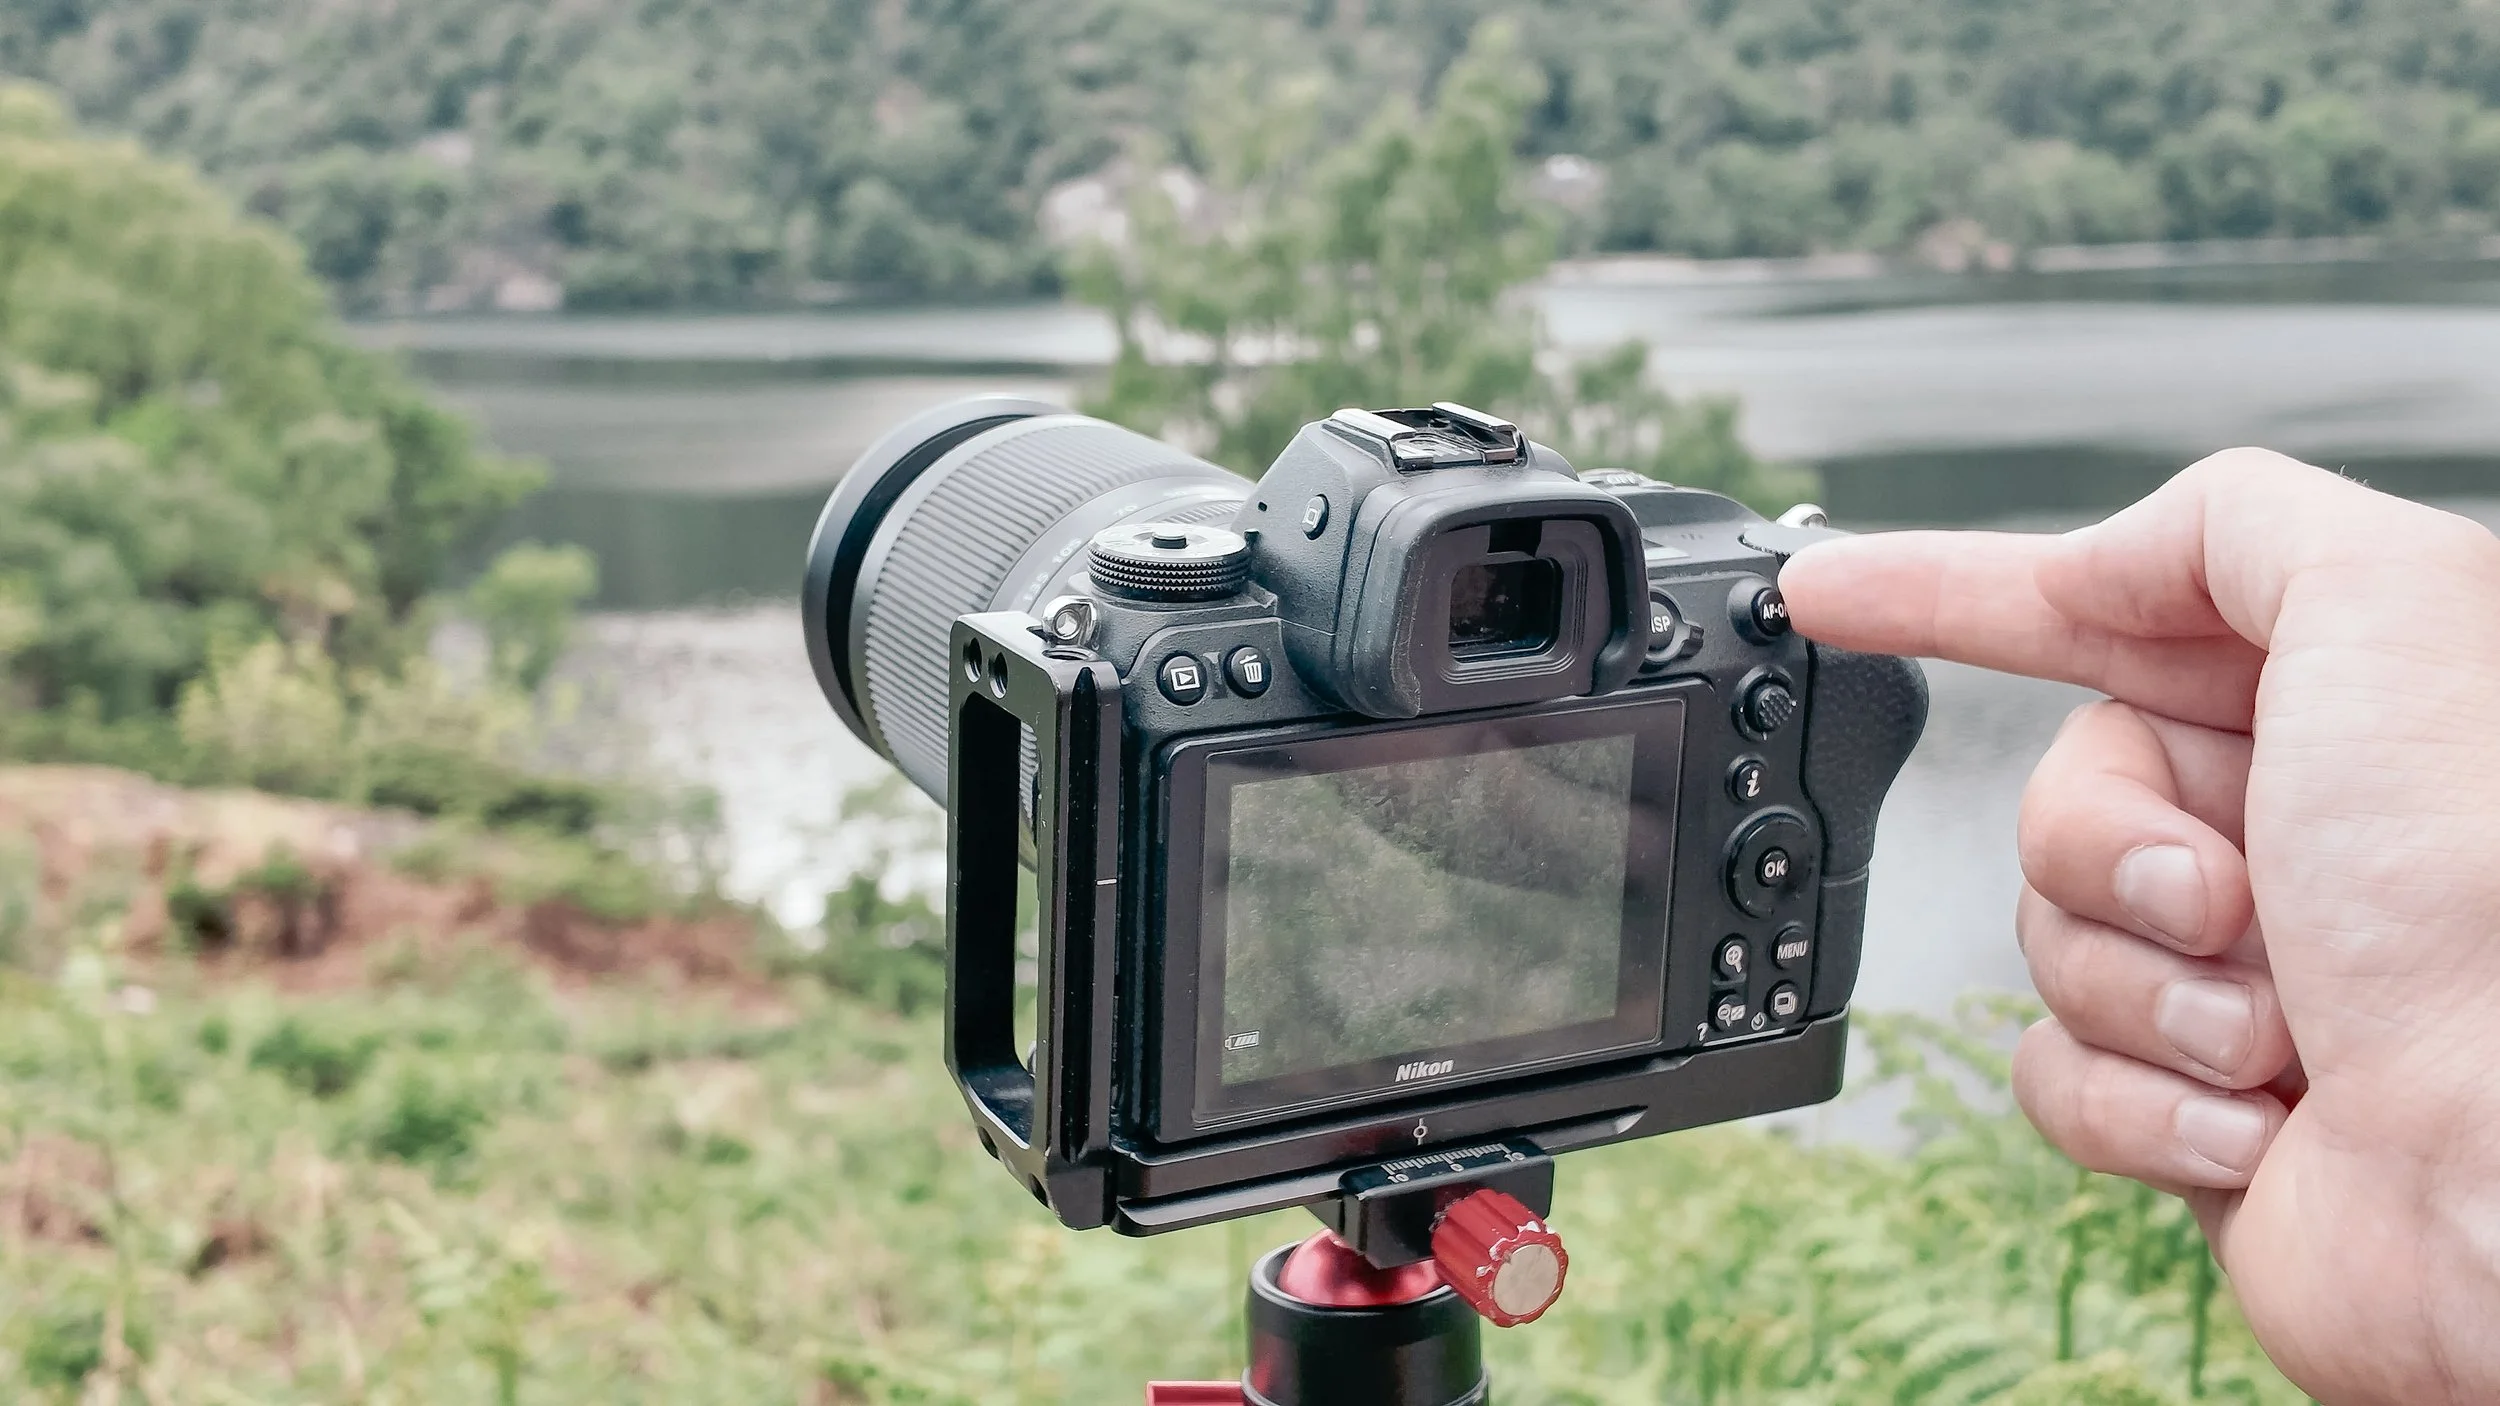
On the Nikon Z7, the live histogram features at the bottom right hand side of the screen.
1. Turn On the Live Histogram
This is always the first thing I do. The live histogram shows me how the light is falling across the image before I take the shot.
It gives me real time feedback on whether I’m about to overexpose the highlights or crush the shadows.
On this Lake District shoot, I was working with strong contrasts. Golden light in the distance. Dark foregrounds. The histogram helped me make sure I was not losing detail in either.
Without it, I’d be guessing.
—“Your histogram is the most honest tool you have in the field. Learn to read it, and you’ll rarely go wrong."
But not every camera has a live histogram. If yours doesn’t, no problem.
Just make sure your playback settings show the histogram when you review the image. Then check it straight after you take the shot.
It is a small habit that makes a huge difference, especially when conditions are changing quickly.
Tip: Watch the histogram while you compose, or check it straight after. Either way, it will help you avoid exposure mistakes before they happen.
Recommended reading: Learn How to Master Perfect Exposure in Landscape Photography Using the Histogram
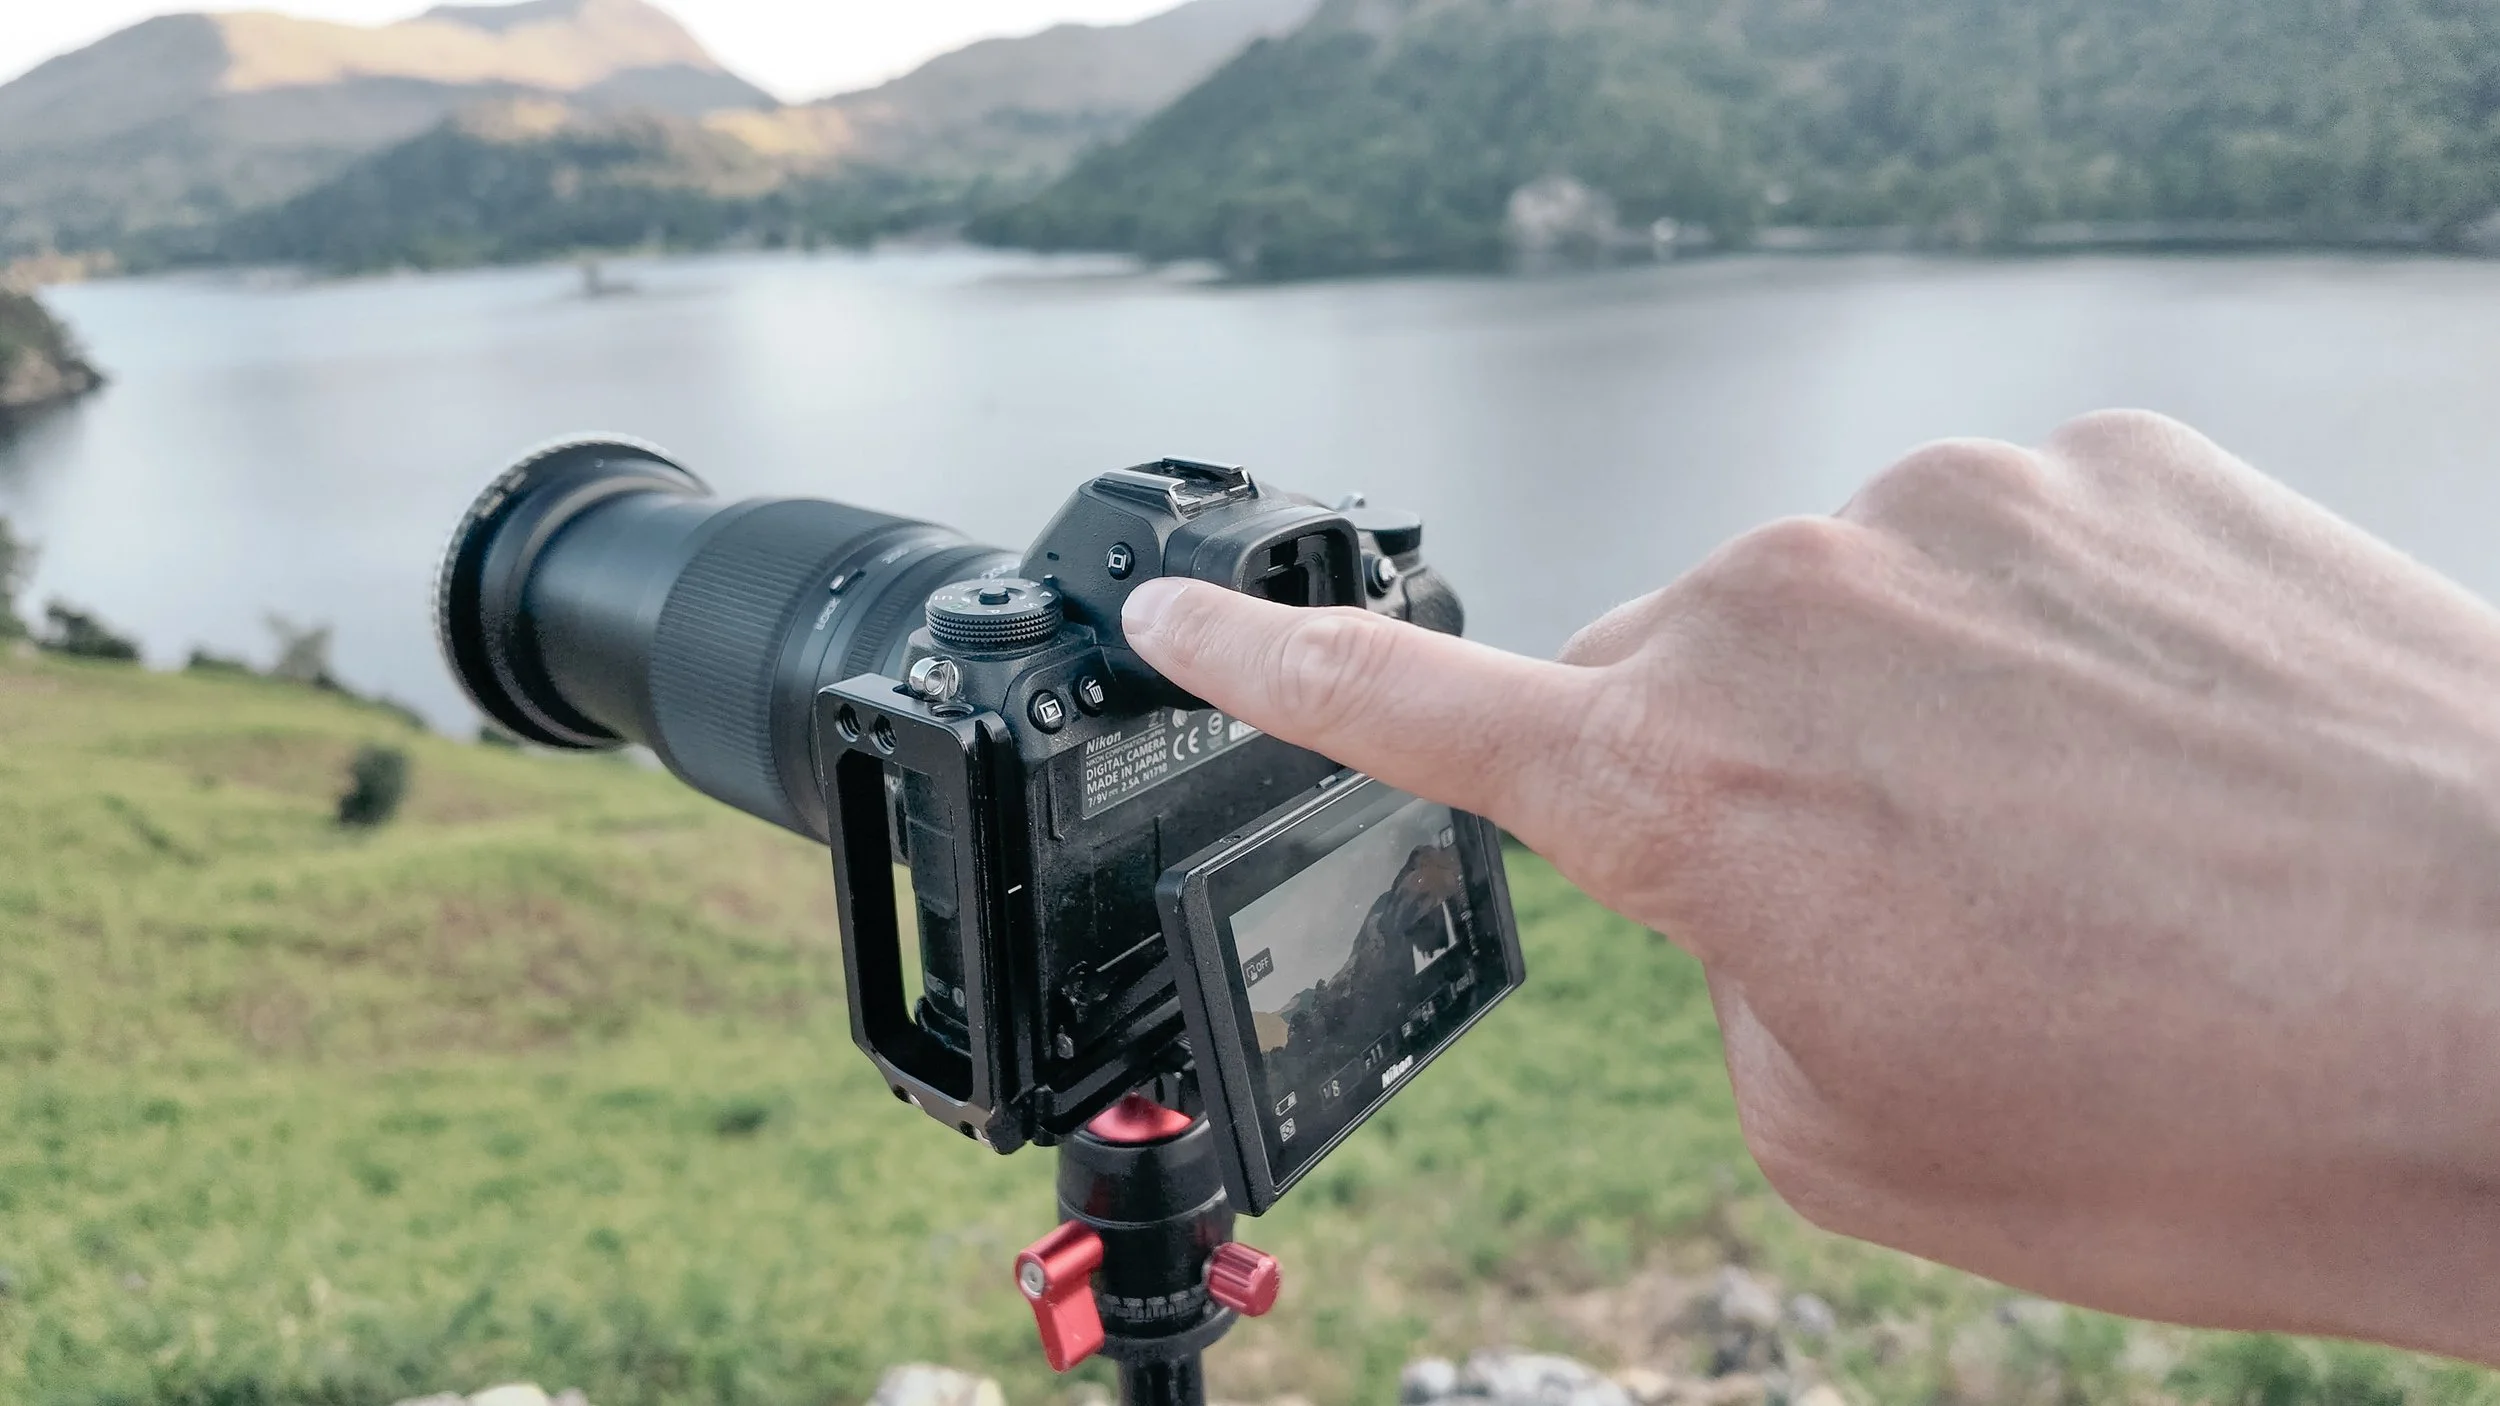
2. Enable Back Button Focus
This one changed everything for me.
Back button focus separates the act of focusing from the shutter release.
Instead of pressing the shutter halfway to focus, I press a dedicated button on the back of the camera.
The shutter now just takes the image. That is all.
It gives me peace of mind. I can lock focus, recompose the frame and take multiple shots without worrying about the focus shifting.
It’s especially useful when I’m shooting a panorama or working on something that needs precision.
Tip: Give yourself a few days to get used to it. Once it clicks, you will wonder how you ever shot without it.
I use the “AF-ON” button to activate autofocus.
3. Assign a Button for Focus Magnification
Sharpness matters. Especially in landscape photography.
To help with that, I assign one of my custom buttons to zoom in at one hundred percent. Either on the LCD or in the electronic viewfinder.
Even when I ‘m shooting handheld, I’ll use it.
I look through the viewfinder, press my custom button, and it zooms in. Then I hit the back button focus. I can actually see the subject snap into focus.
It is such a simple trick, but it helps so much. I rarely miss focus now. It’s that reliable.
Why it helps: This little adjustment removes the doubt. You know exactly what is sharp before you press the shutter.
Download my free sharpness guide here: 15 Page PDF

I used the ‘OK’ button to instantly magnify in to 100% on my focal point which, in this case, was the foreground trees.
4. Quick Aspect Ratio Toggle
I used to dive through the menu every time I wanted to change the aspect ratio. It was clunky. And in fast moving conditions, it was just not practical.
Now, I assign a button to do it. I use my video record button. When I press and hold it, I can scroll through my aspect ratio options with the control dial.
This means I can instantly switch between 3:2, 16:9, square, and more. It helps me visualise the final image while I ‘m still on location.
It also helps when I’m composing with a print or a particular format in mind.
Quick win: Set up a custom button to change aspect ratio on the fly. It keeps you focused on the light and the composition.
5. Manual LCD and Viewfinder Switch
This one used to drive me mad!
Most cameras come with an automatic setting that switches between the rear screen and the viewfinder. It uses a little sensor to detect when your face is near the viewfinder.
Sounds clever. But in practice, it often gets in the way.
When I shoot low to the ground, or when my hand goes near the viewfinder, the screen switches off. It breaks my rhythm.
So I switch that setting off completely. I now have full manual control over when the viewfinder or LCD is in use.
It’s a tiny change. But it removes a major source of frustration.
Annoying by default: Set it manually. Your camera should not decide when the screen turns off. You should!
This tiny button allows me to switch instantly.
Final Thoughts
These five settings might not seem like much on paper.
But together, they change everything.
They let me work faster. More intuitively. With fewer mistakes.
I can stay in the flow of creating without getting distracted by fiddly controls or default behaviours.
If you have just picked up a new camera, I recommend giving these changes a go.
You might find they become part of your routine too.
If there is a setting you always change, I’d love to hear it!
Popular posts:


Free Photography eBook
Free access to my downloadable (pdf) tutorial on how to get pin-sharp images.
New / Noteworthy