
 Image 1 of 20
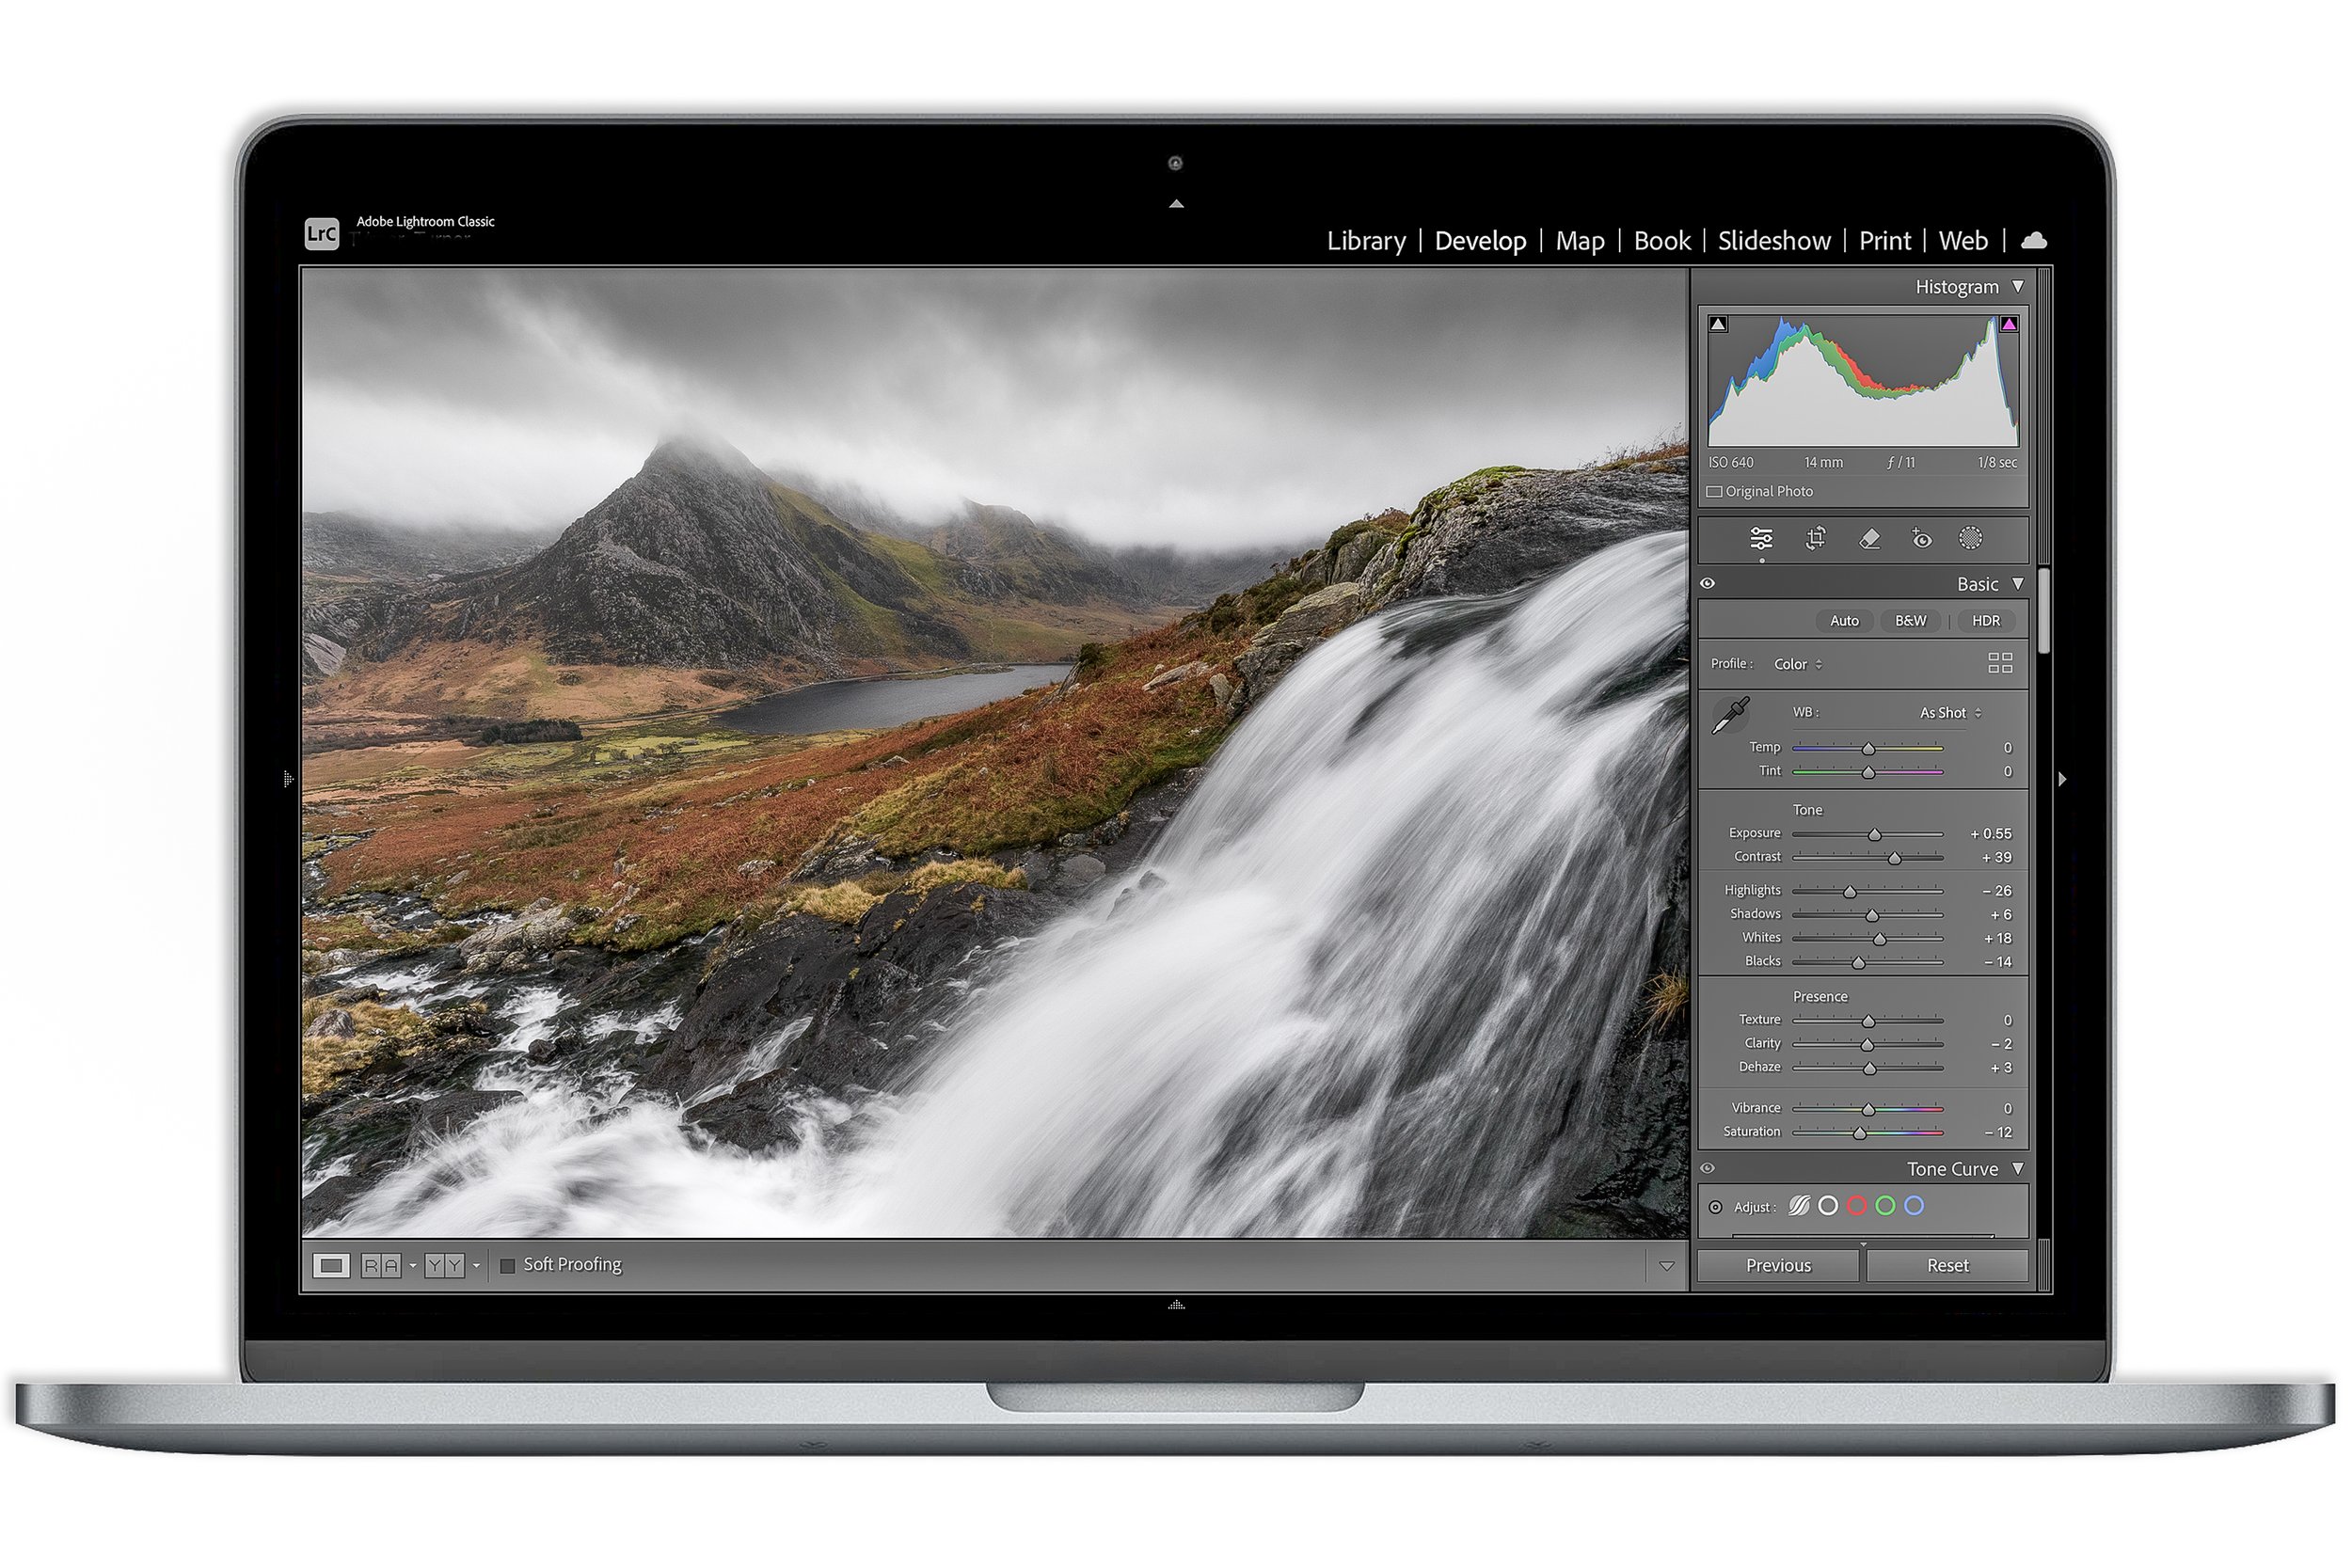 Image 2 of 20
 Image 3 of 20
 Image 4 of 20
 Image 5 of 20
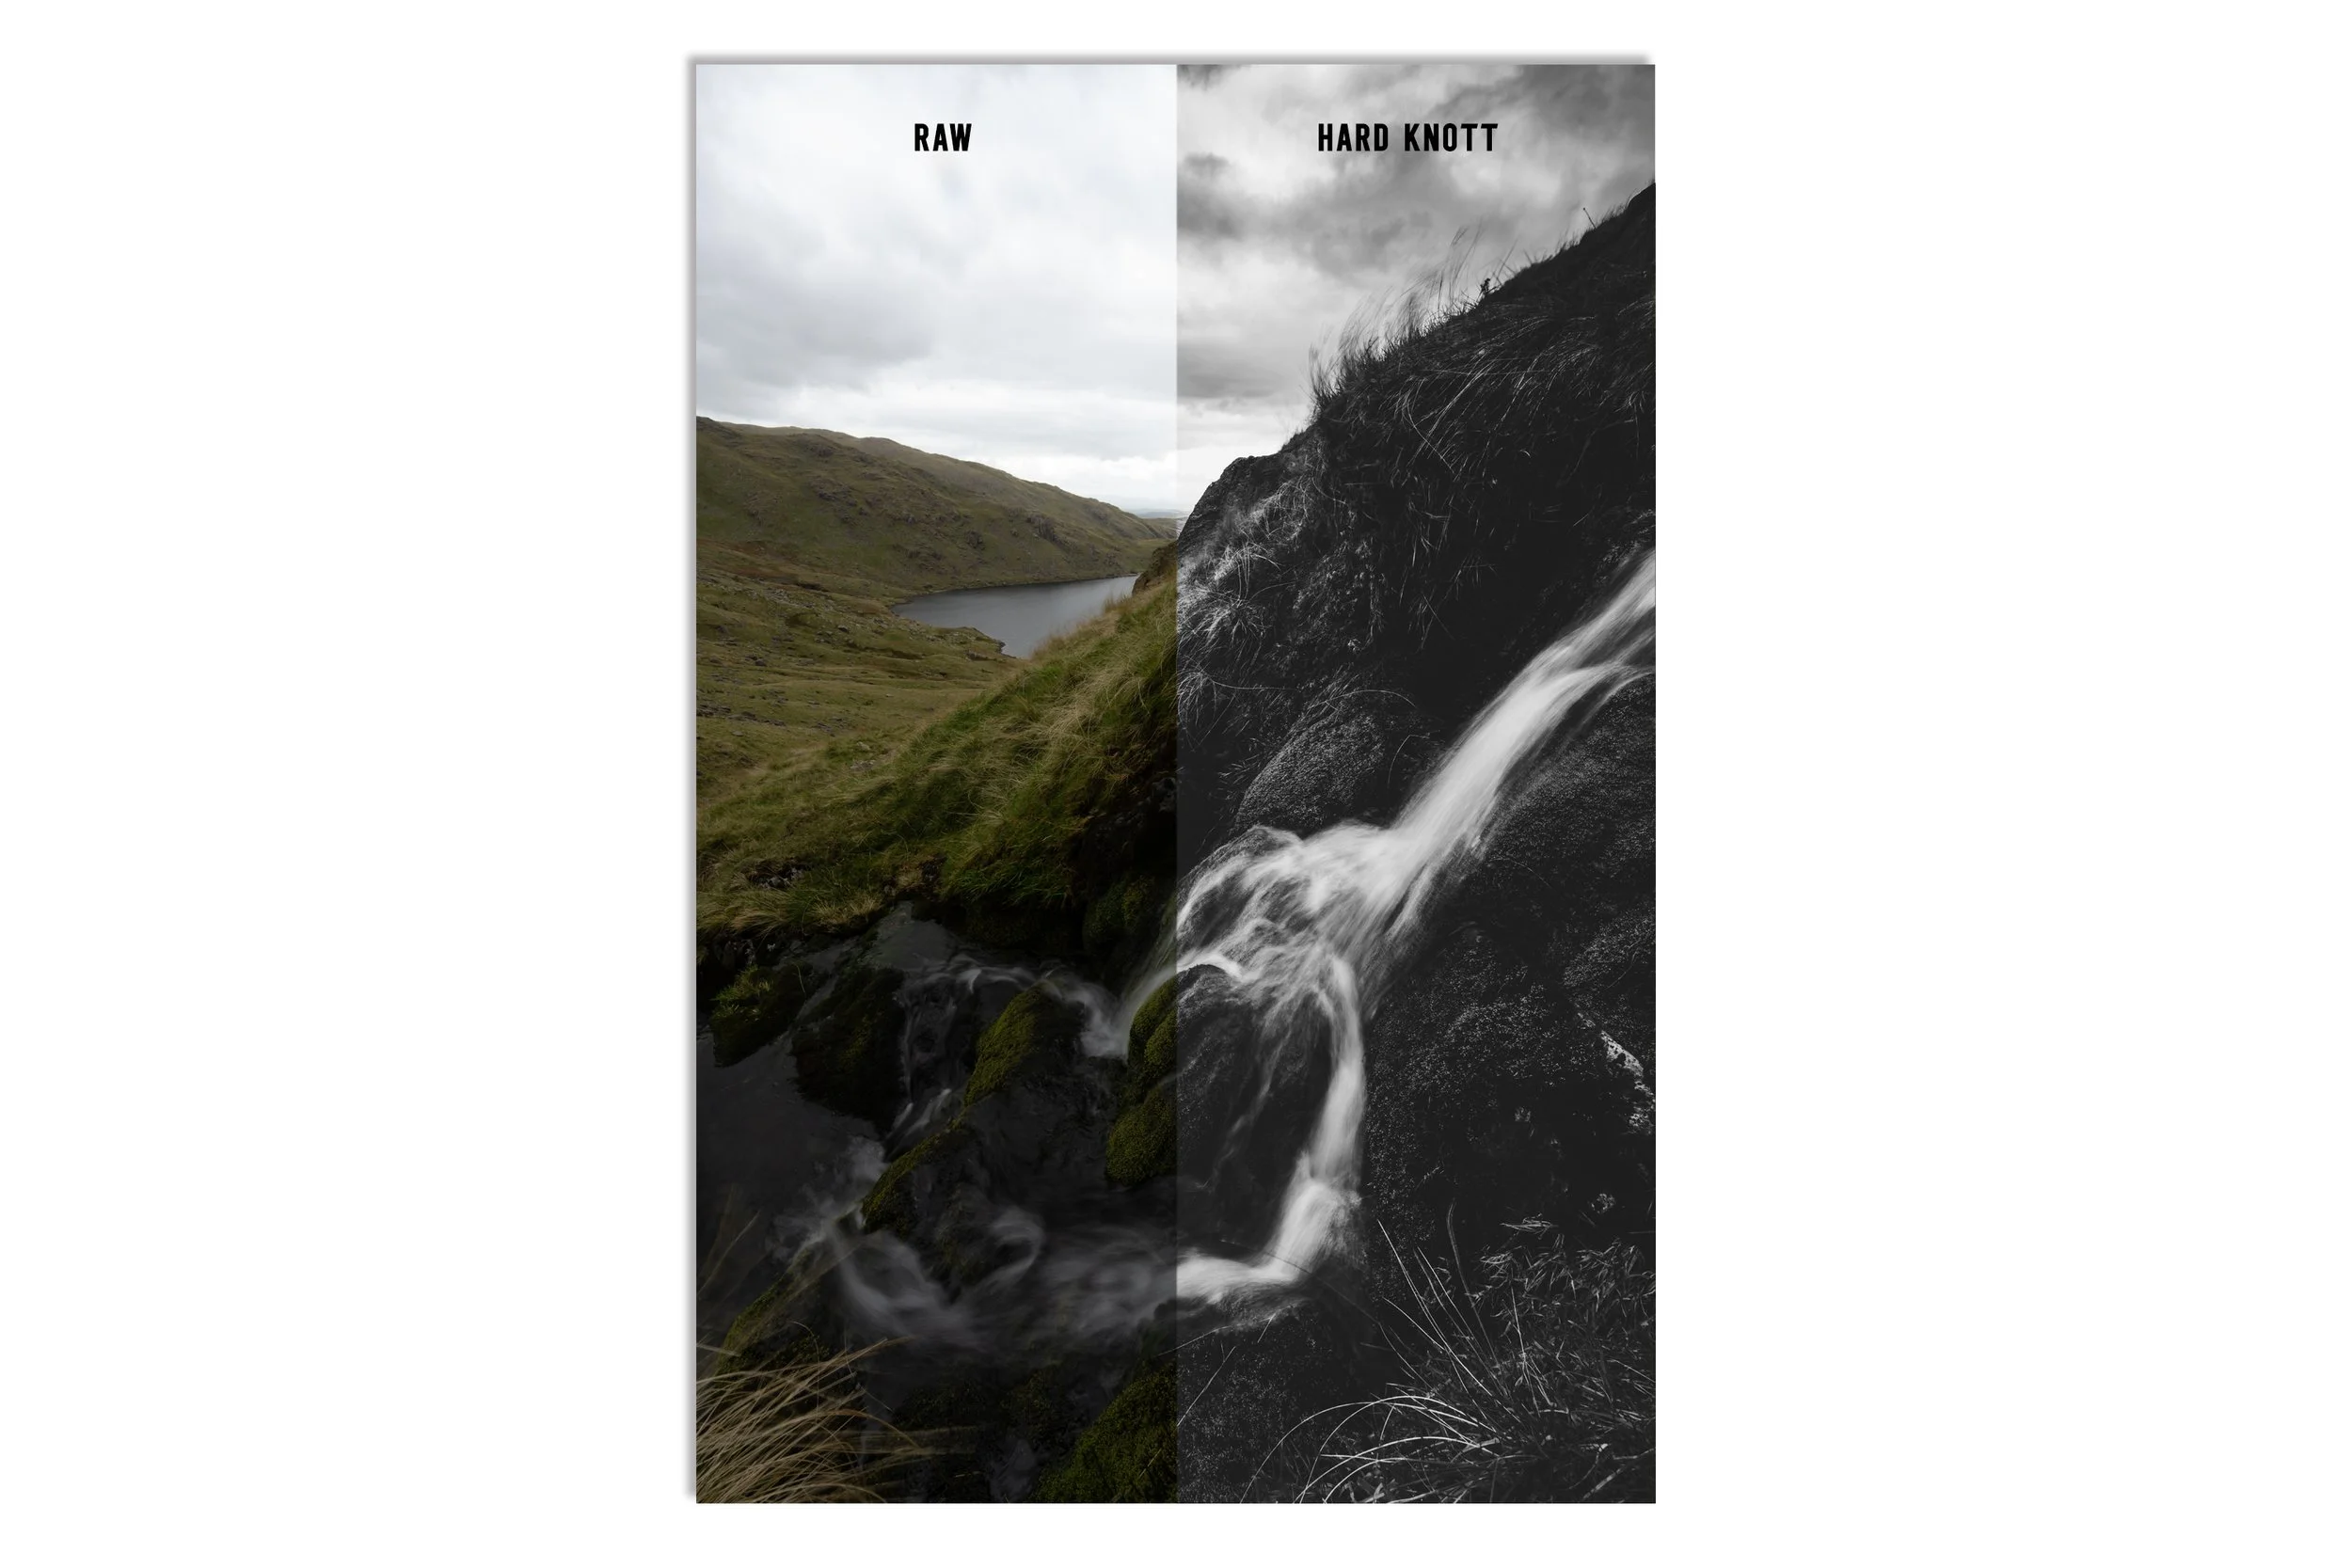 Image 6 of 20
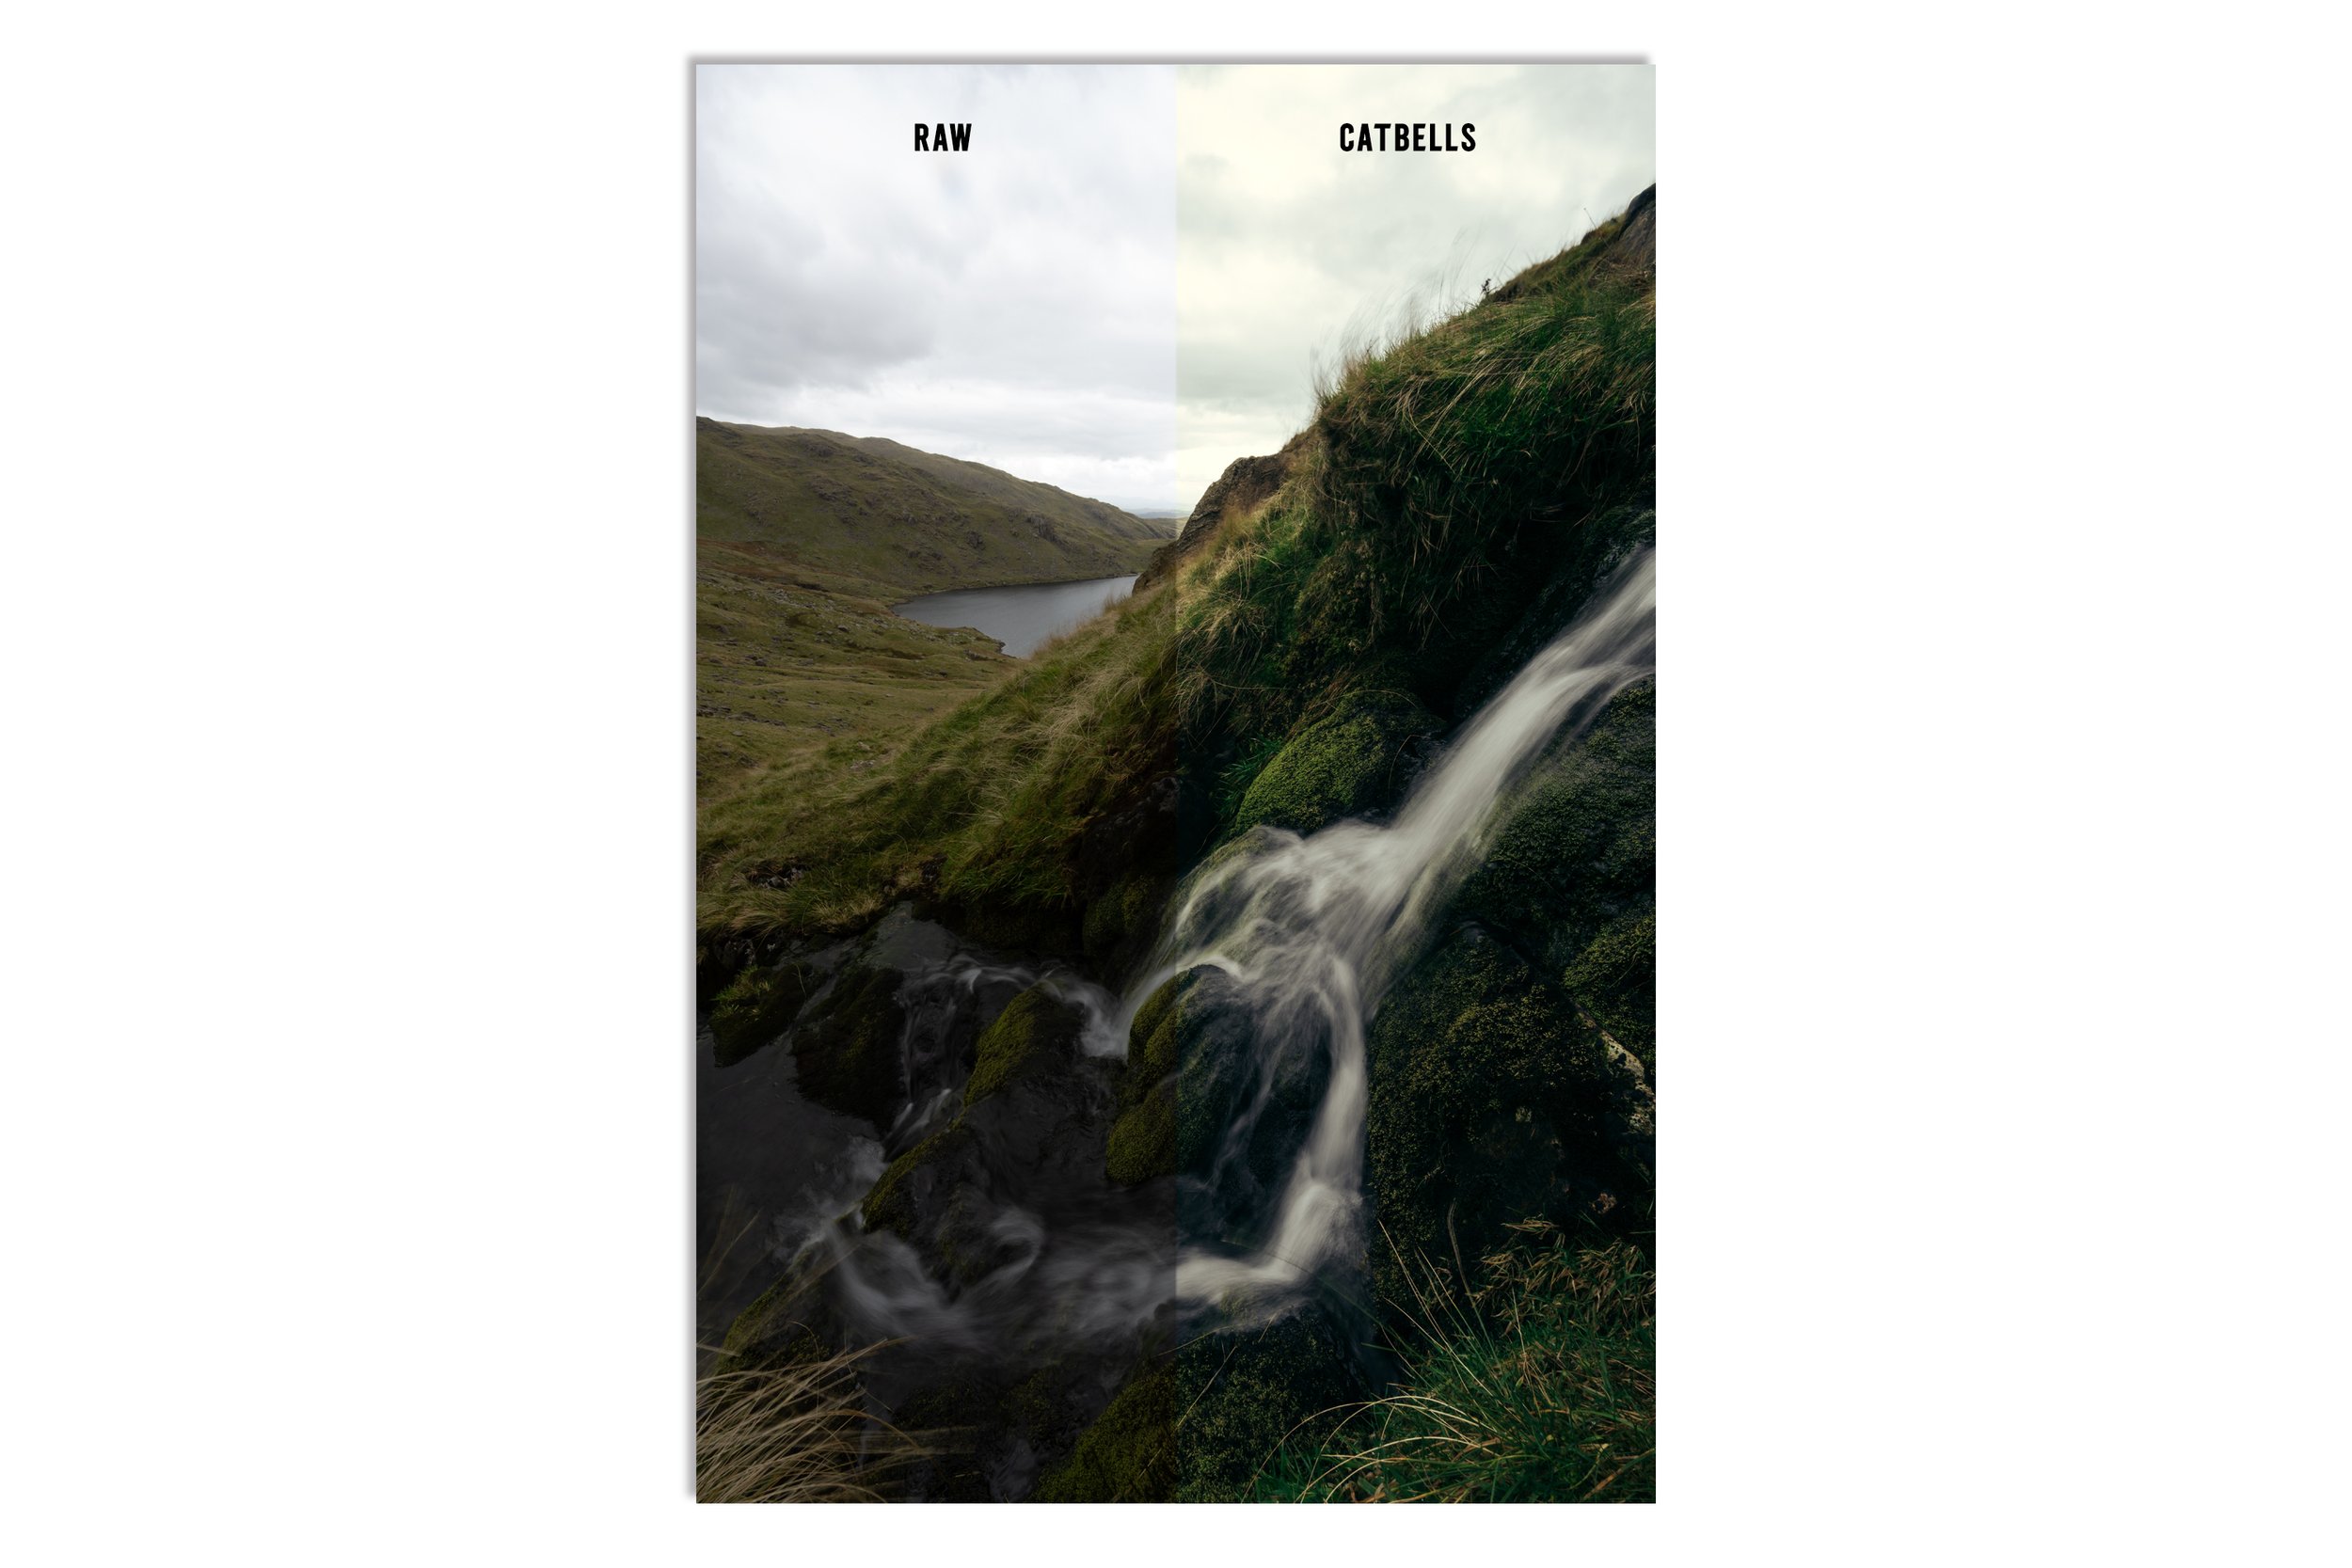 Image 7 of 20
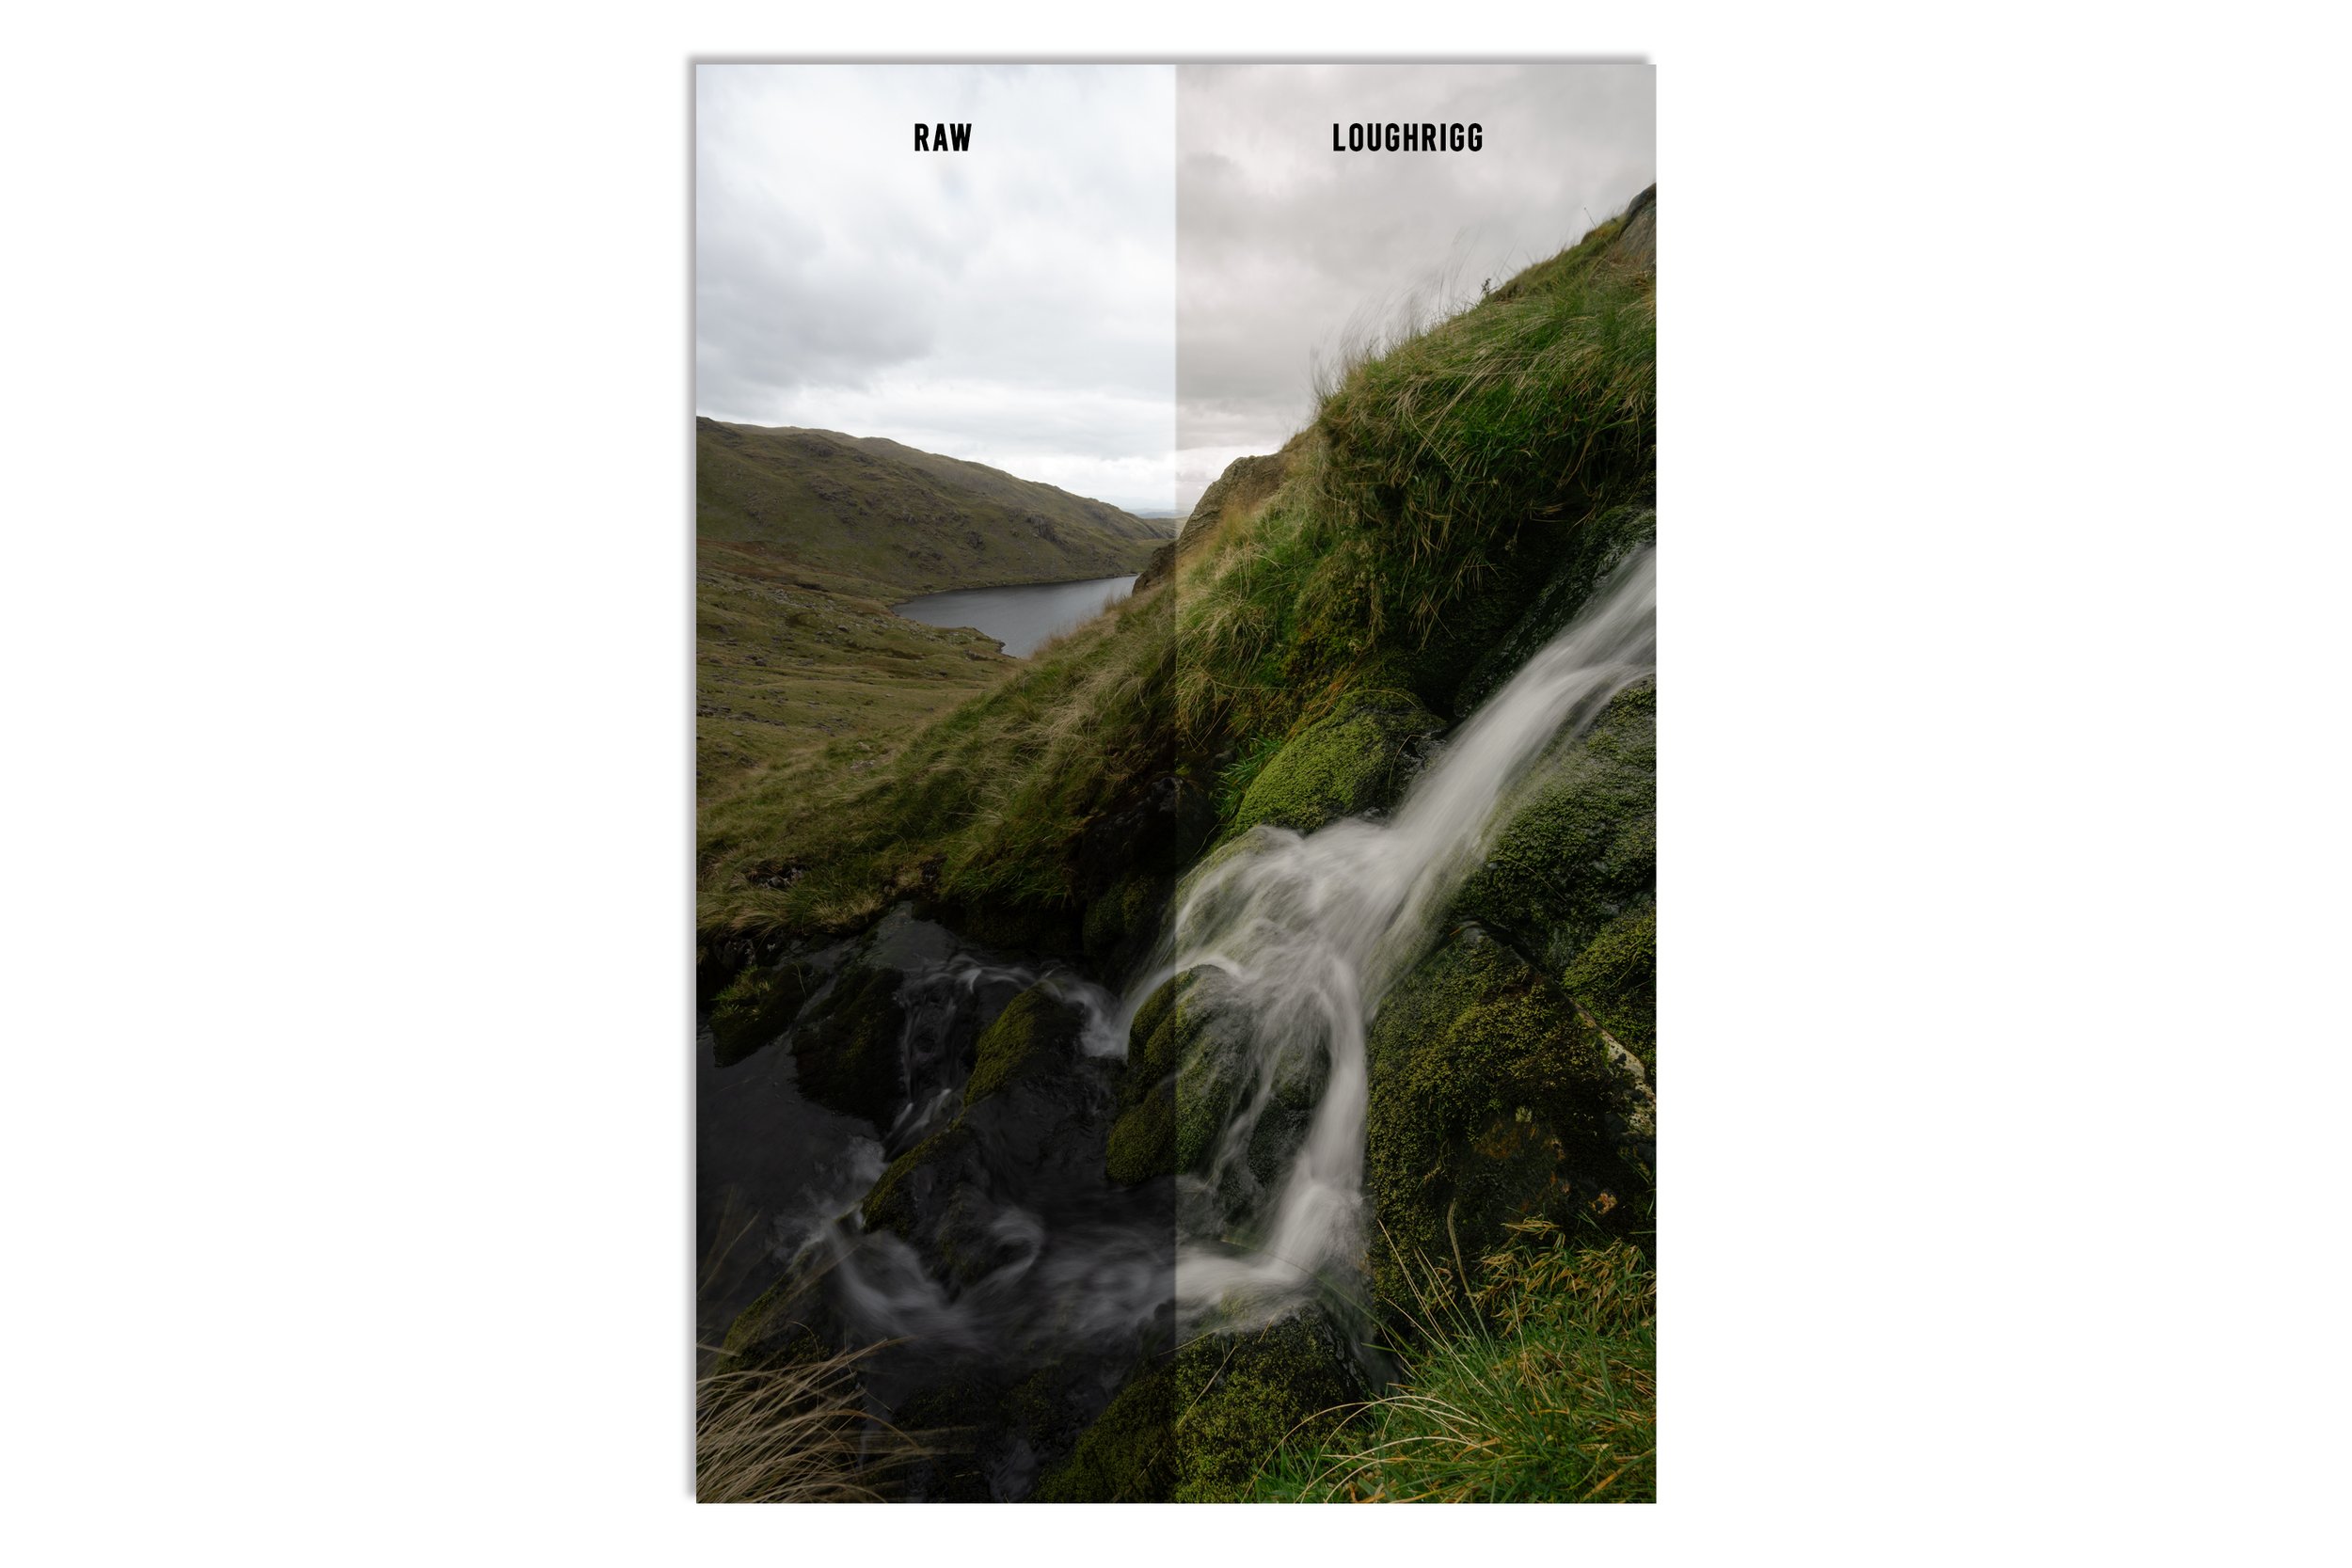 Image 8 of 20
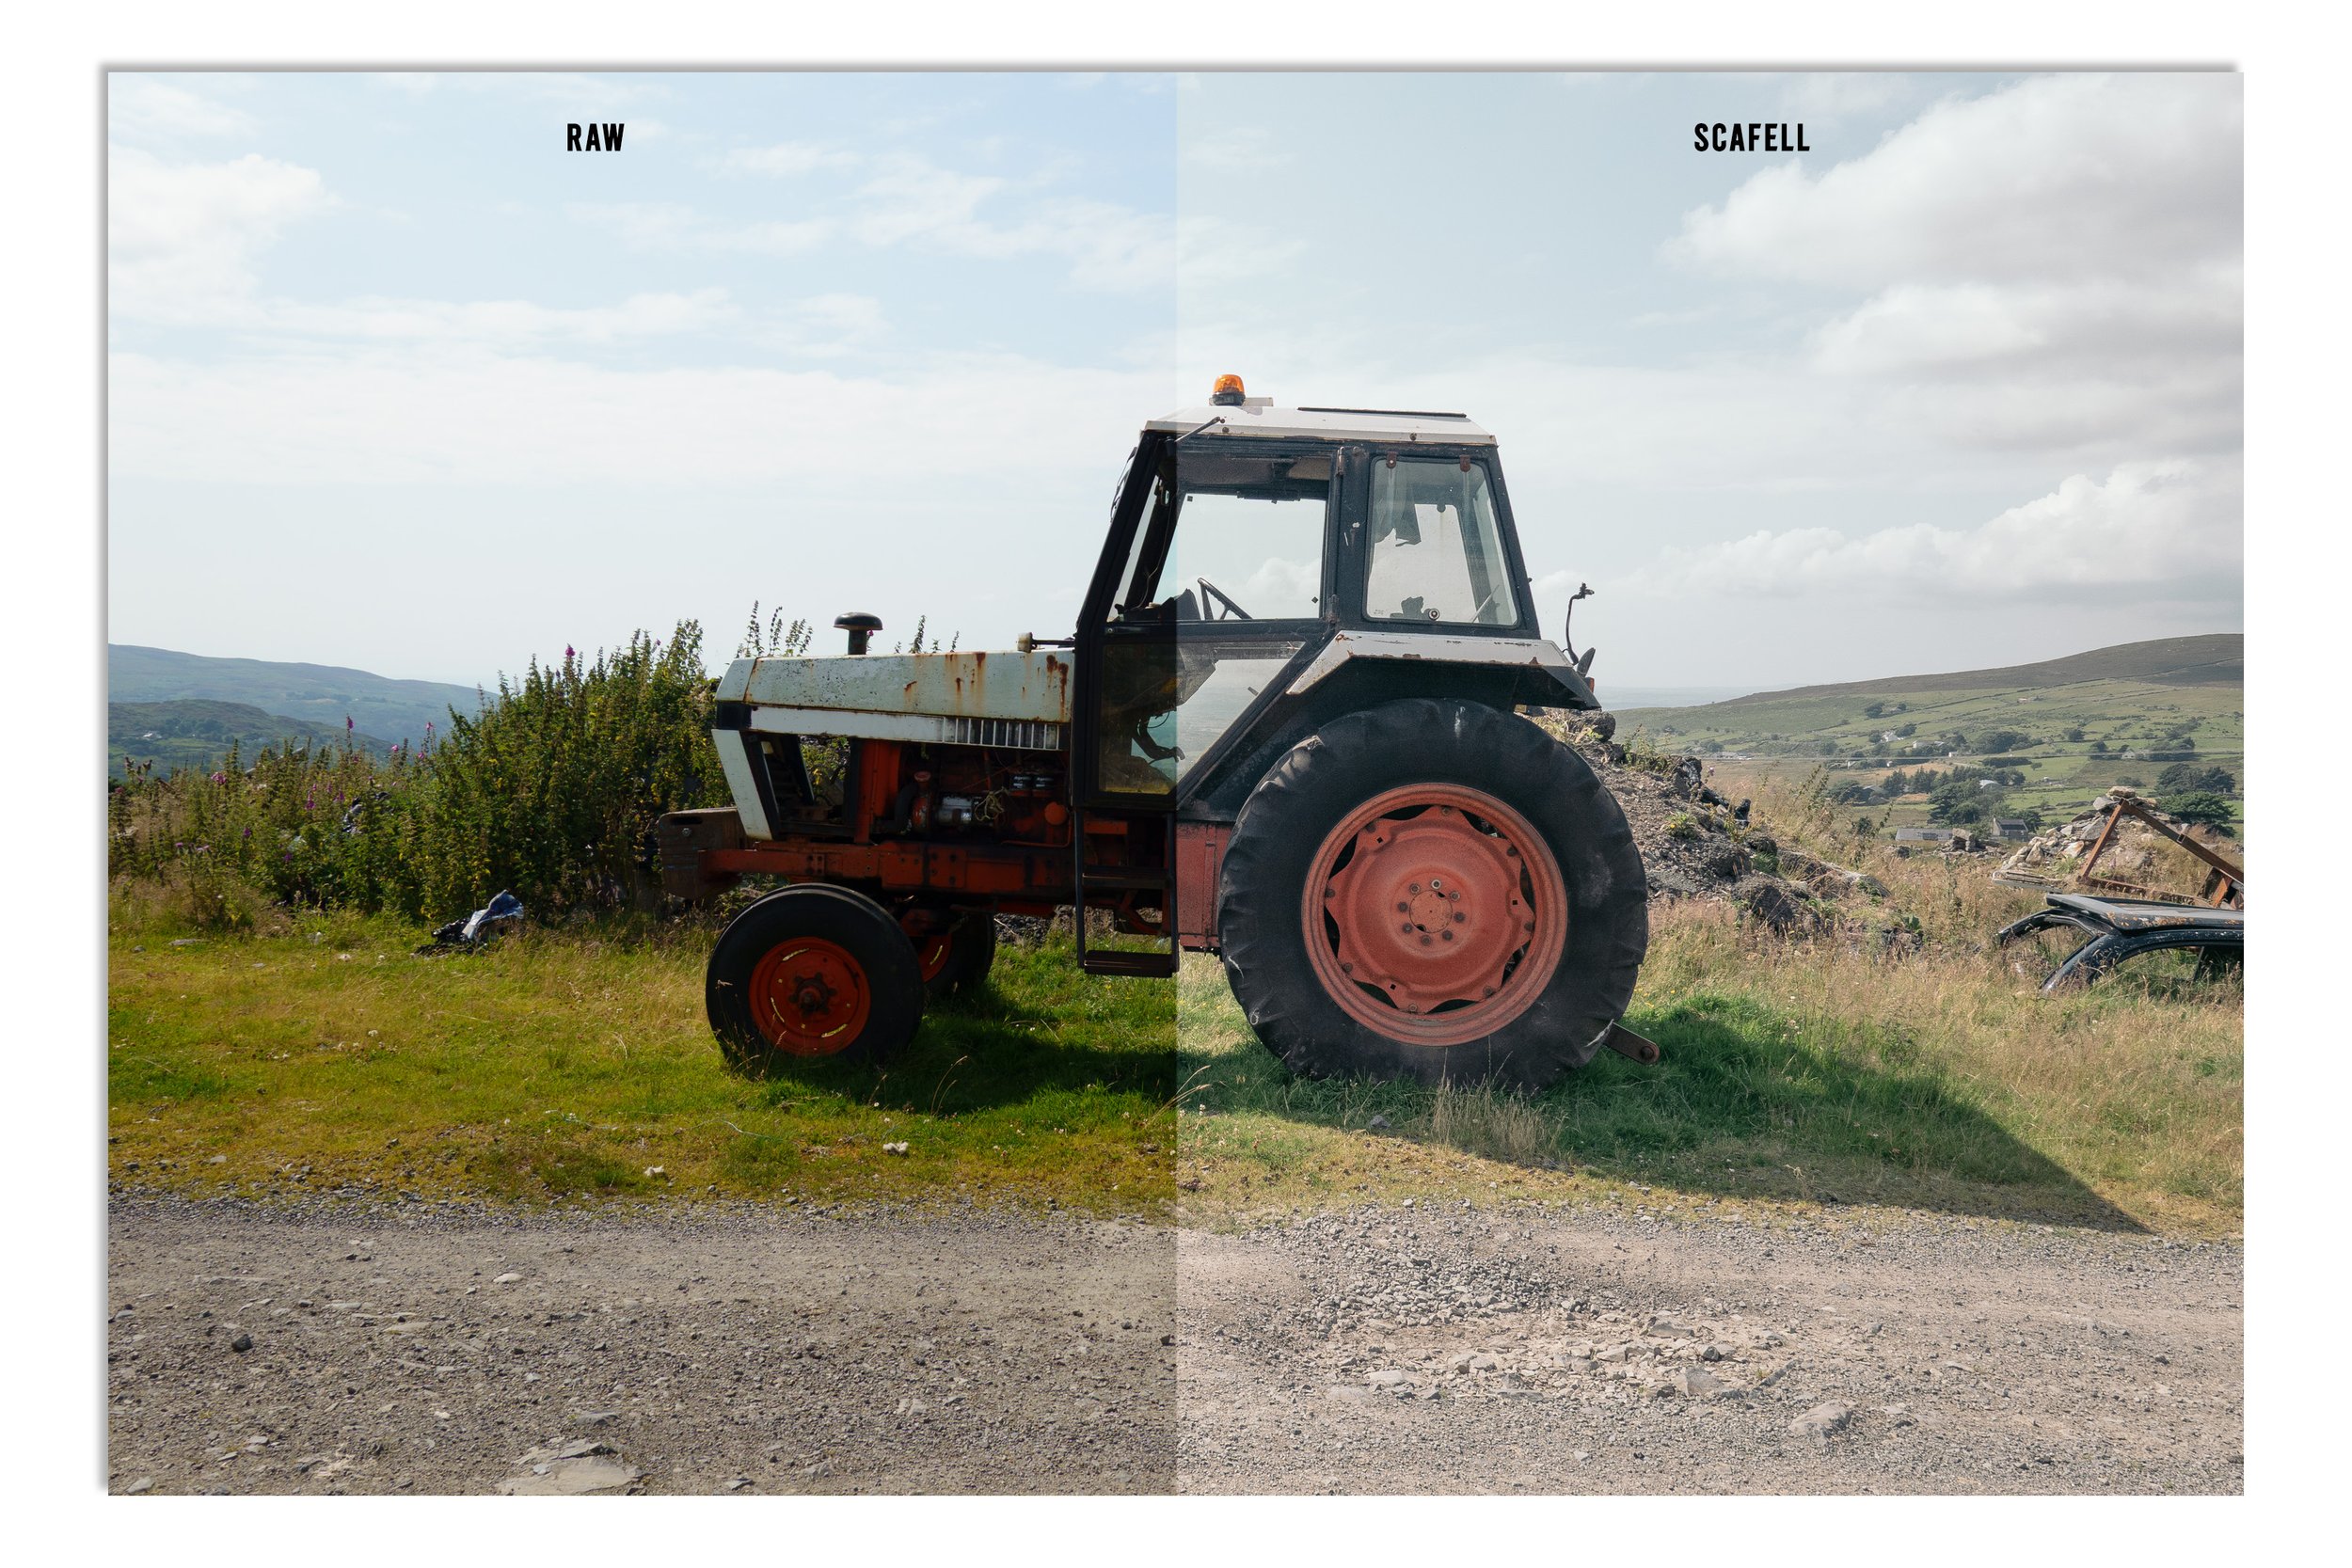 Image 9 of 20
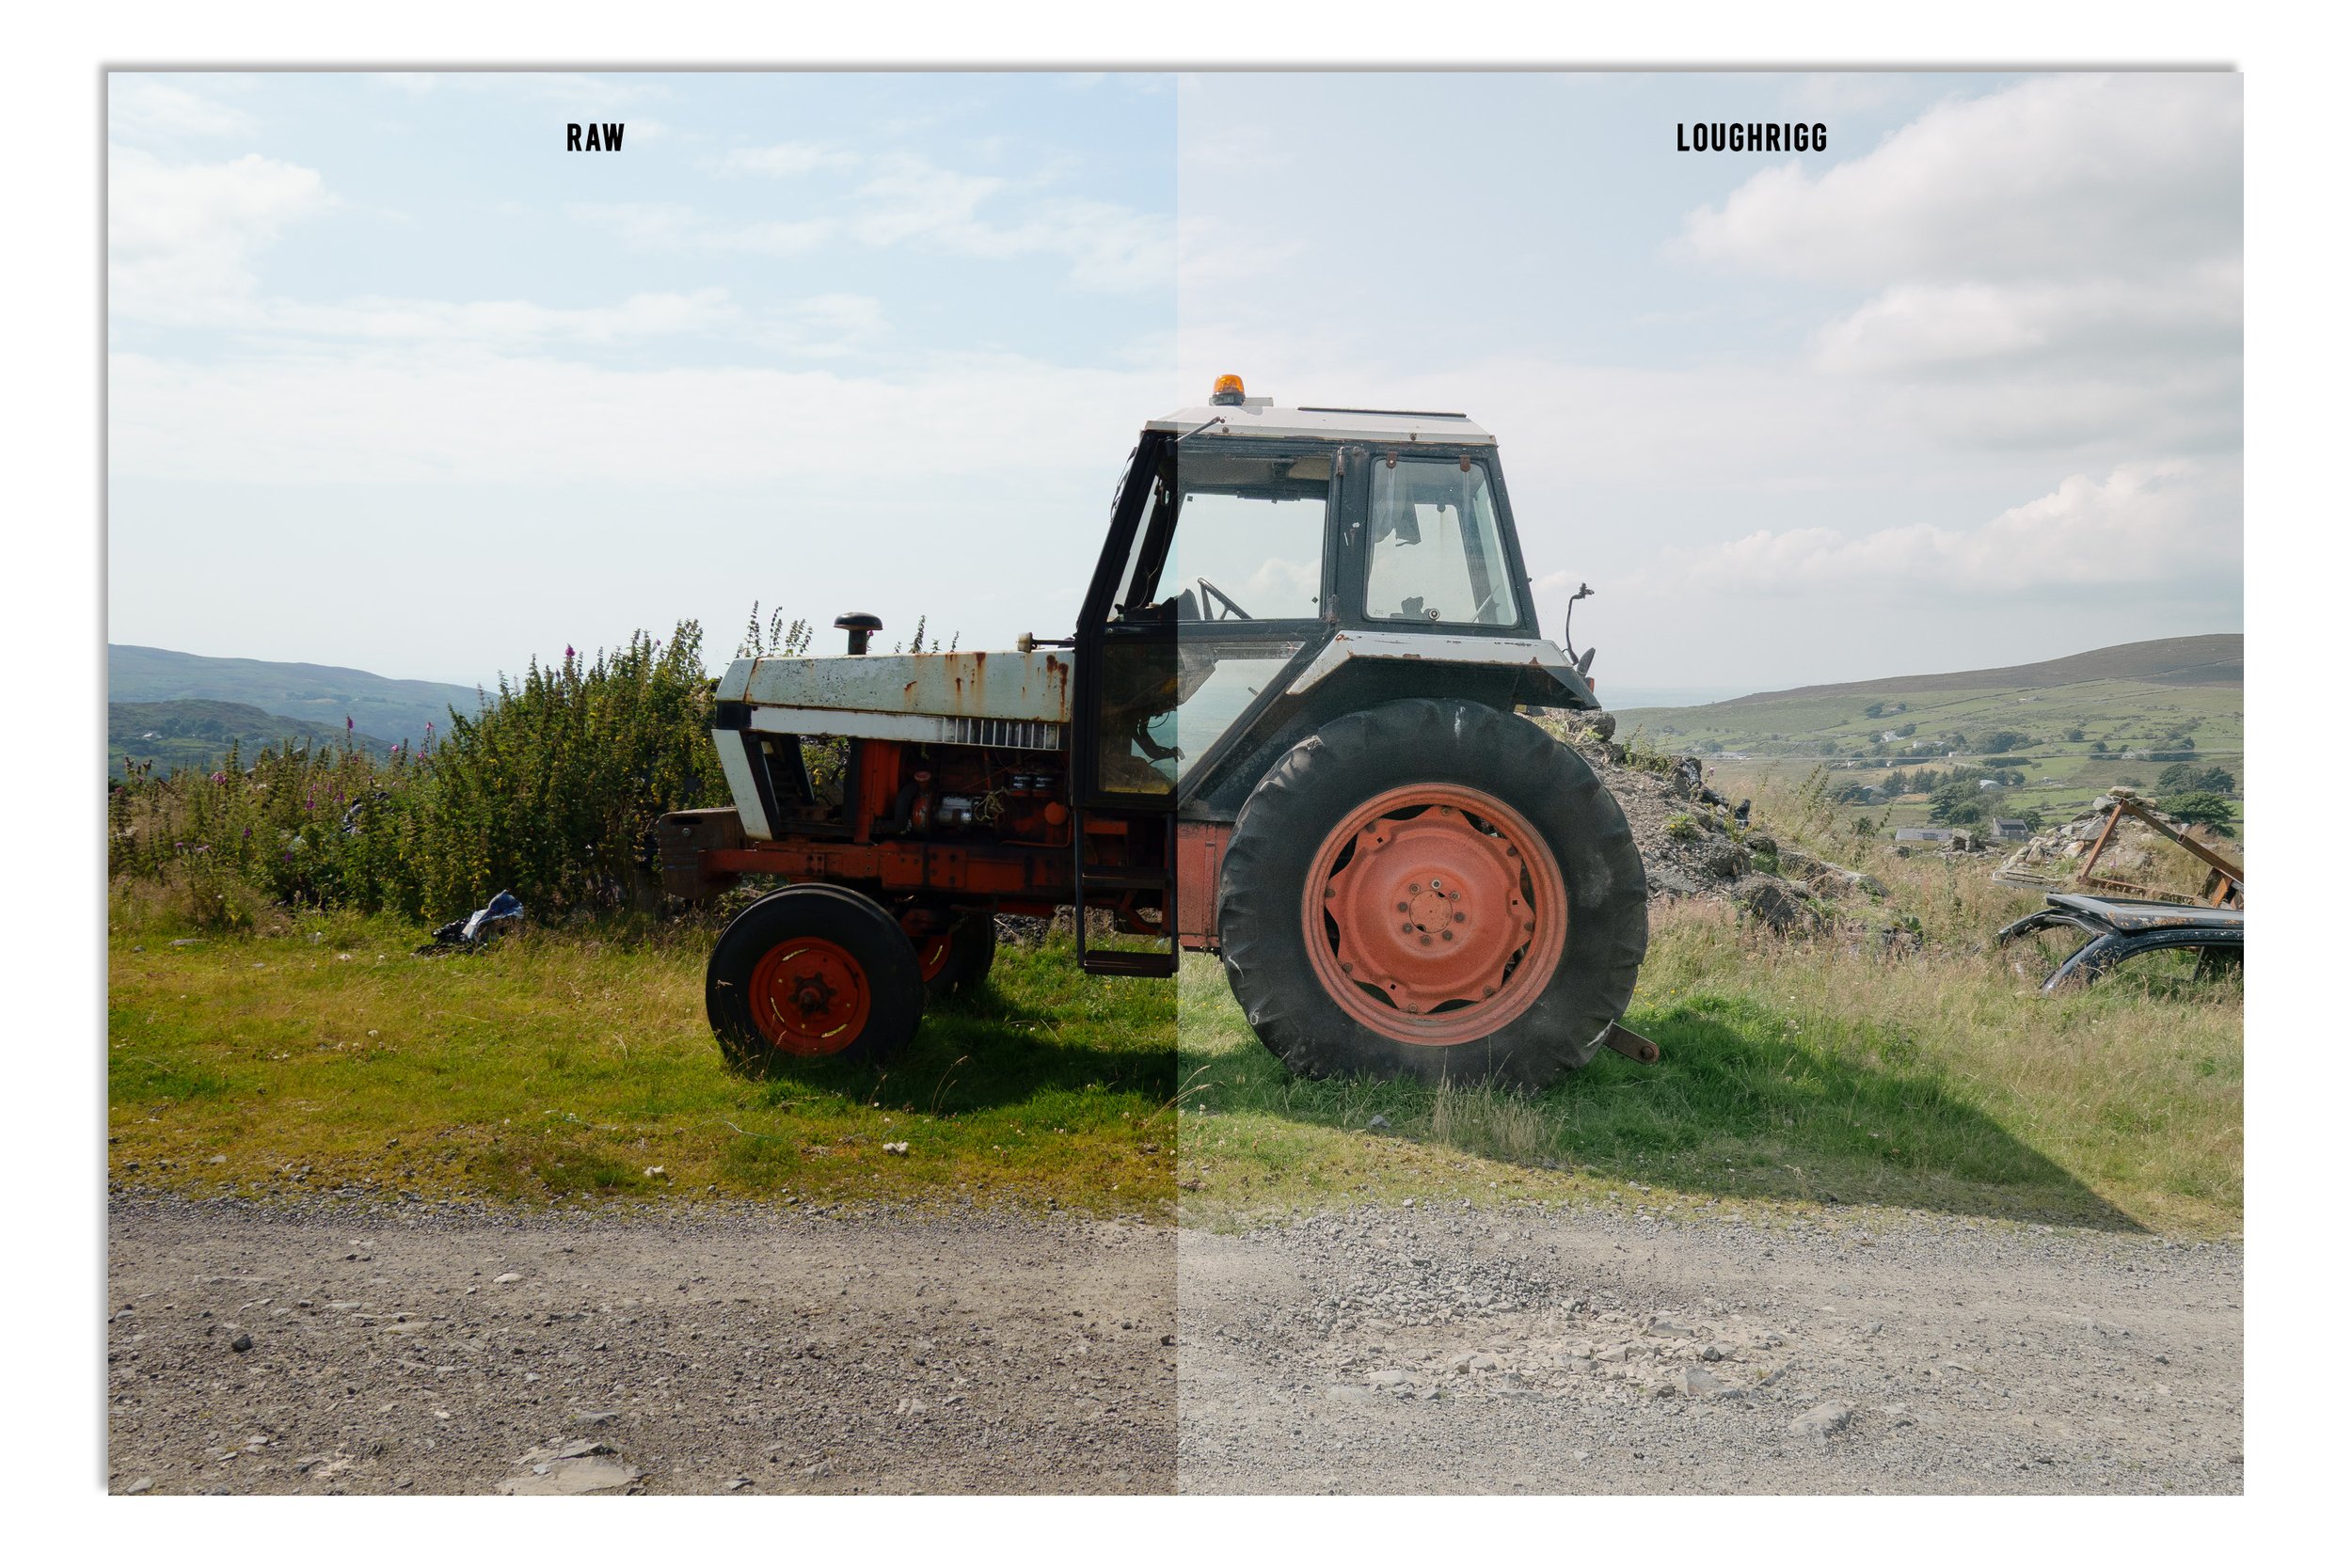 Image 10 of 20
 Image 11 of 20
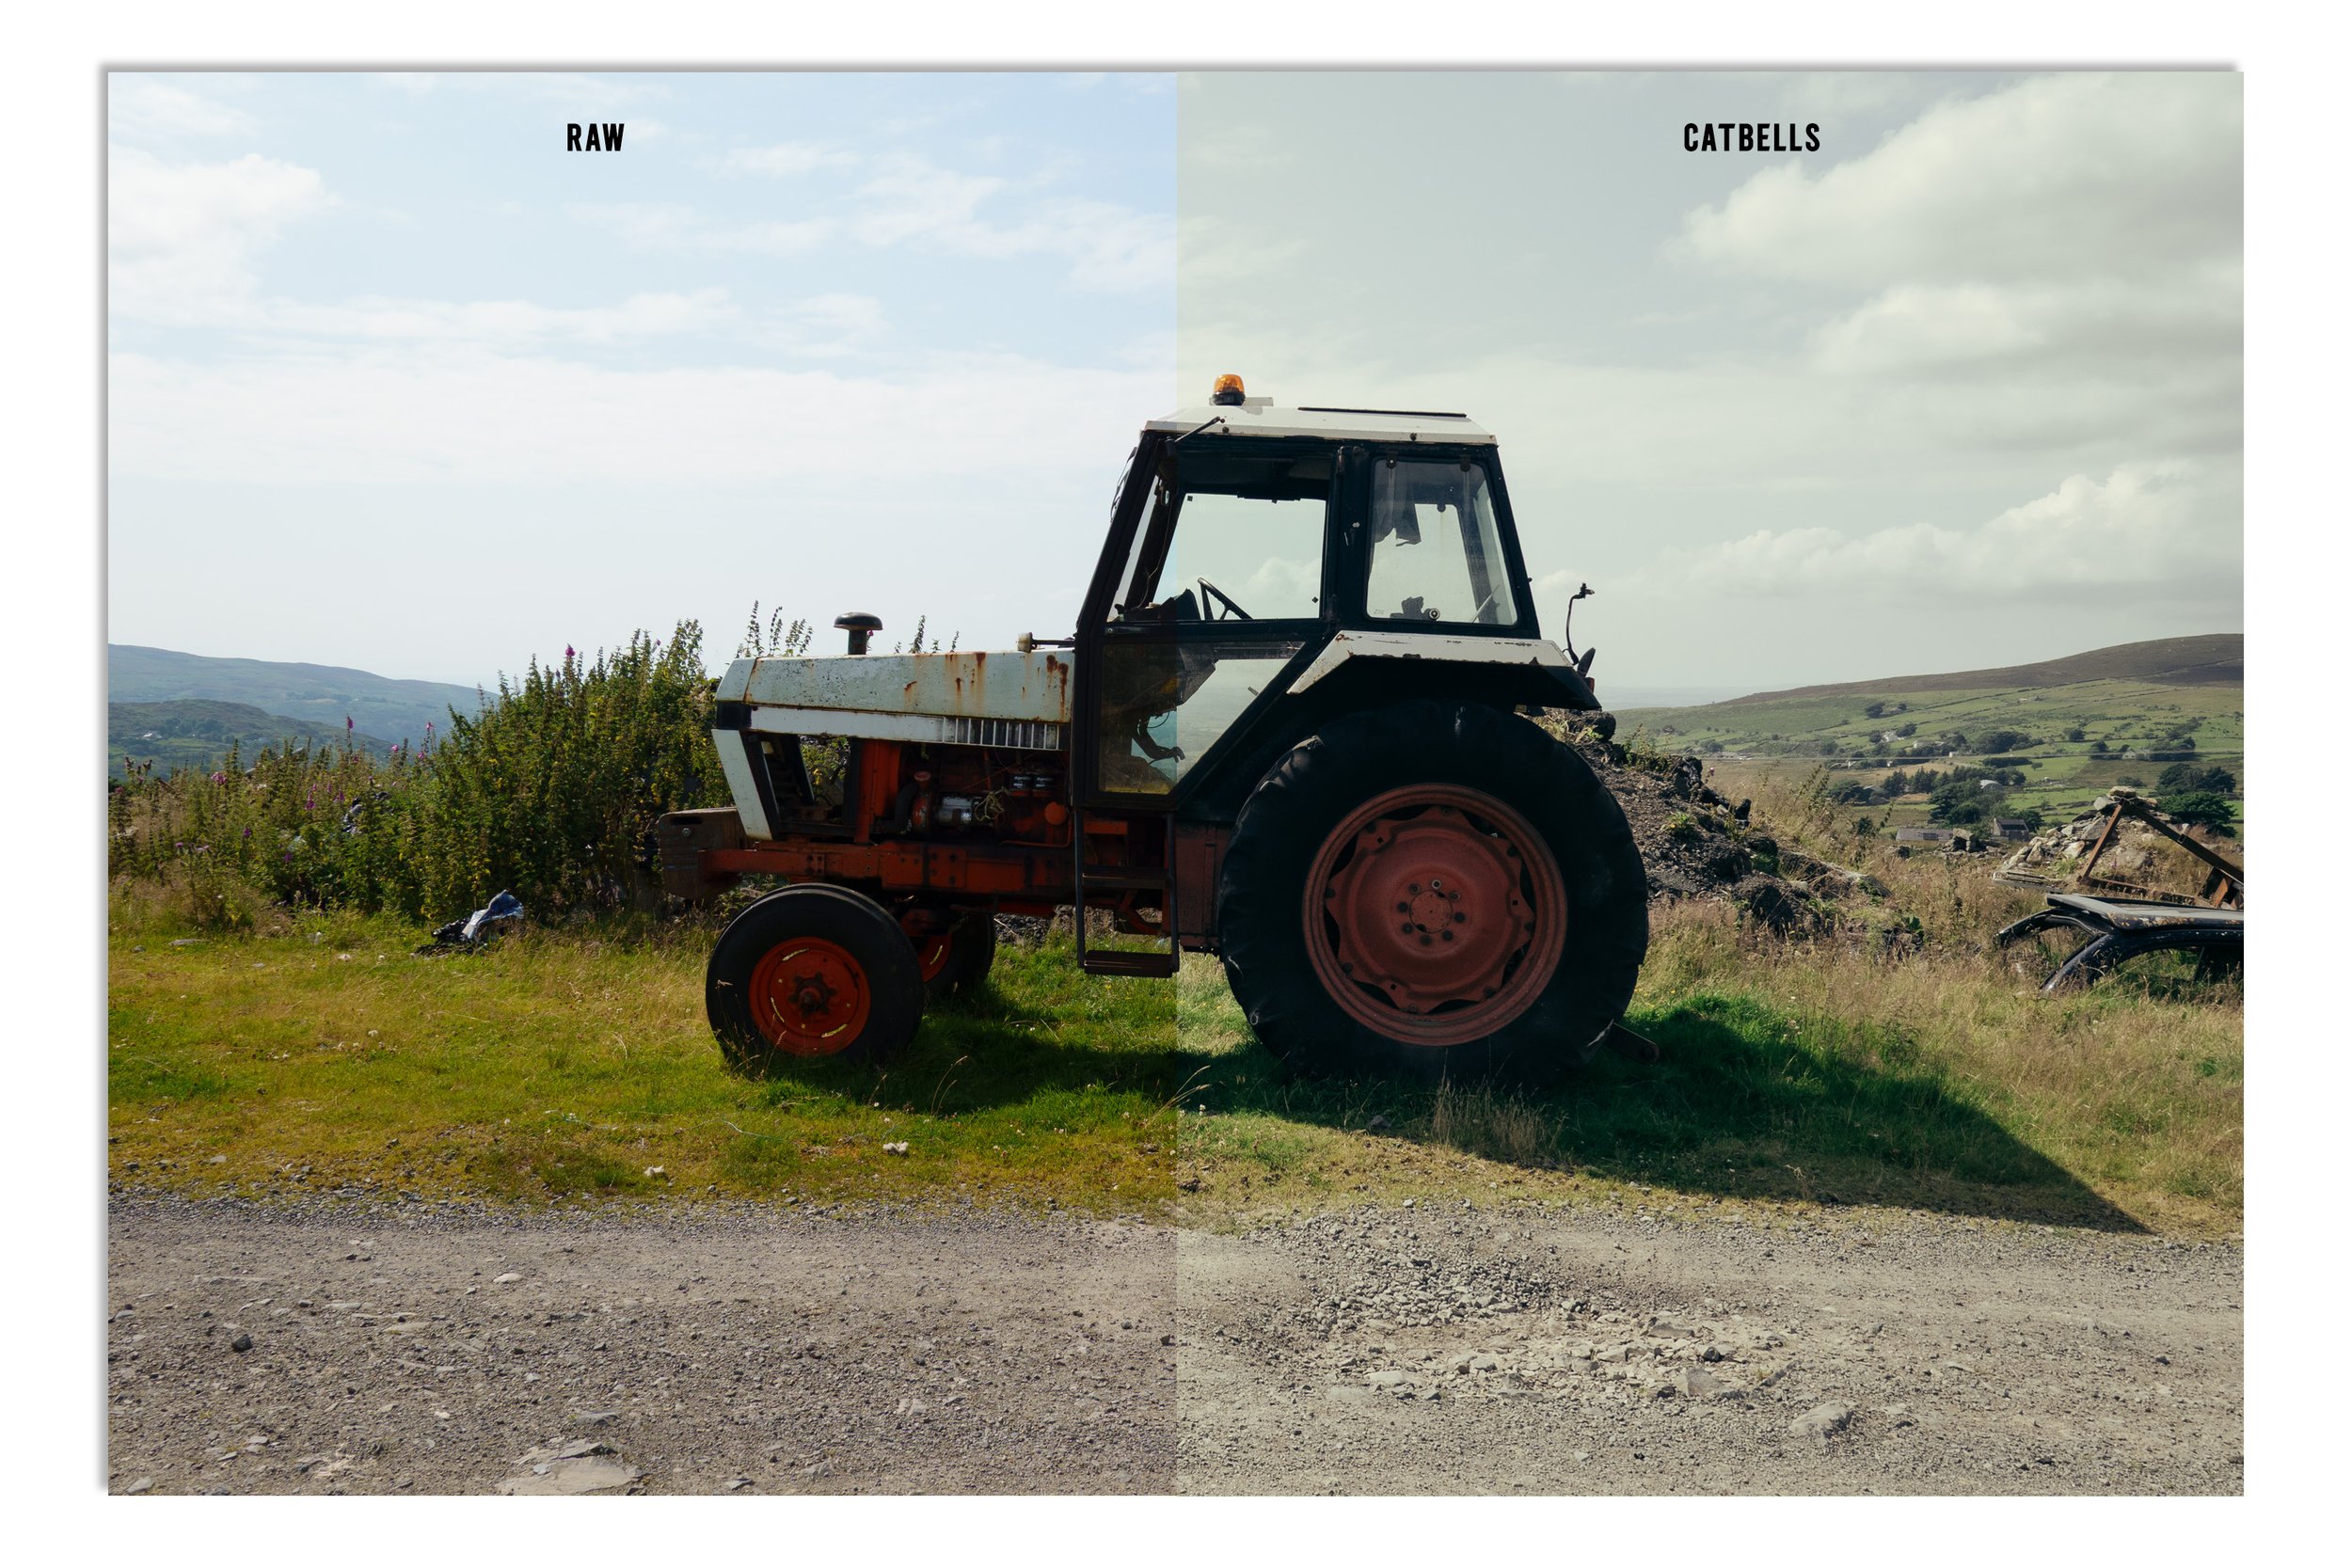 Image 12 of 20
 Image 13 of 20
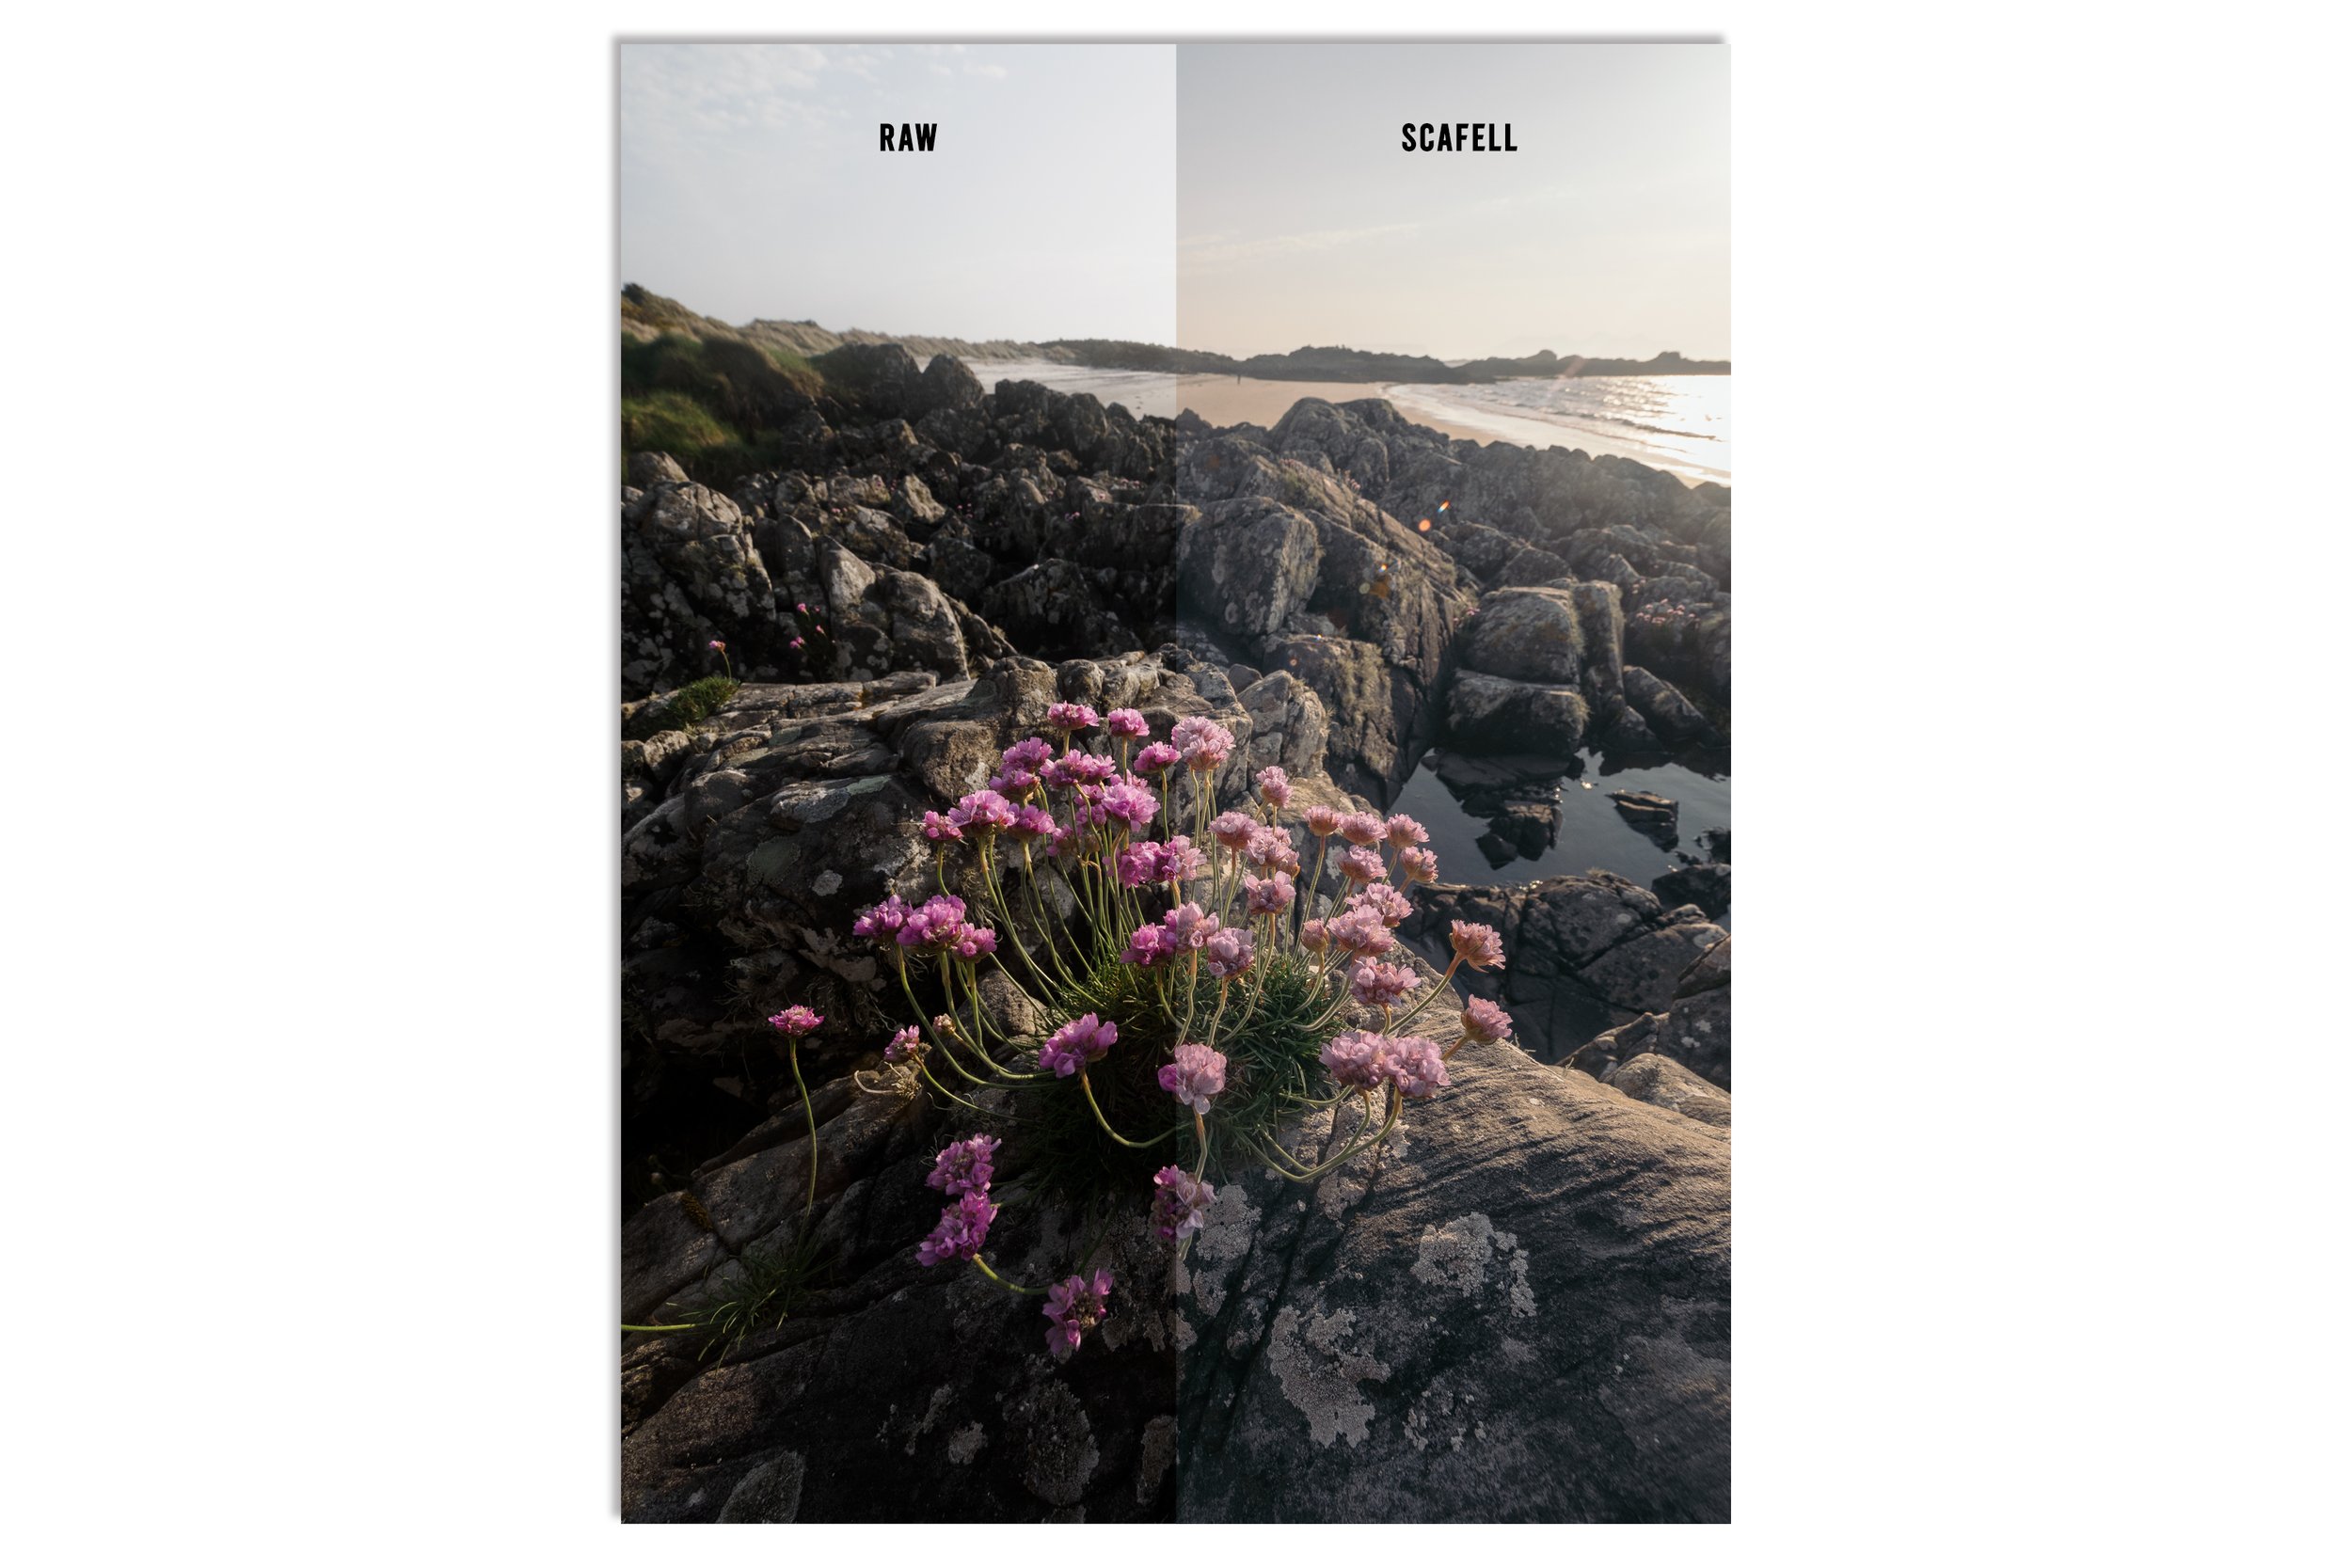 Image 14 of 20
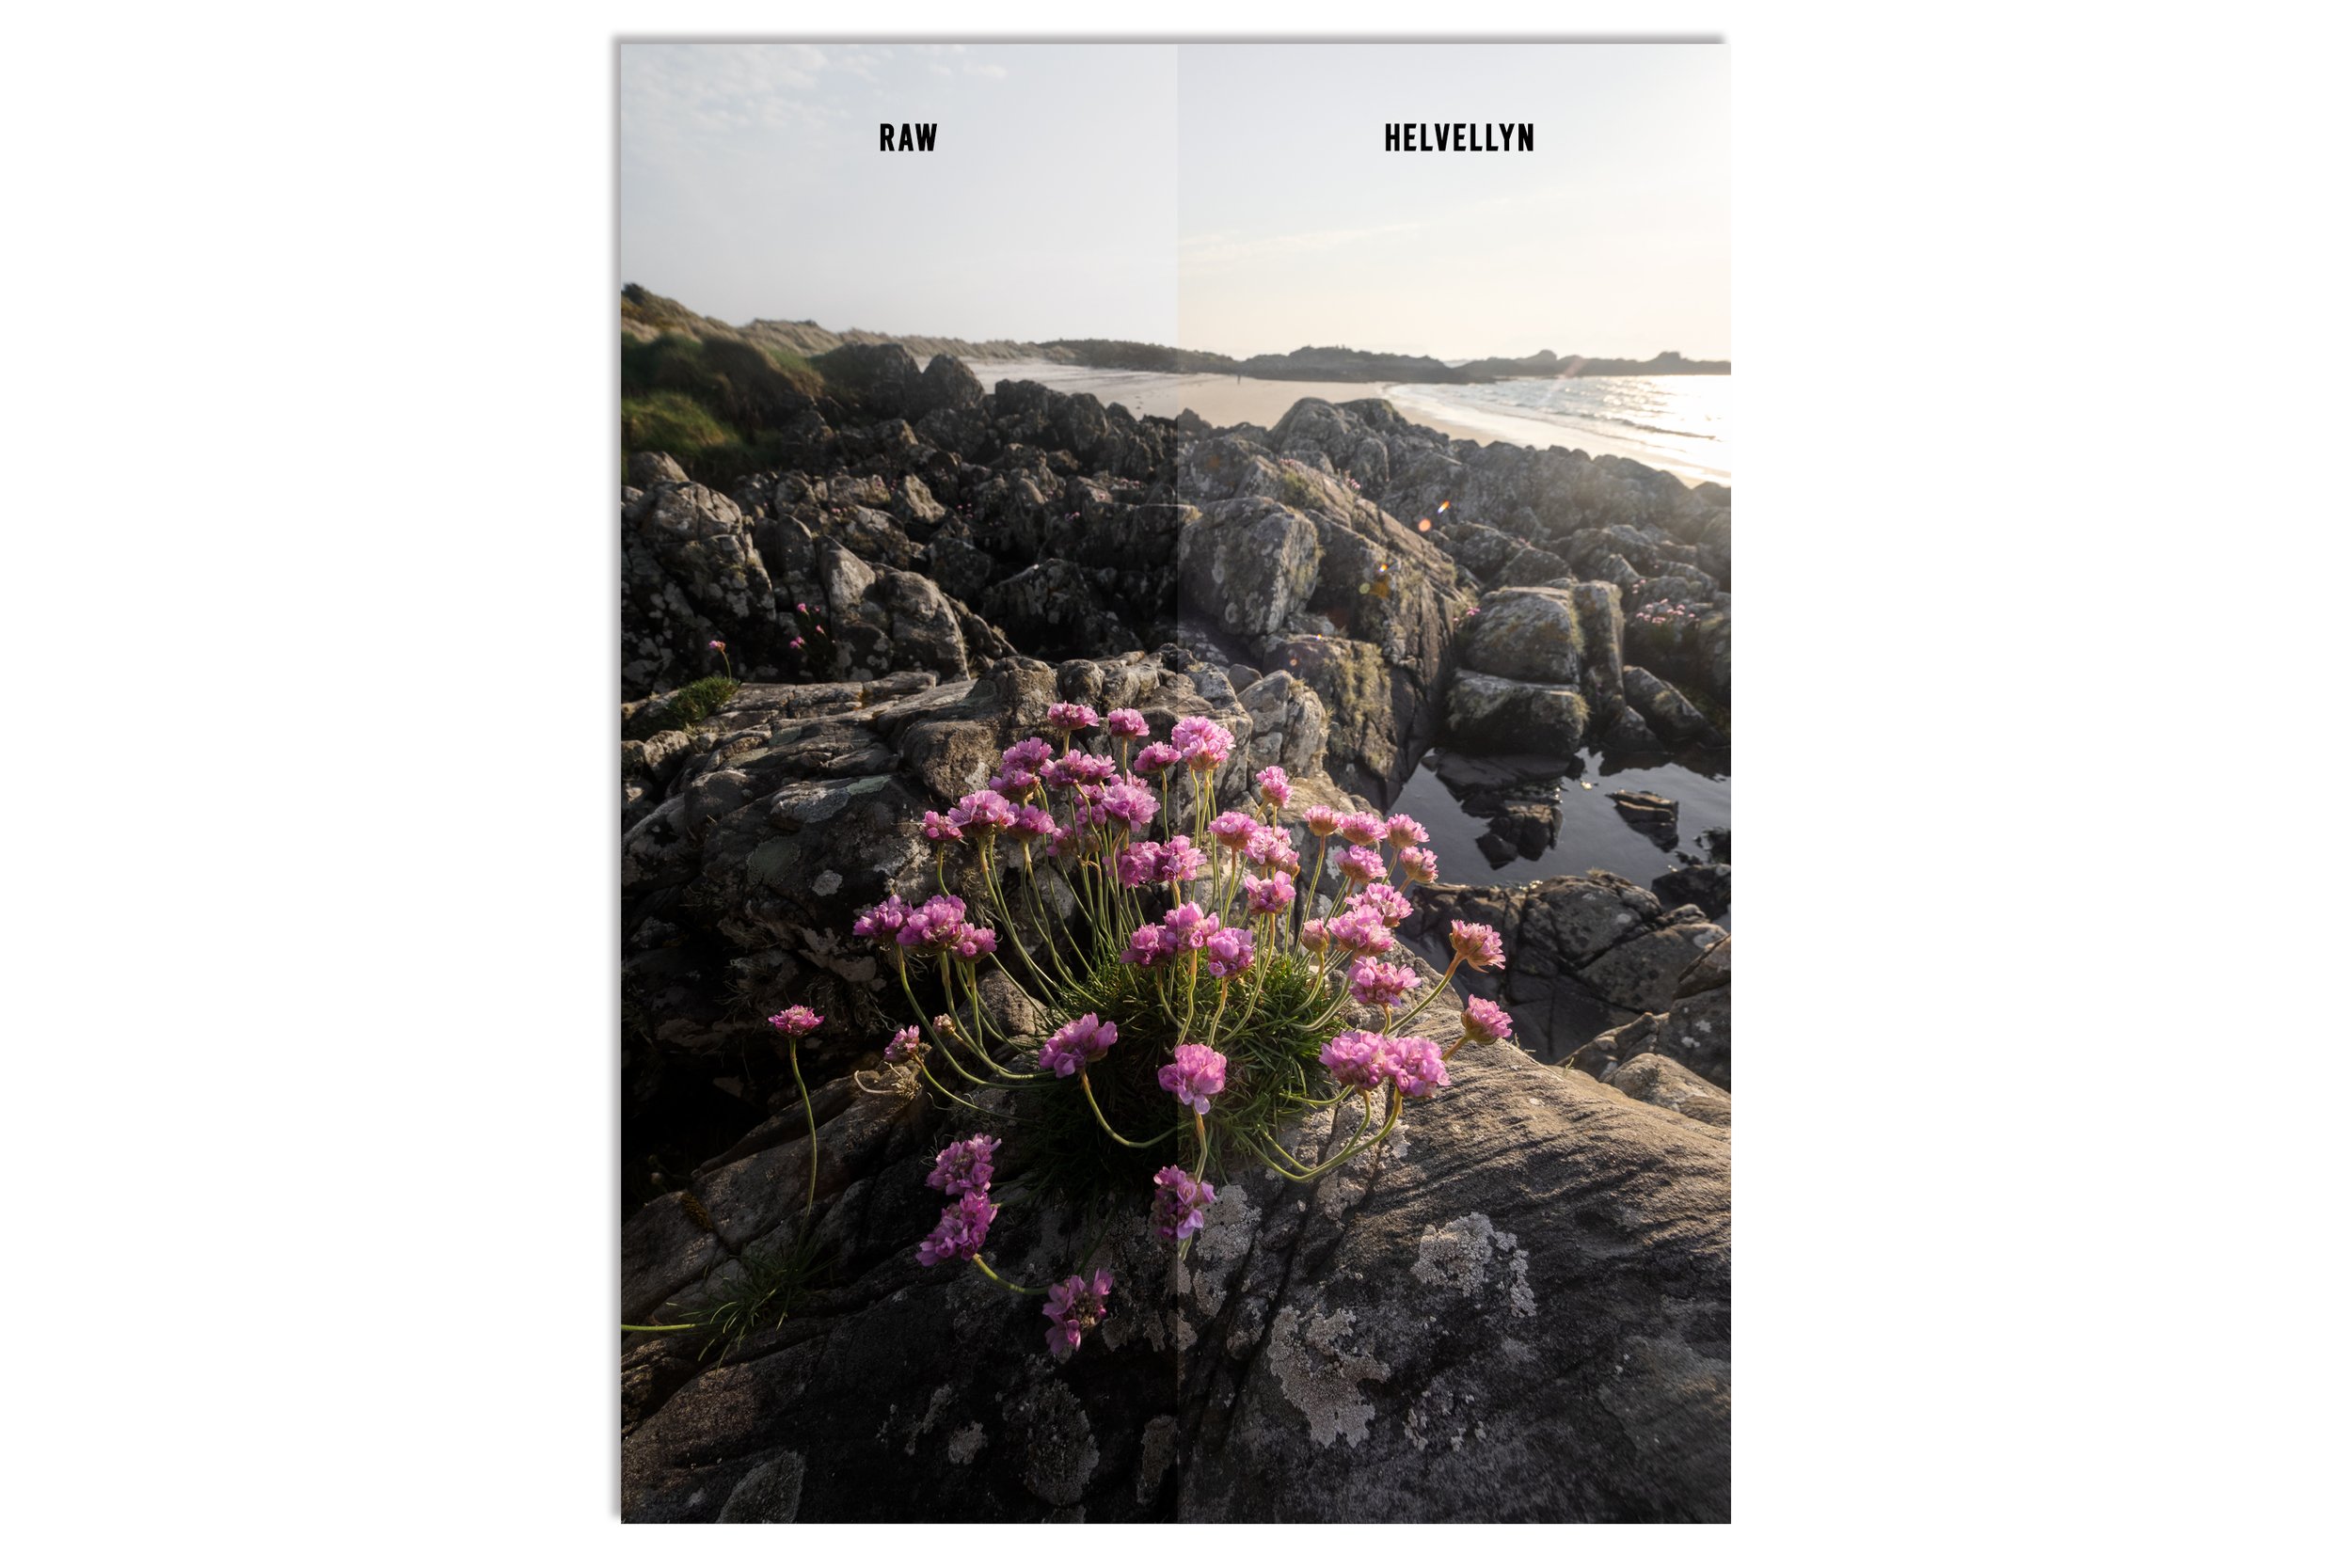 Image 15 of 20
 Image 16 of 20
 Image 17 of 20
 Image 18 of 20
 Image 19 of 20
 Image 20 of 20
After applying a preset, it's important to fine-tune your image based on how it was captured. Presets can't anticipate how your camera exposed the scene or what the colour temperature was like on the day. At the very least, adjust the following:
- Exposure: to suit the brightness of your original capture
- White Balance & Tint: to match the light and atmosphere
- Amount Slider - this lets you control how strong the preset effect appears (you'll find it at the top of the Presets panel on the left, not in the editing tools on the right)
I often make local adjustments after this - lifting shadows, softening highlights, or using radial filters in certain areas. These final touches are unique to every image and part of the creative process and, for me, important for landscape photography.
All six presets are compatible with Lightroom’s amount slider, so you can fine-tune the intensity depending on the feel you’re after. A little goes a long way, but sometimes pushing it further really brings things to life.
These presets require a subscription to Adobe Lightroom. They work with Lightroom Classic (version 7.5 or newer), Lightroom CC (version 1.3 or newer), and Lightroom Mobile (via sync or manual DNG import). They won’t be compatible with older versions of Lightroom or standalone versions like Lightroom 6.
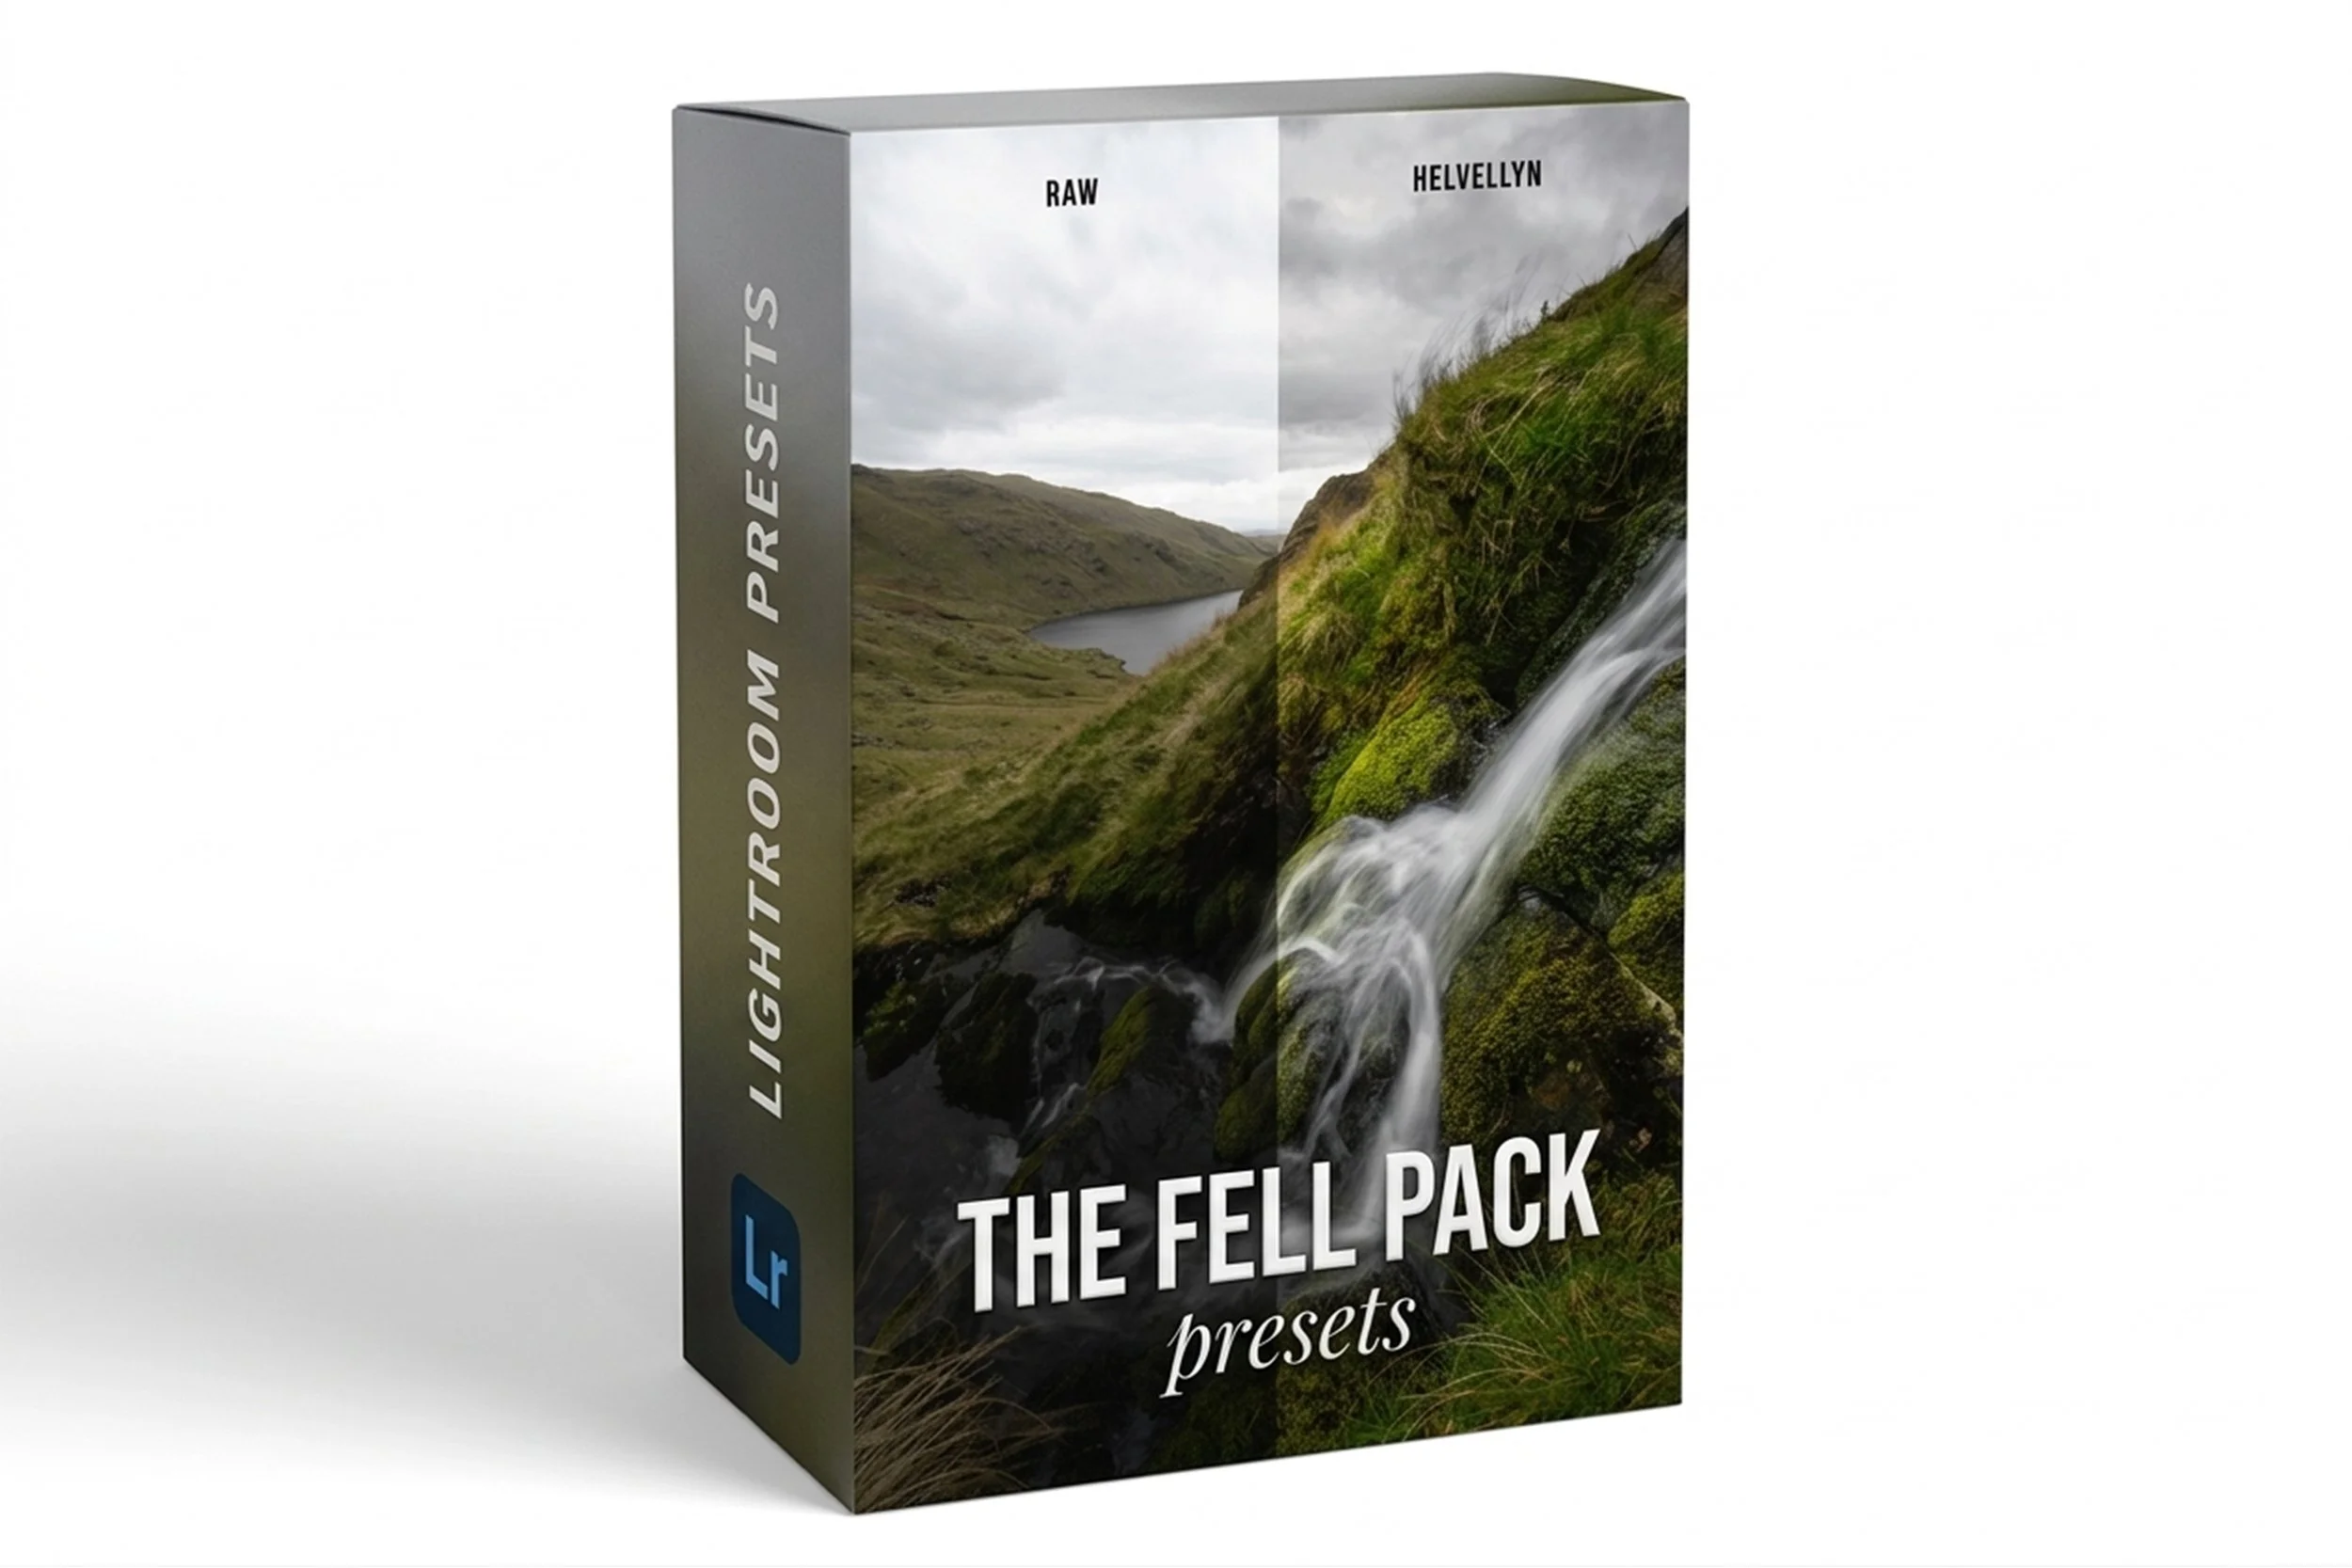
These are the landscape photography presets I’ve built for my own work and use regularly. I’ve made them to be simple, flexible, and enjoyable to work with. I hope they give you a strong foundation to develop your own edits and help your images come together beautifully!
I’ve included a quick written guide to help you get everything set up easily.
Included in the download:
6 Lightroom landscape photography presets (.xmp files)
A simple installation and usage guide (PDF)