Landscape Photography in the Rain: Tips, Gear and Creative Ideas
Why Photograph in the Rain at All?
Most photographers avoid the rain.
But honestly? I love it!
There’s something peaceful about heading out when the weather’s wild. The landscape feels emptier. The sounds are different. You feel closer to nature. It forces you to slow down and respond to the conditions.
And from a creative point of view, it can be magic.
You get mood. Drama. Low clouds. Mist sweeping over the mountains. Wet rocks that glisten and shine. If you're willing to work with it, rain can elevate your photography in ways blue skies never could.
But let’s be honest, it's not easy!
It’s wet. It’s uncomfortable. And it’s a pain trying to keep your gear dry.
So in this post I’m going to share some practical advice that’s helped me take better landscape photos in the rain. From clothing and kit to composition tips, filters and mindset. This stuff makes a real difference.
Let’s get into it.

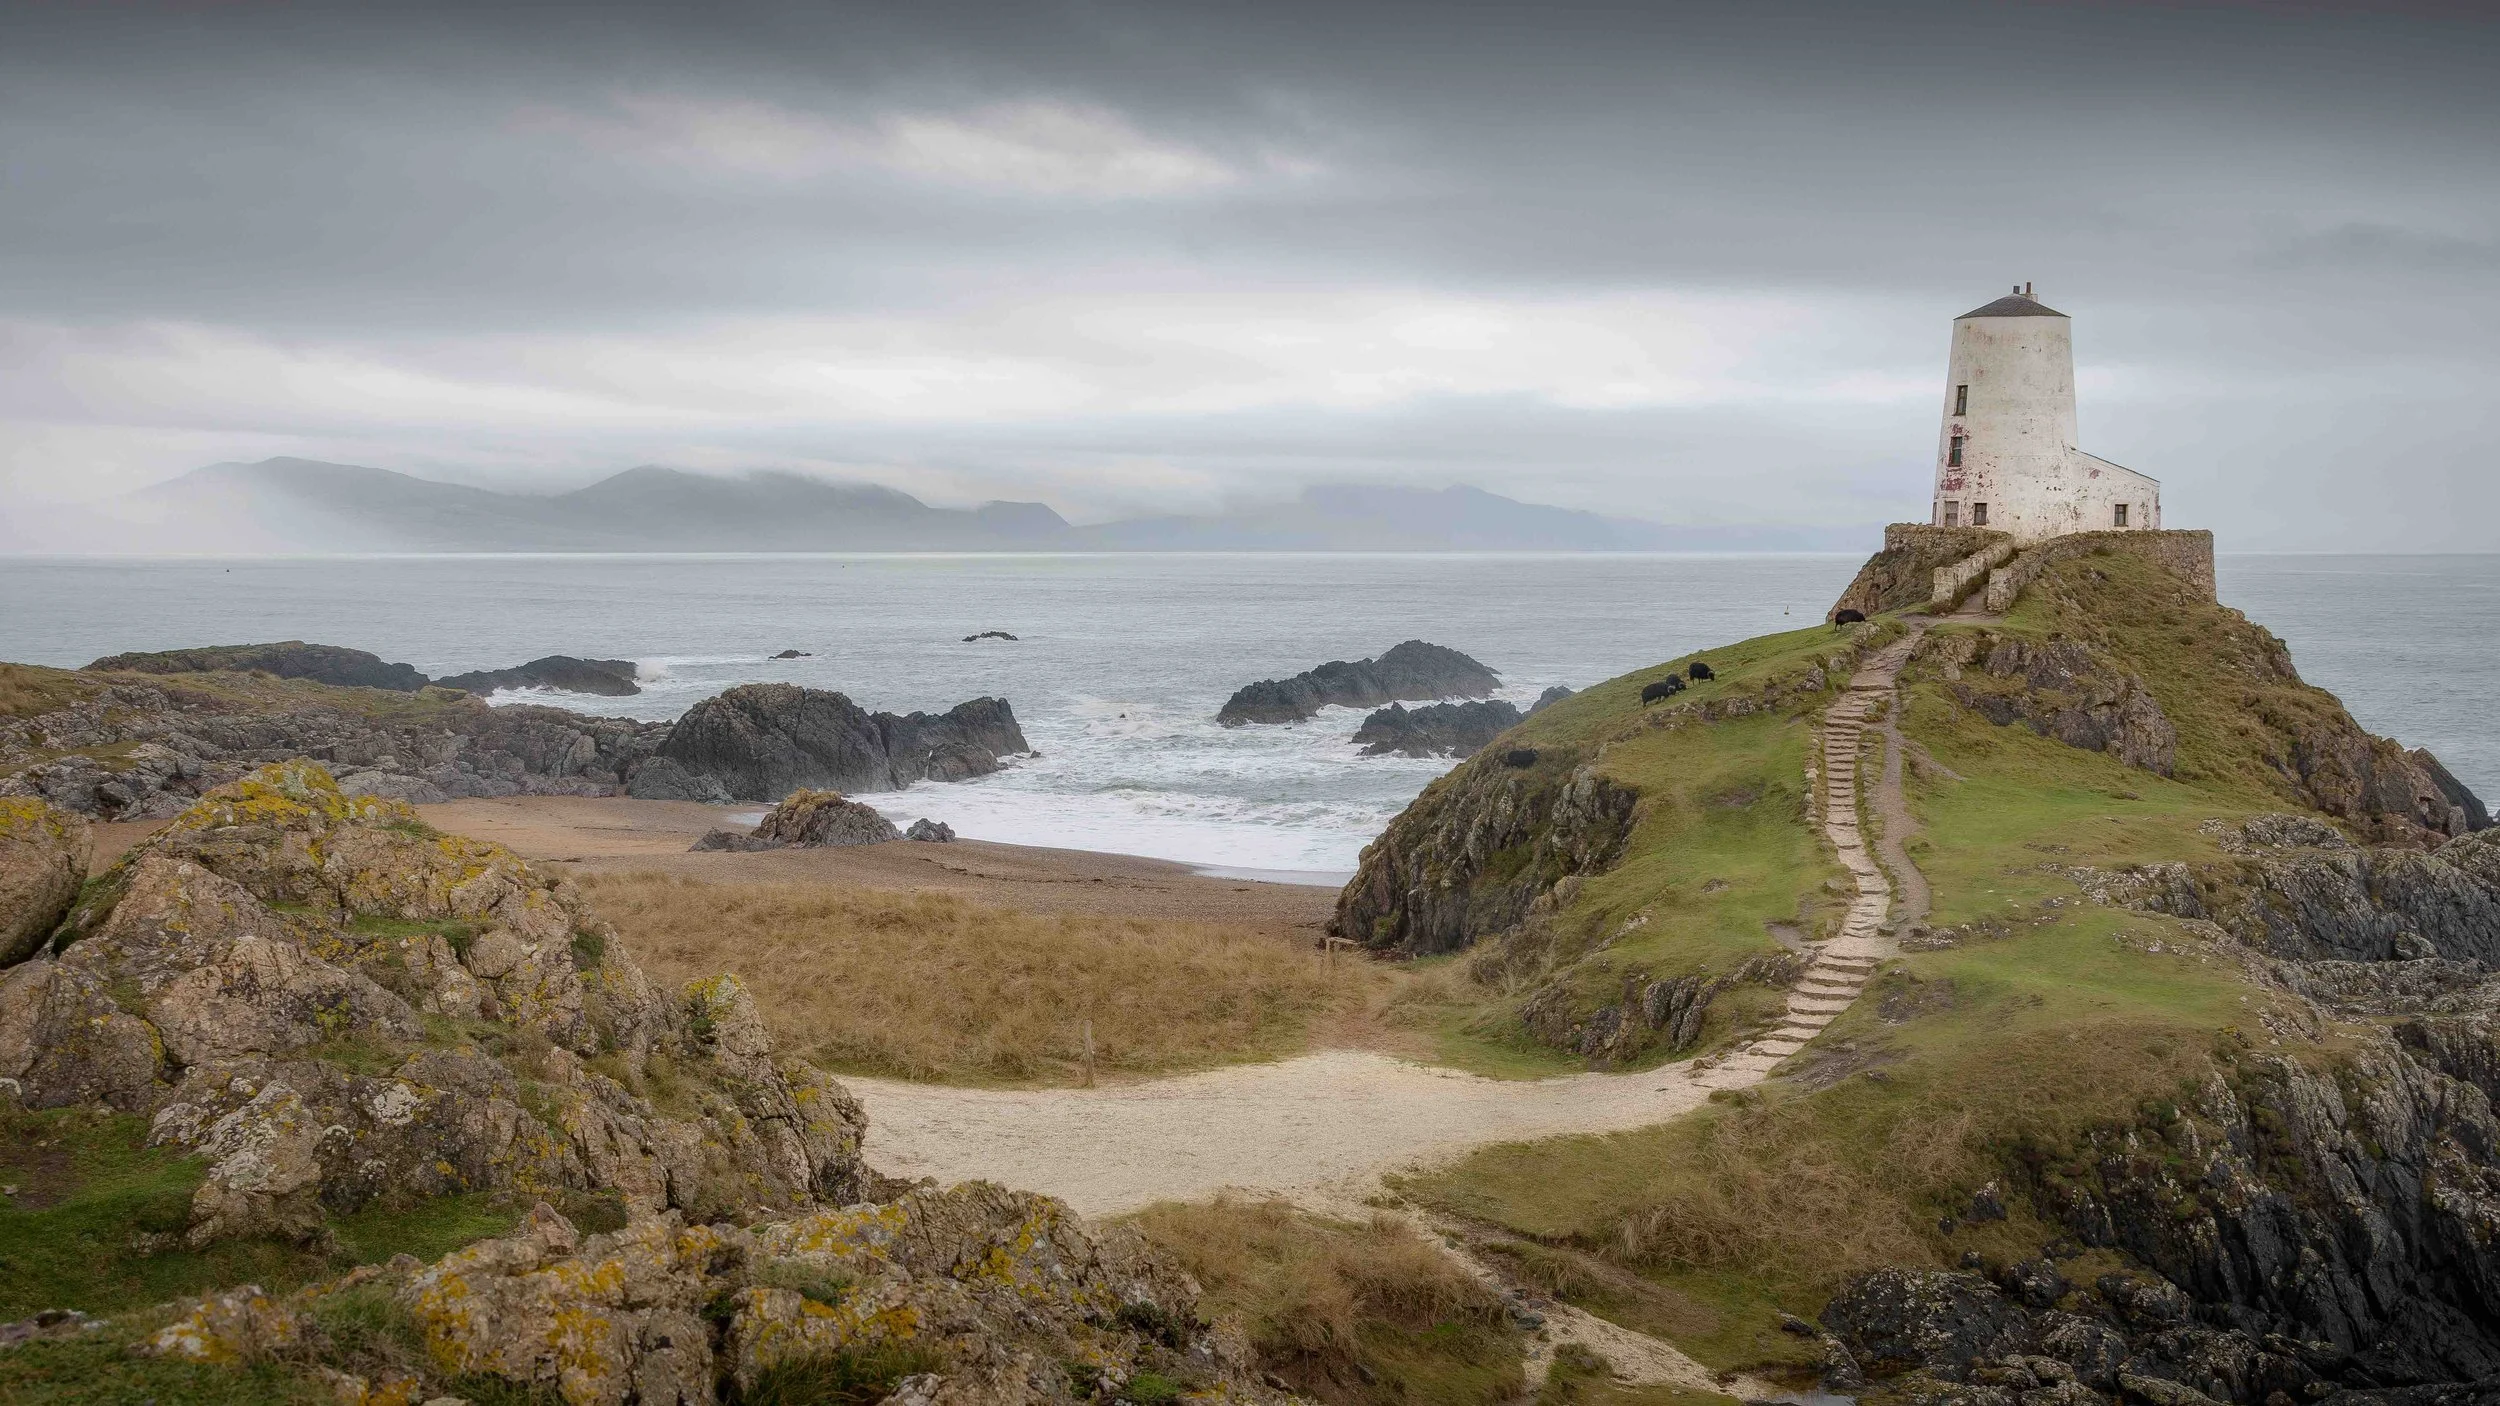
The rain can bring some incredible conditions for landscape photography.
How to Protect Your Camera in Bad Weather (And Yourself Too)
Before we talk about lenses or filters, we’ve got to cover the basics.
If you're not dry and comfortable, you're not staying out. And if you’re not staying out, you're not getting the shot. So the best way to improve your landscape photography in the rain?
Wear the right outdoor gear.
A proper waterproof jacket. Reliable walking boots. Gloves, hat, even waterproof trousers if the rain’s persistent. This isn’t about looking tough. It’s about keeping yourself dry so you can stay out longer, think clearly, and actually enjoy it. That’s when good photos happen!
Your camera needs the same treatment.
I do rely on the weather sealing in my Nikon Z7, but I don’t push my luck (that may be a lie!)…
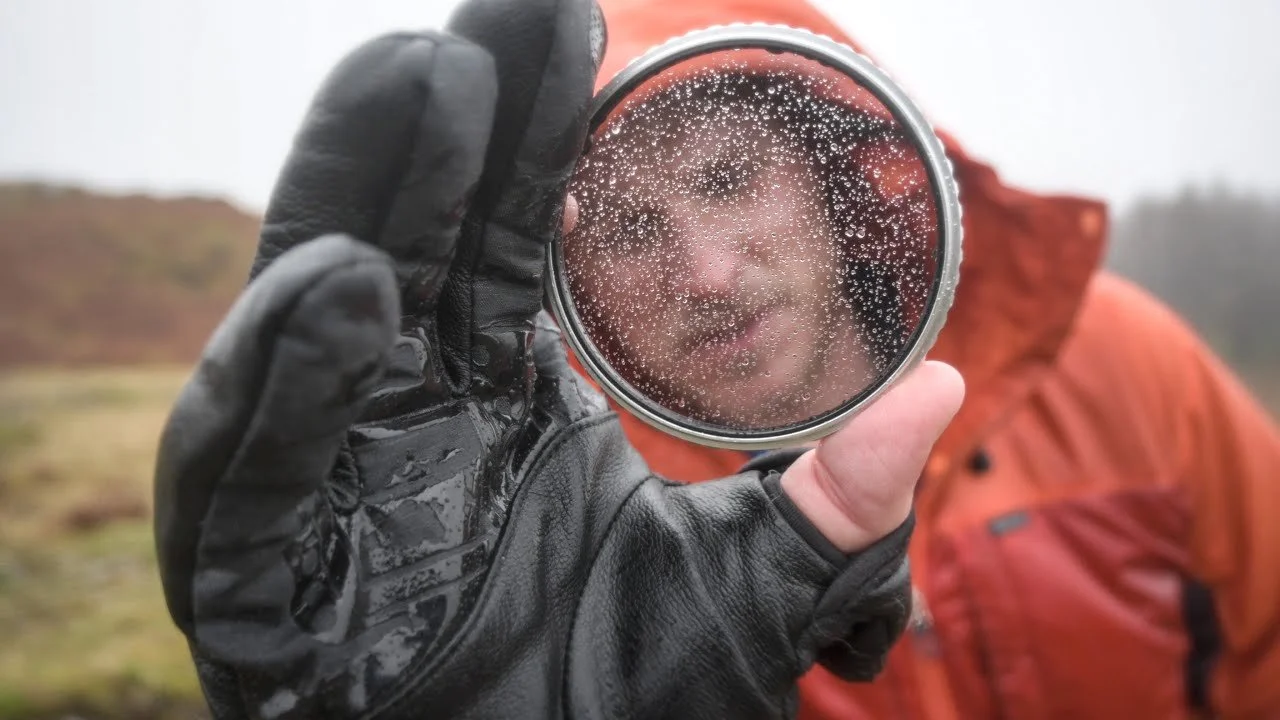
I often use a simple rain cover with a clear window at the back. It lets me see the screen and control everything without getting the whole camera soaked. I also carry a microfiber cloth at all times. Quick wipe, take the shot.
Some photographers swear by lens hoods too. Personally, I find them more hassle than they’re worth in wet weather. I’d rather keep the lens clean with a cloth and get on with it.
Looking after yourself and your kit might not sound technical or exciting. But it’s the foundation that makes everything else possible.
You can check out all the photography, videography and outdoor gear I use by clicking here.

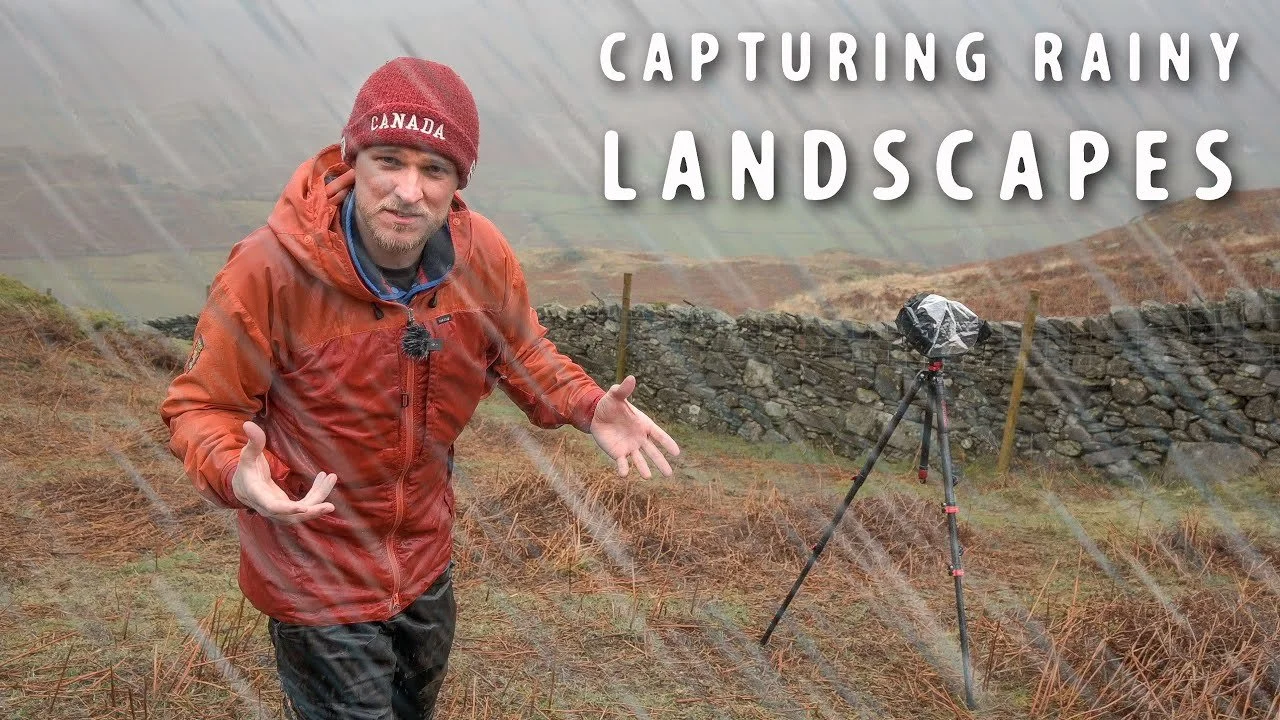
Shooting with my Nikon Z7 in my rain gear. Check out the gear I use.
Use a Polariser in the Rain for Better Landscape Photos
This is one of the few situations where I’ll still reach for a filter. I don’t use them as much as I used to. If you want to know why, I explain it in this blog: Do You Need Filters for Landscape Photography?
But, rainy conditions mean wet rocks, shiny leaves, and all sorts of unwanted glare. A polarising filter helps cut right through that. It removes surface reflections, boosts contrast, and brings out the natural colour and texture in a scene.
It works wonders on dark, wet rocks and flowing water.
If you’re photographing rivers, streams or waterfalls in the rain, a polariser can make a huge difference.
It helps create a clean, punchy image with deeper tones and fewer distractions.
In the image below, I used it to shoot a beautiful cascade. I rotated the filter slowly while looking at the LCD until the glare disappeared - especially on the black rocks.
The result was a much stronger image with more mood and clarity. A quarter of a second exposure added a bit of motion in the water, but it was the polariser that really pulled the scene together.
So while I don’t use filters much these days, this is the exception.
A polarising filter on a rainy day can be the difference between a flat, lifeless shot and something you actually want to print.

Without the polarising filter, the craggy areas would have reflected plenty of highlights. OM-5 & Pana Leica 12-60.
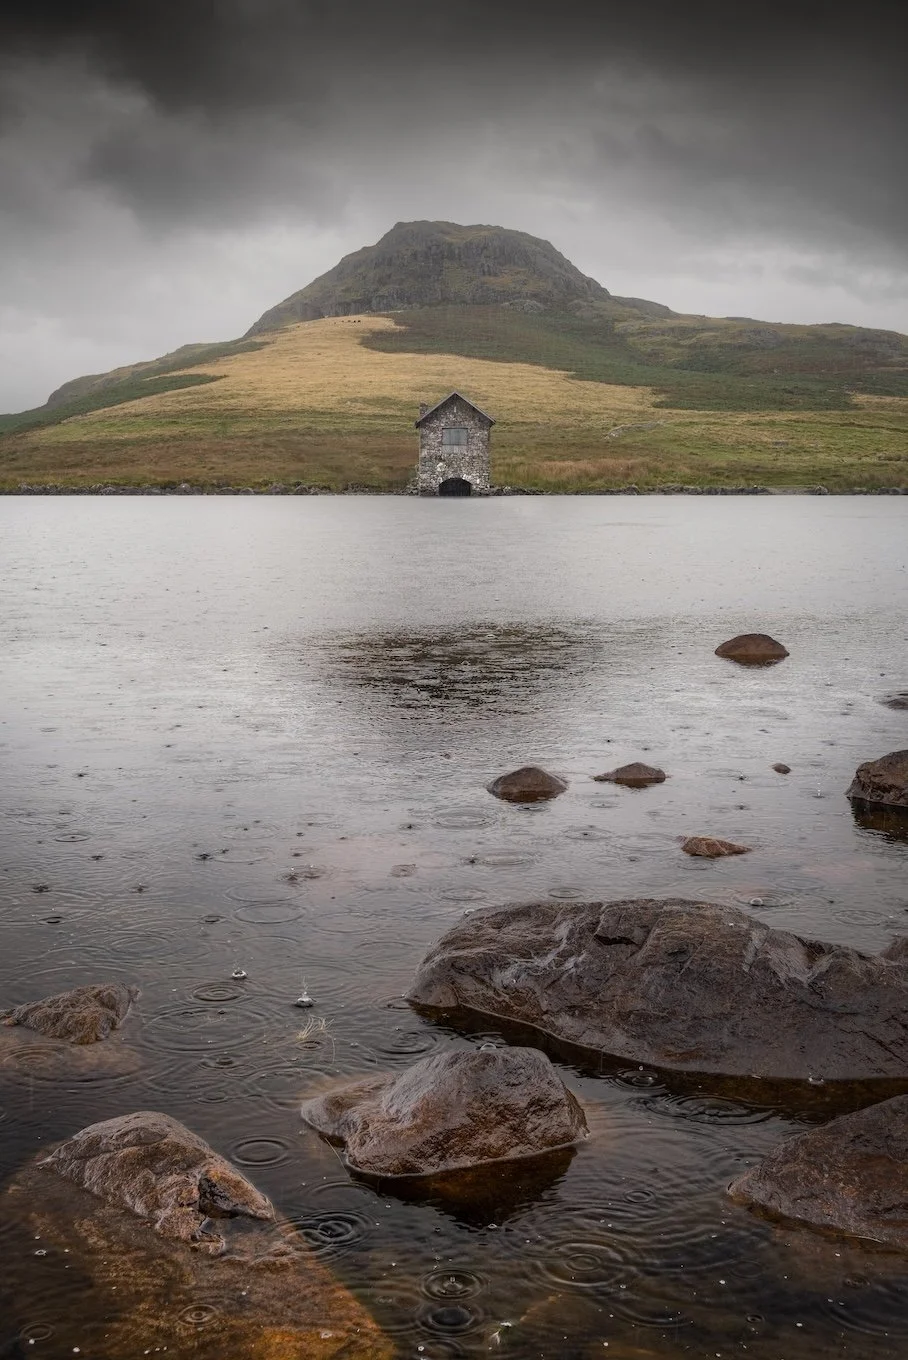
Tips for Composing Photos in Flat Light and Rainy Conditions
Rainy days often come with dull skies and low contrast. No golden hour. No dramatic side light. Just drizzle and cloud. But that doesn’t mean your compositions need to fall flat.
If anything, this kind of weather forces you to slow down and think harder about structure.
You can’t rely on light to carry the photo.
So instead, look for strong foreground elements. Think rocks, ferns, walls, puddles, tree roots, anything with shape or texture. Layer these into the scene to guide the viewer’s eye.
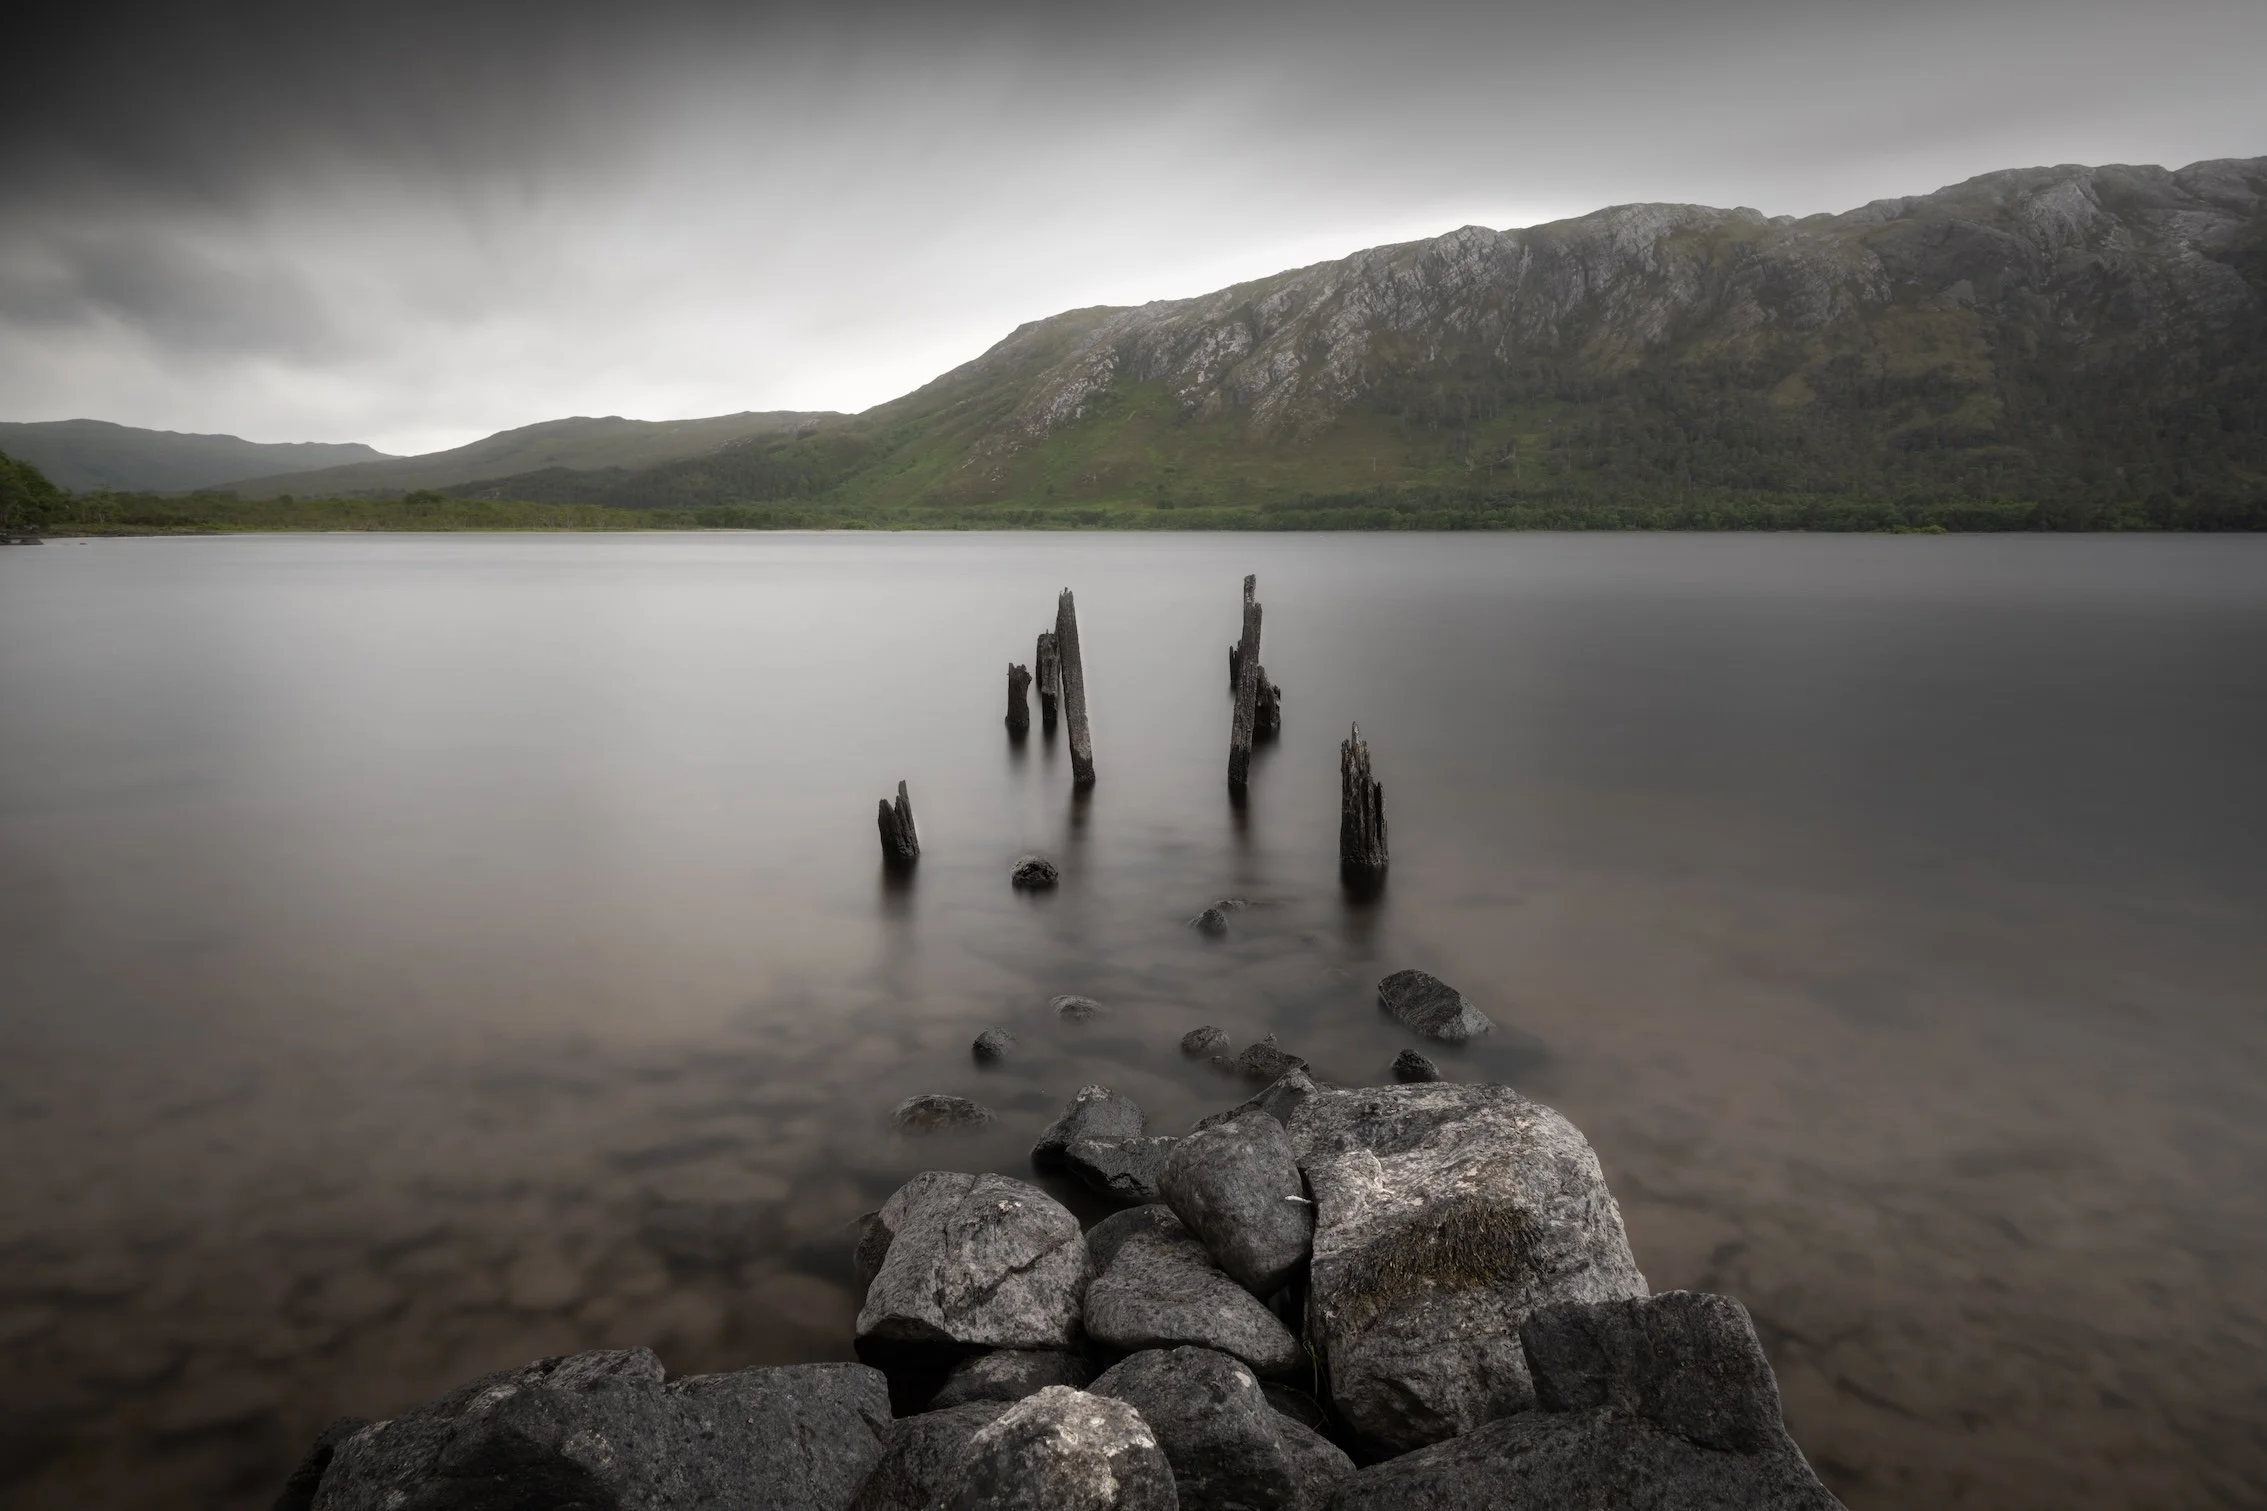
In one of my photos on a rainy day, I used some foreground rocks and and some old, broken jetty foundations to lead into an atmospheric Scottish loch. It had depth and mood, without needing a drop of sunlight.
That’s the key in flat light.
Depth. Shape. Intention.
By the way, no matter what image you’re taking, it needs to be sharp. Otherwise it just won’t hold together.
And if sharpness is something you’ve struggled with, especially in low-contrast conditions like in the rain, I’ve put together a free PDF guide all about getting sharp photos with your camera. No jargon, no fluff. Just clear advice that works in the field.
A strong composition helps to offset the lack of light.

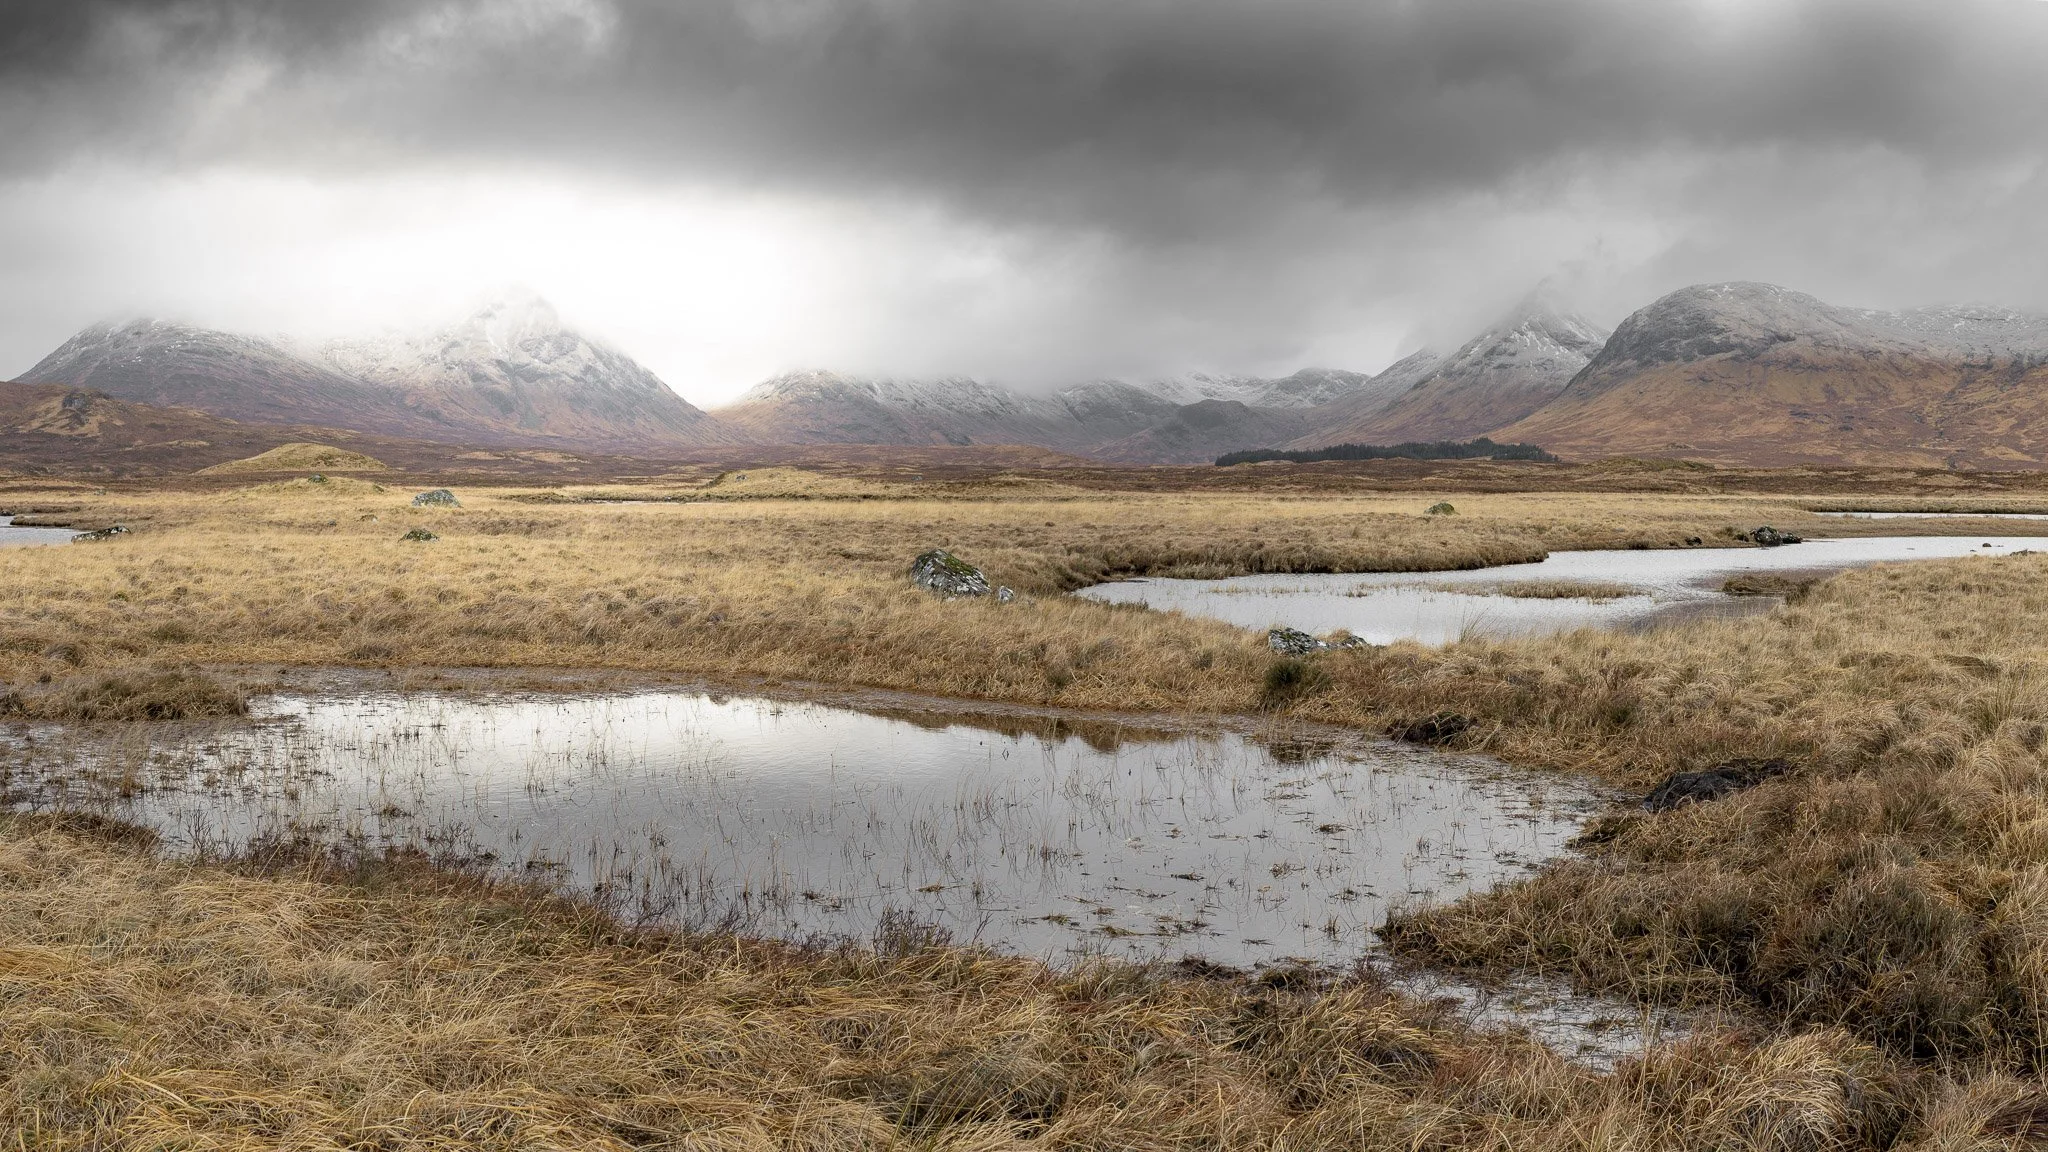
Sometimes colours can be flat, so rainy weather can be a good opportunity to embrace some black and white photography.
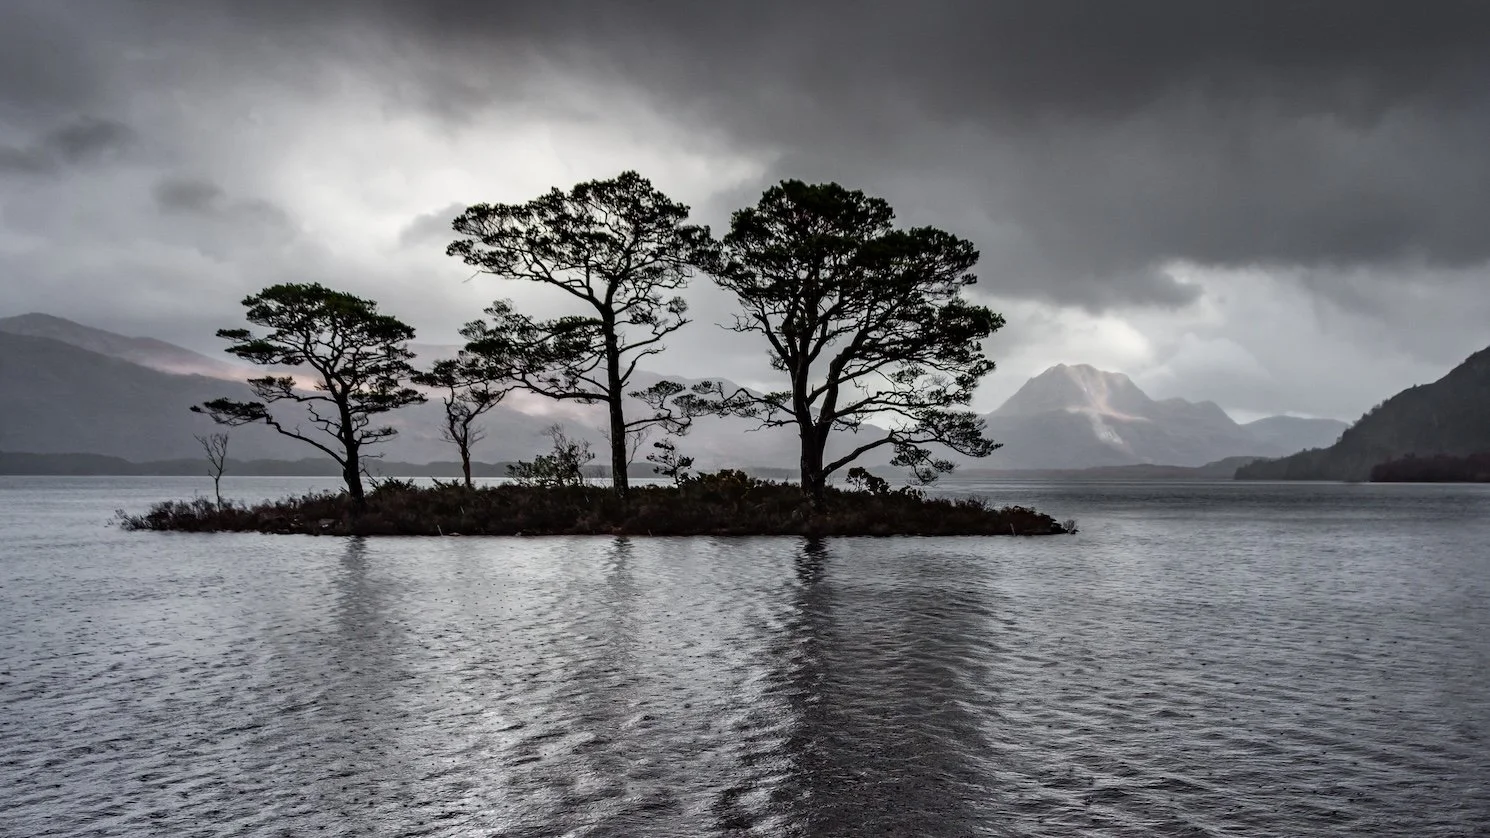
How to Use Rain Clouds and Moody Skies to Your Advantage
The sky can make or break a photo when you're out in the rain.
Sometimes it's just a big grey sheet with no texture or light. Other times, especially in the mountains, things change constantly. Clouds roll through. Peaks come and go. Light appears for a second and then fades. The mood keeps shifting and that can be a gift.
These moments add drama to a photo.
A strong shape breaking through mist. Bright clouds drifting across a dark summit. That contrast between land and sky can carry the whole image, especially when the rest of the frame is simple.
But you’ve got to be ready.
Keep your camera close. Keep the lens clean. Be quick on the shutter. Things move fast in this kind of weather, and reacting quickly is half the job.
Even on the dullest days, the sky can surprise you.
So work with what you've got. Let the clouds bring mood. Let the rain soften the land. Try freezing a moment with a faster shutter, or slow things down and let the motion build atmosphere.
Just keep looking up.
The sky might be the best subject you’ve got!
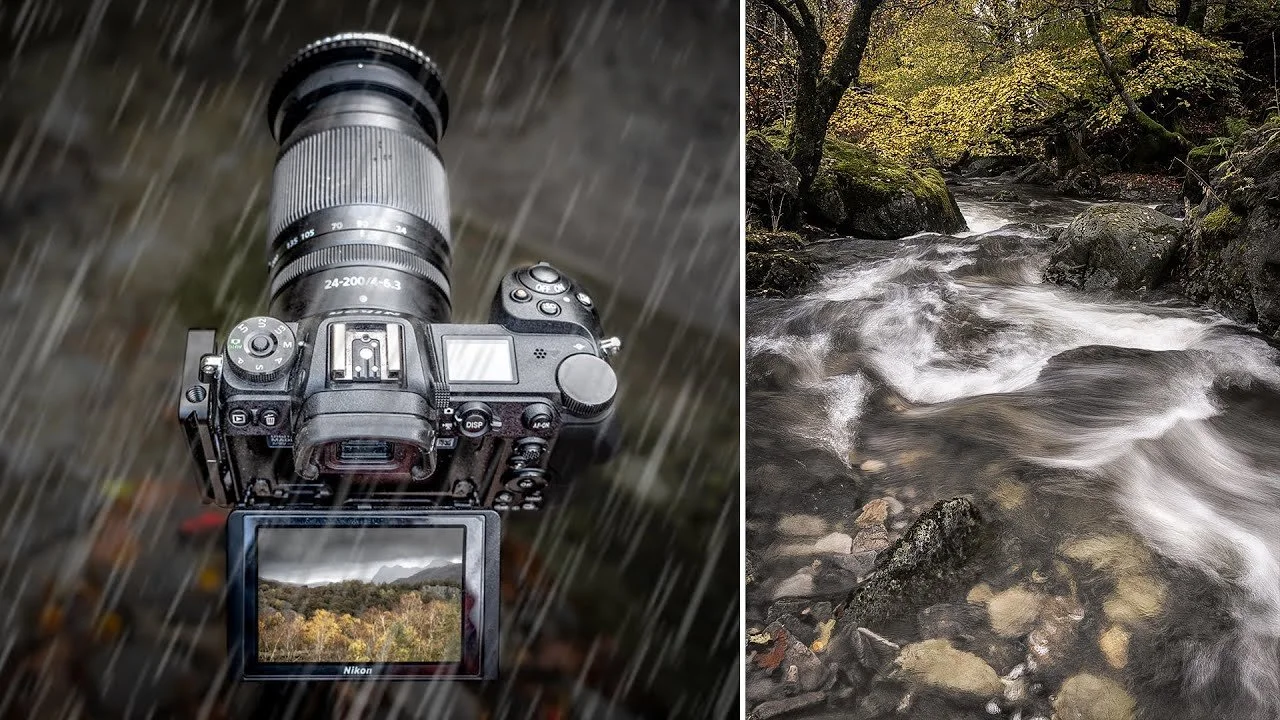
The rain can often bring some fantastic skies with it. Look up! Nikon Z7 & Nikon 24-200.

Creative Photography Ideas for Wet Weather: Capture the Raindrops
Once you’ve sorted the gear and the composition, it’s time to start thinking creatively.
One of my favourite techniques in rainy conditions is to photograph the raindrops themselves, especially where they hit still water. A lake, a puddle, a quiet stream. Anywhere you can see the surface reacting to the rain.
It works best with a faster shutter speed.
Try something around 1/200th of a second or quicker to freeze those little splash patterns. You’ll start to see ripples, rings, and tiny bursts of texture across the frame. It’s a brilliant way to show the emotion of the weather, rather than just the look of the landscape.
And in many cases, it can double up as your foreground too.
Rain on water is a subtle but powerful element. It adds mood. It adds movement. And it makes the viewer feel like they’re standing right there in the rain with you.
There aren’t many chances to get this kind of photo, so if you’re near water on a rainy day, give it a go.
It’s one of those simple tricks that can turn a dull moment into something unique.
Look closely at the foreground. I used a quick shutter speed at 1/200sec to freeze the raindrops. Nikon Z7 & Nikon 24-200.
My Top Rainy Day Landscape Photography Tip: Focus on the Little Details
Not every photo needs a big view.
Rain transforms the small stuff too.
Think water droplets on leaves. Wet bark. Ferns with a shine to them. Raindrops clinging to spiderwebs. These tiny scenes are everywhere, especially in woodland, and they come to life when it's raining.
Woodland in wet weather is one of my favourite places to explore. There’s a stillness to it. Colours feel richer. The air is quiet. And suddenly those little details start to stand out.
You don’t need to chase a view. Just slow down and look at what’s right in front of you.
Try soft light coming through the trees.
Use a wide aperture to isolate a subject and blur the background. Or get in close and make the whole photo about texture. A single branch. A curled fern. The shape of a water droplet resting on a leaf.
These quiet images often carry just as much emotion as any big mountain shot.
Because there is no epic light show, you are relying more on shape, mood and feel - and that is great practice for the eye.
So if the conditions feel flat or the views are not working, go smaller.
The rain has already added the atmosphere. You just need to notice it!

In woodland especially, the rain can be a fantastic opportunity to focus on the smaller details. Nikon Z7 & Nikon 24-200.

Why Rainy Weather Might Be the Best Time to Take Landscape Photos
Rainy days are often overlooked, but they can be some of the most rewarding times to head out with your camera.
You get atmosphere. You get solitude. You get unique conditions that force you to slow down and respond to the landscape in a different way.
Yes, it can be hard work - but that effort usually pays off.
The main thing is to embrace the weather you’ve got. Dress for it. Protect your kit. Focus on strong composition, subtle details, and the changing sky.
There’s so much beauty out there when the clouds roll in! You just need a bit of patience and a willingness to get a bit soggy now and again.
And if you’ve found these tips useful, you might enjoy the opposite side of the coin too…
Shooting in bright, cloudless conditions comes with its own challenges - so I’ve written a separate guide that’s packed with simple advice to help you make the most of those blue sky days.
Popular posts:


Free Photography eBook
Free access to my downloadable (pdf) tutorial on how to get pin-sharp images.
New / Noteworthy